17 heat sink and fan assembly, 1 removing the heat sink and fan assembly, Ink and – Dell Latitude XT2 XFR (Late 2009) User Manual
Page 59: Ssembly, Removing the heat sink and fan assembly
Dell
™
Latitude™ XT2 XFR Service Manual
Page 59 of 94
Version A00-01
5 System board screw (2.5 x 5-mm) 6 System board screw at bracket (2.5 x 8-mm)
4. Connect the sniffer switch cable to the system board.
5. Connect the stylus bay cable to the system board.
6. Connect the speaker to the system board.
7. Connect the video cable to the system board.
8. Connect the coin-cell battery to the system board.
9. Place the fan bay gasket back into the channel and press down as it’s laid over to ensure a
proper fit.
CAUTION:
Make sure the gasket is set properly over the chassis and around the heat-
sink and fan bay before proceeding. Failure to perform this step properly could cause
an inlet for moisture into the system.
10. Complete the assembly by following instructions for
4.17
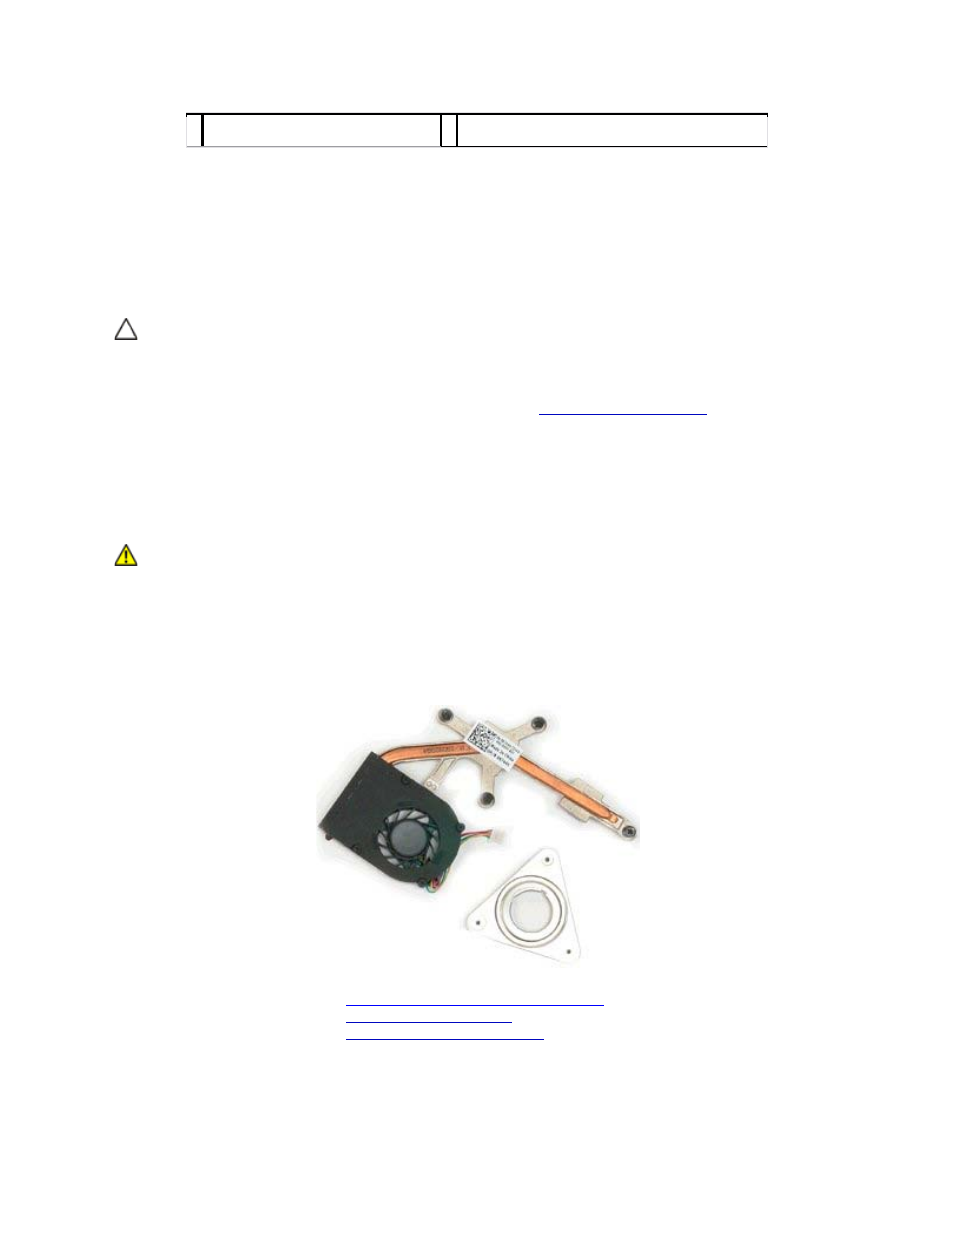
Heat Sink and Fan Assembly
WARNING:
Before working inside your XT2 XFR, read the safety information that
shipped with your XT2 XFR. For additional safety best practices information, see the
Regulatory Compliance Homepage at www.dell.com/regulatory_compliance.
4.17.1 Removing the Heat Sink and Fan Assembly
1. Follow the procedures in
Before Working Inside Your XT2 XFR
2. Follow the procedures in
3. Follow the procedures in
4. Disconnect the fan cable from the system board connector, then flip over the system board.