2 installation of the wash select ii unit, Installation of the wash select ii unit, Figure 7. setting anchor bolts – Unitec Wash Select II POS Installation Manual User Manual
Page 18
W A S H
S E L E C T
I I
Document Number:
WS21001
12
2.
Remove the base from the marked location and proceed to drill the holes, using
the hammer drill, and the ½” inch concrete drill bit. Ensure that the holes are
drilled deep enough to insert the anchor bolts. A good depth is approximately 2”-
2½” inches from the surface of the concrete.
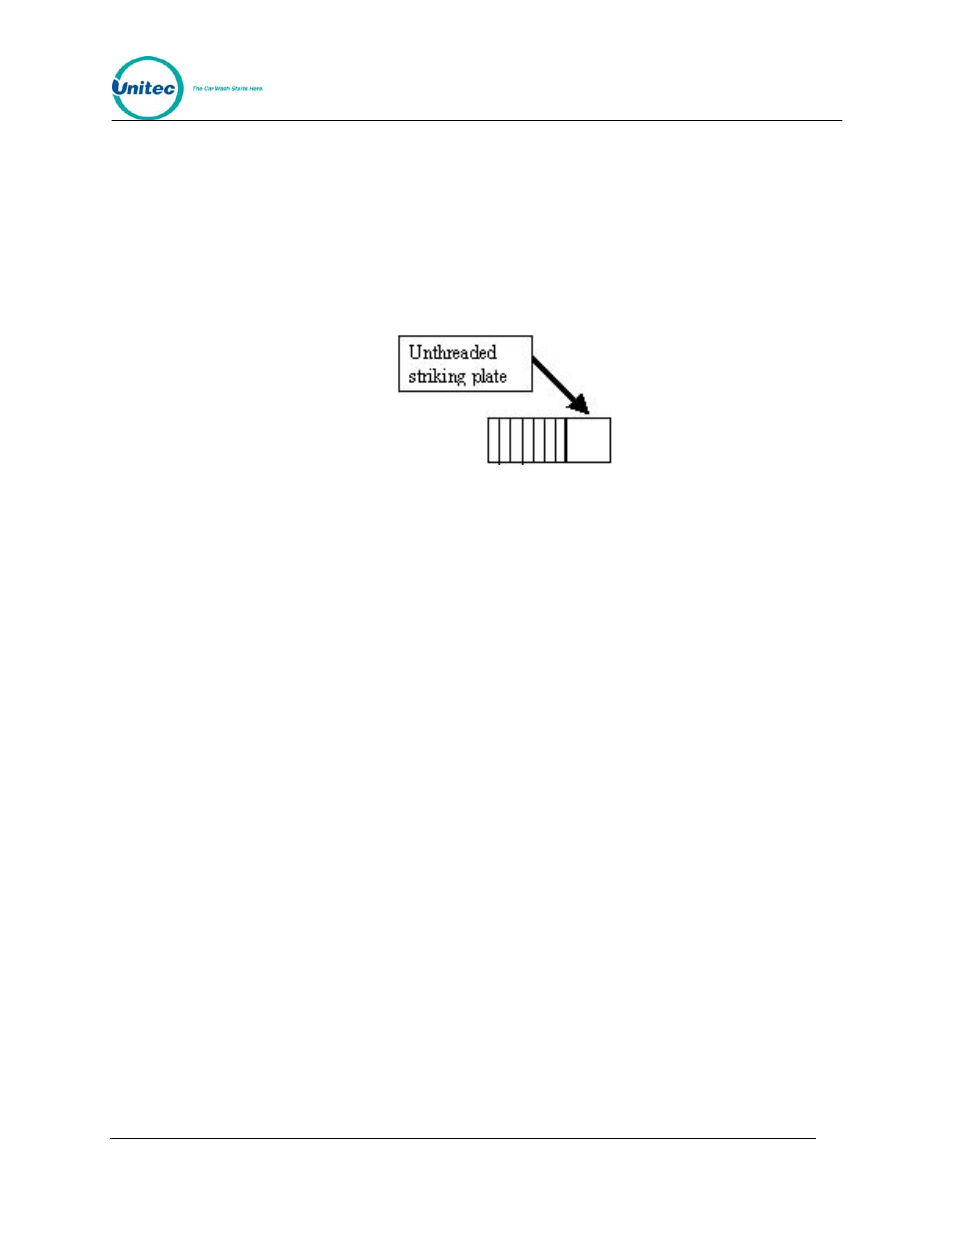
3.
It should be noted that while the anchor bolts are rugged and durable, they could
become damaged if struck recklessly. Care should be given to strike only the top
of the anchors, where the force will be distributed by the provided area on top of
the anchor bolt. Use the hammer to drive each of the provided anchors into the
drilled concrete holes.
Figure 7. Setting Anchor Bolts
4.
When all anchor bolts have been set, place one nut onto each of them, and use
the ratchet and socket to tighten it, until as many of the threads from the bolts as
possible are showing. This first set of nuts will be used later for the correct
leveling of the base. You may remove the nuts if you have the appropriate shims
and wish to use those instead.
5.
Slide the base down over top of the conduit, while feeding the wire runs up
through the conduit holes and out the top of the base. It is very important to allow
at least 66” inches of wire to remain draped over the top of the base, so that there
is enough left to make all of the electrical connections. It is also recommended
that 3” or more of conduit protrude into the base. This is to ensure that standing
water will not accumulate in the conduit. There should also be sufficient threads
on the anchor bolts left to secure the base in place with the remaining 4 nuts. If
this is not the case, the holes in the concrete were drilled too deep, and the
installer should use smaller, or no leveling nuts.
6.
Place the level on top of the base, and adjust the leveling bolts with the open-
ended wrench (or add the appropriate number of shims). When it is level across
the short and long sides, hand tighten the remaining 4 nuts onto the bolts.
7.
Once the base has been verified in its final position at least once, and all of the
above requirements have been met, it is safe to securely fasten the 4 nuts with
the socket wrench. When this has been successfully completed, there should be
no movement in the base whatsoever.
3.2.2 Installation of the Wash Select II Unit
1.
Once the base is properly leveled and secured, ensure that there is sufficient
length of wire draped out the top to make the final electrical connections. If not,
new cable should be pulled prior to this step. If there is sufficient length, proceed
to feed them under and through the bottom of the Wash Select II main cabinet.
They should fit easily into the conduit holes, which are pre-cut into the bottom,
right-hand corner of the unit.
Document Title:
Wash Select II POS Installation Manual