Dc link choke - ac input only – Rockwell Automation 20B PowerFlex 700 Drive - Frame 7 Components Replacement User Manual
Page 55
Rockwell Automation Publication 20B-IN017B-EN-P - September 2011
55
Component Replacement Procedures Chapter 3
DC Link Choke - AC Input Only
Refer to the figures in
Component Diagrams and Torque Specs on page 13
these instructions.
Remove Components
1. Read and follow the
and
.
2. Locate the DC Link Choke.
Remove Main Control Panel Assembly on page 21
Remove Stacking Panel on page 22
Converter Snubber Board - AC Input Only on
, remove all three Converter Snubber Boards.
6. Remove the six Snubber Board mounting brackets (M6 T40 screws).
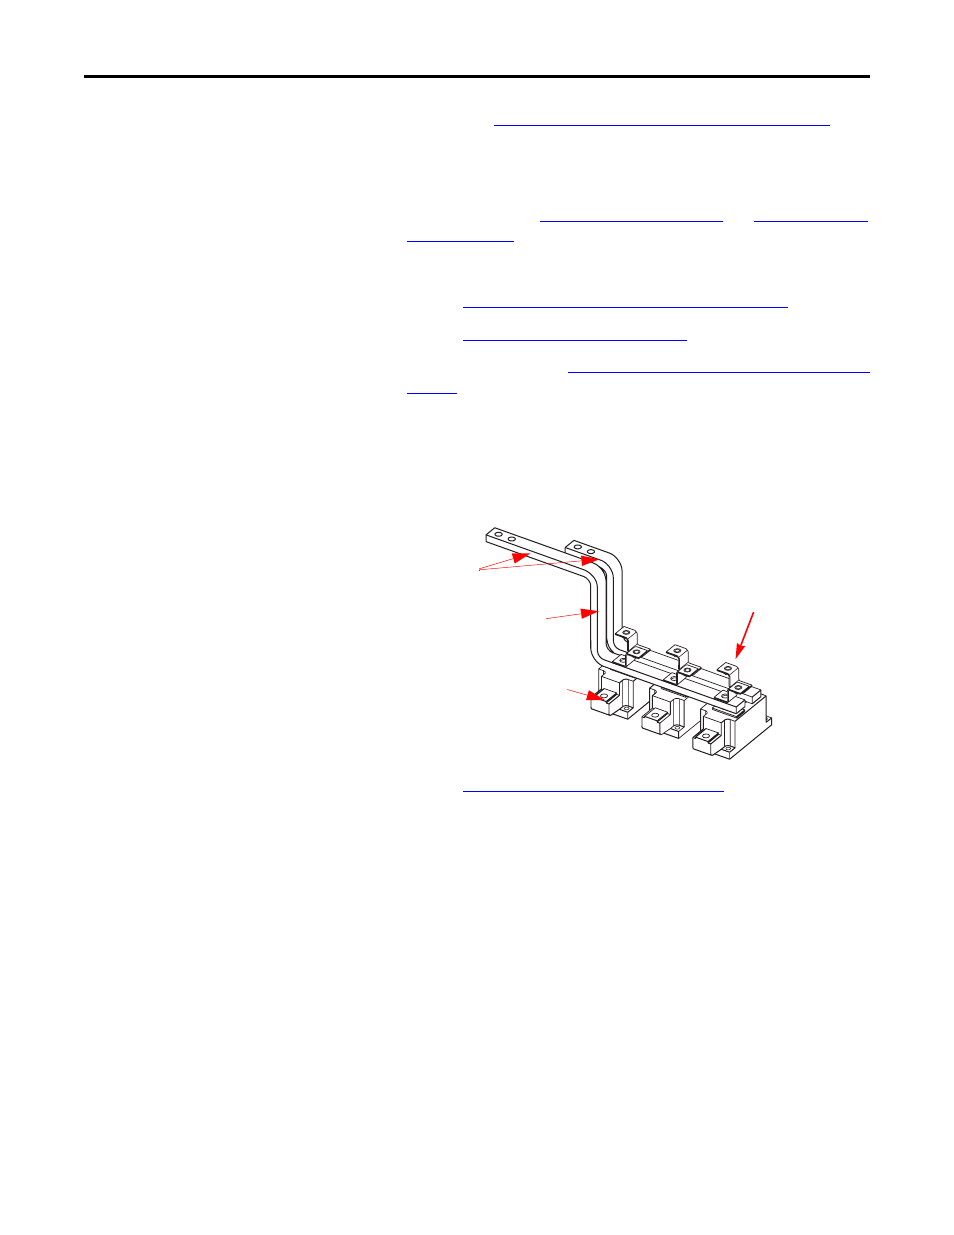
7. Remove the four (4) M6 screws from the DC Link Choke terminals
labeled 1 and 4.
8. Remove the Converter Bus Bars (DC+ and DC–).
Remove Transitional Bus Bar on page 23
10. Remove the four (4) screws for the DC Link Choke mounting brackets.
11. Remove the DC Link Choke.
Install Components
1. Install new DC Link Choke by screwing mounting brackets to drive.
2. Torque screws to 9.0 N•m (80 lb•in)
3. Reassemble remaining components in reverse order.
4. Replace all safety shields and enclosure covers before applying power to
the drive.
SCR module
Converter
Bus Bars
–
DC–
DC Choke
Connectors
Snubber Board
Mounting Bracket