Heatsink thermal sensor – Rockwell Automation 20B PowerFlex 700 Drive - Frame 7 Components Replacement User Manual
Page 46
46
Rockwell Automation Publication 20B-IN017B-EN-P - September 2011
Chapter 3 Component Replacement Procedures
Heatsink Thermal Sensor
The Heatsink Thermal Sensor is located at the top of the Heatsink under the
U Phase Gate Interface Board, with beige insulated wiring. It is connected to the
Power Interface Board assembly by the Monitor Wire.
Refer to the diagram above and to the figures in
for these instructions.
Remove Components
1. Read and follow the
and
.
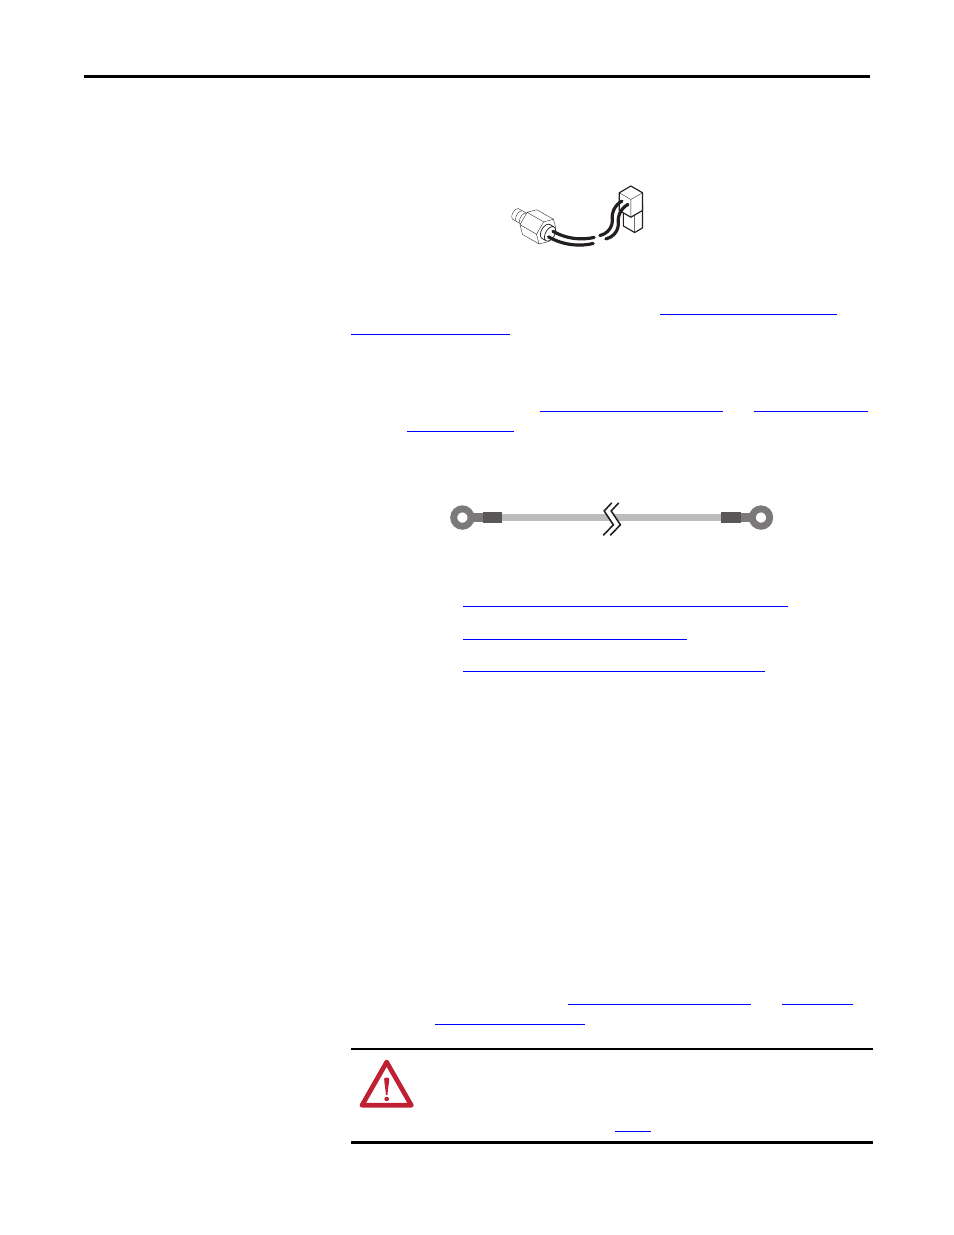
2. Make a jumper wire consisting of wire plus two (2) #10 wire lugs, either
fork or ring, illustrated below.
Remove Main Control Panel Assembly on page 21
Remove Stacking Panel on page 22
Remove Precharge Board Assembly on page 23
6. To gain access to the wire harness in a later step, you must remove the
Current Transducers over the U, V, and W Phase Bus Bars. Unscrew the
button head screws on each transducer bus bar. Move the transducers to
a safe location.
7. On the input power terminal block, remove the top nuts securing the U,
V, and W Phase Motor Bus Bars.
8. Slide the top of each bus bar to the right, unlocking it from the ground,
and remove each bus bar from the unit.
9. Remove the U Phase Inverter Snubber Board.
10. Remove the two Inverter Snubber Board brackets.
11. Remove the IGBT module bus.
Important: Read and follow the
and
.
ATTENTION: The IGBT gate terminals must not be exposed longer than
one minute. Do not let the gate connections remain disconnected longer
than one minute.
Locate jumper wire (from
Step 2.
) before proceeding to the next step.
Heatsink Thermal Sensor
14 or 16 gauge wire, about 10 cm (4 in.)