Figure 2: mounting the co transmitter – RKI Instruments Pioneer 4W User Manual
Page 108
Pioneer Operator’s Manual
CO Transmitter • 5
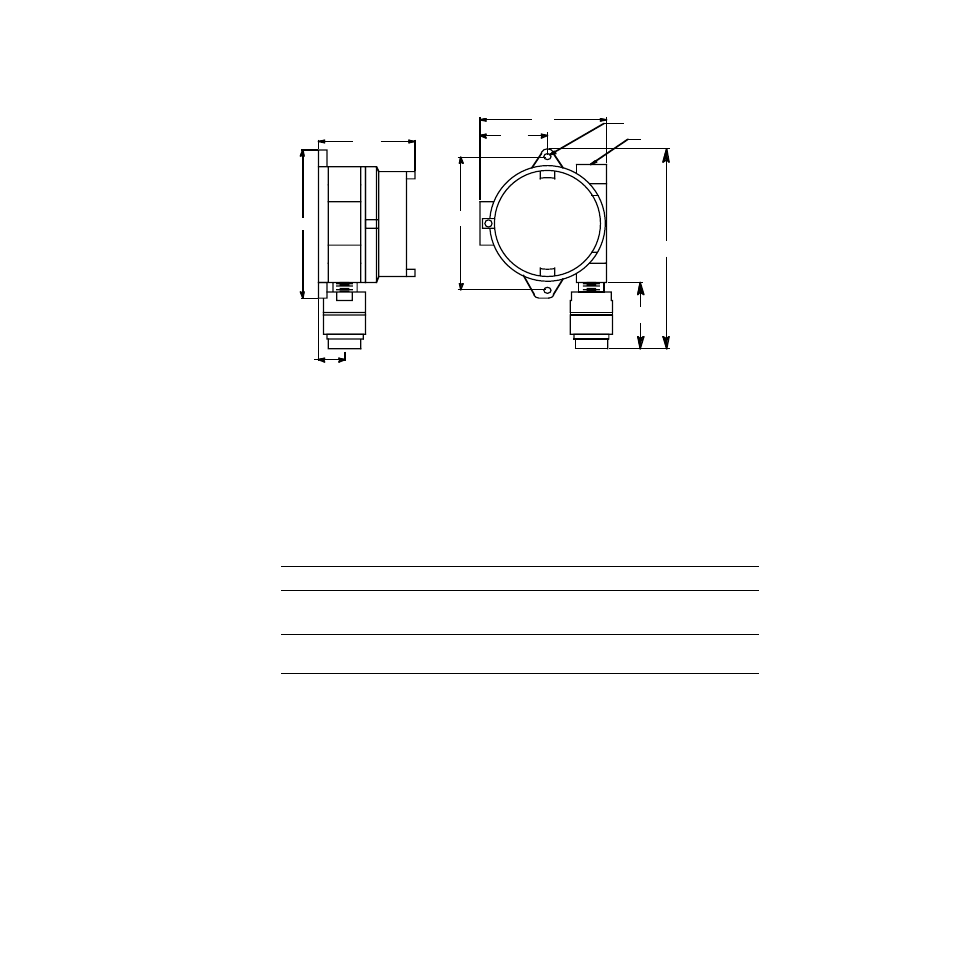
Figure 2: Mounting the CO Transmitter
If the CO detector is mounted to the junction box, skip to step 5. If not, continue with
step 2.
2.
Remove the junction box cover.
3.
Guide the two wires that extend from the top of the CO detector through the bottom
conduit hub of the junction box.
4.
Screw the CO detector into the bottom conduit hub of the junction box.
5.
At the monitoring site, use 1/4 in.
screws through the junction box’s two mounting
holes to secure the junction box to a vertical surface.
CAUTION:
Mount the CO transmitter with the detector facing down (see Figure 2.)
Wiring the CO Transmitter to the Pioneer
WARNING: Always verify that the Pioneer’s power switch is in the OFF position
before you make wiring connections.
1.
Place the Pioneer’s power switch in the OFF position.
2.
Remove the junction box cover.
3.
Verify that the detector leads are wired to the amplifier’s detector terminal strip.
If necessary, connect the detector leads to the detector terminal strip as shown in
Figure 3.
4.
Verify that the jumper block is installed over the
TOXIC
selector of the amplifier type
selector as shown in Figure 3.
5.
Guide a two-conductor, shielded cable or two wires in conduit through the top
conduit hub of the junction box.
3/4 Conduit Hub
3.94
1.1
6.1
2.75
5.2
5.46
Ø .25 Mouting Holes (2X)
2.85 max
8.3 max