Launch the vts application, Overview, Paradigm virtual touchscreen – ETC Unison Paradigm Virtual Touchscreen User Manual
Page 3
E T C S e t u p G u i d e
Paradigm Virtual Touchscreen
Paradigm Virtual Touchscreen Setup Guide
Page 3 of 8
Electronic Theatre Controls, Inc.
Step 7:
This wizard will guide you through the installation of the Paradigm Virtual Touchscreen
Bundle.
• Click [Next].
• Click [I Agree].
• Select the components to install from the available list, then click [Next].
• Select whether the VTS software is to be installed for “All Users” of the computer or
the “Current User” only. Click [Next] to continue. ETC recommends installing this
application for “All Users”.
• Click [Install]. The Paradigm Virtual Touchscreen application will install in the
default Paradigm folder. This is recommended.
• Click [Finish].
Launch the VTS Application
Double-click the Paradigm Virtual Touchscreen icon on the desktop (if the desktop icon component was
installed), or browse to and click the Paradigm Virtual Touchscreen application found in the “Start” menu
on a PC or in the Applications folder of a Mac. The “Paradigm VTS” application opens.
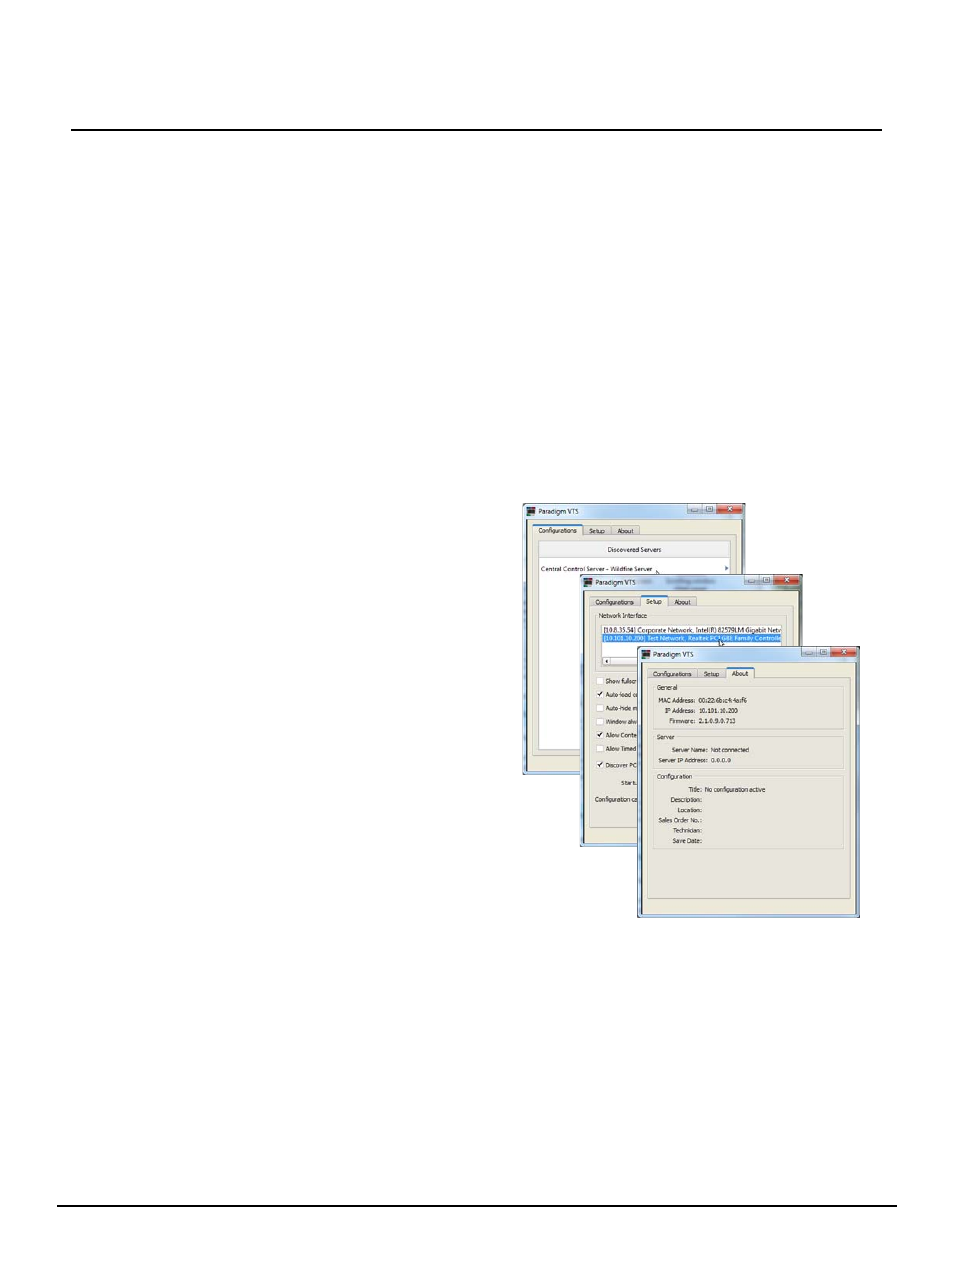
Overview
The VTS client application includes three tabs.
• “Configurations” tab - provides access to the
VTS configurations found on the discovered
and connected P-CCS.
• “Setup” tab - provides access to select the
Network Interface as well as set properties of
the VTS client application.
• “About” tab - displays read only information
about the host computer, P-CCS and the
selected configuration (if the configuration has
been selected).
How the VTS application displays initially is
dependent on if your host computer has more than
one network interface available to it. Reference
"Selecting the Lighting Network Interface" on page 4
When the host computer has only one network
interface, meaning it is connected directly to the
lighting network, skip to