Apple Final Cut Server 1.5 User Manual
Page 98
2
Do one of the following:
• Select the asset, then click the Check Out button in the Toolbar.
• Control-click the media asset, then choose Check Out from the shortcut menu or click
the Check Out button.
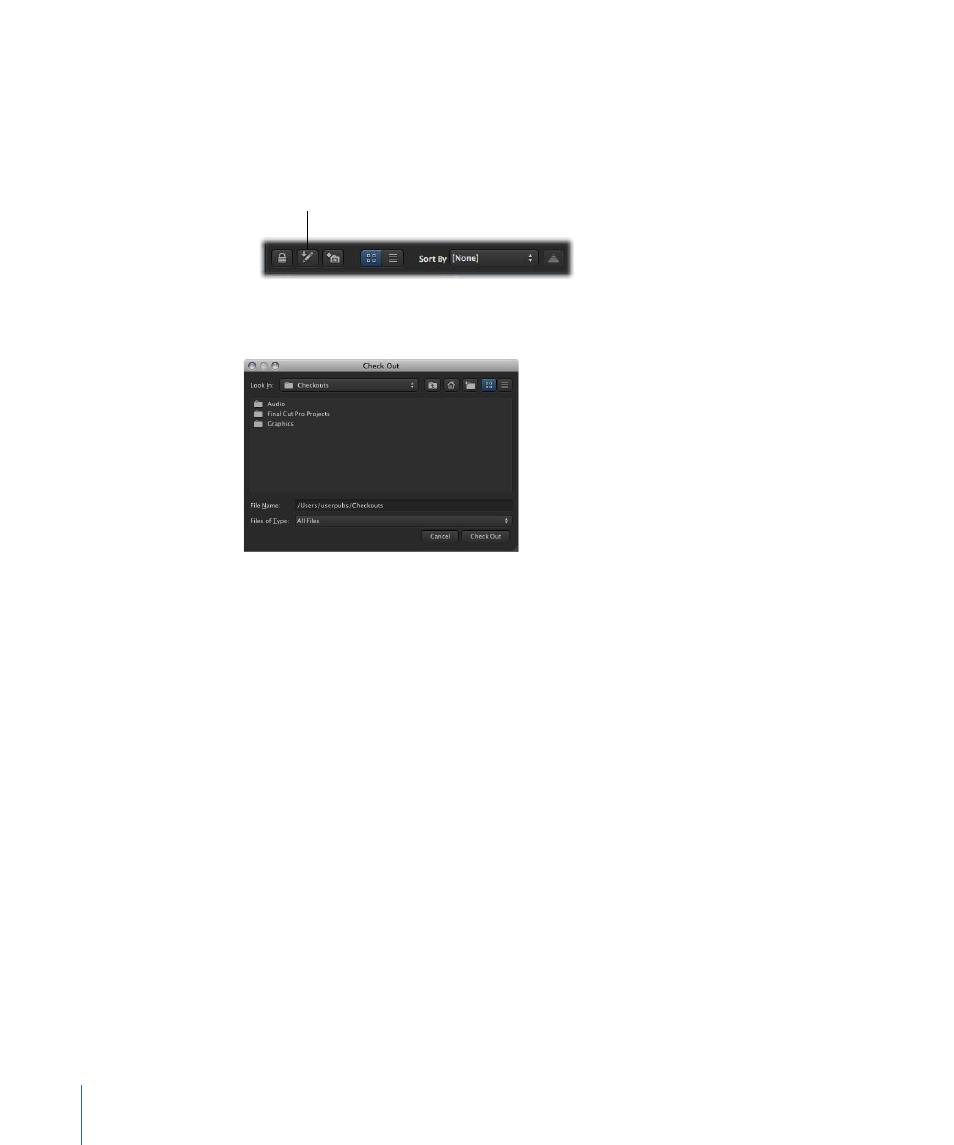
Click the Check Out
button.
3
In the Check Out window that appears, choose a location to save the checked-out media
file.
4
Click the Check Out button.
5
To open the file in its original application, do one of the following:
• Drag the file from Final Cut Server to the application icon in your Dock.
• Drag the file from the checkout location to the original application icon in your Dock.
• Open the file in its original application by choosing File > Open.
6
Edit the file.
Tip: While you’re editing the media asset, you can update it in Final Cut Server. After
saving the asset in its original application, locate the asset in Final Cut Server, Control-click
the asset, then Choose Update Asset from the shortcut menu. If version control is turned
on for the asset, you can optionally enter a comment in the Check In window that appears.
7
Save the new file to the checkout location.
Important:
Saving to any location other than the original checkout location will prevent
Final Cut Server from managing the file.
8
In Final Cut Server, check the file back in by doing one of the following:
• Select the checked-out asset, then click the Check In button in the Toolbar.
• Control-click the asset, then choose Check In from the shortcut menu.
If version control is not turned on for the asset, the asset is checked in.
98
Chapter 6
Working with Media Assets