Cutting width adjustments – Bernina dcet 2500 User Manual
Page 10
1999 BERNINA of America
page 10
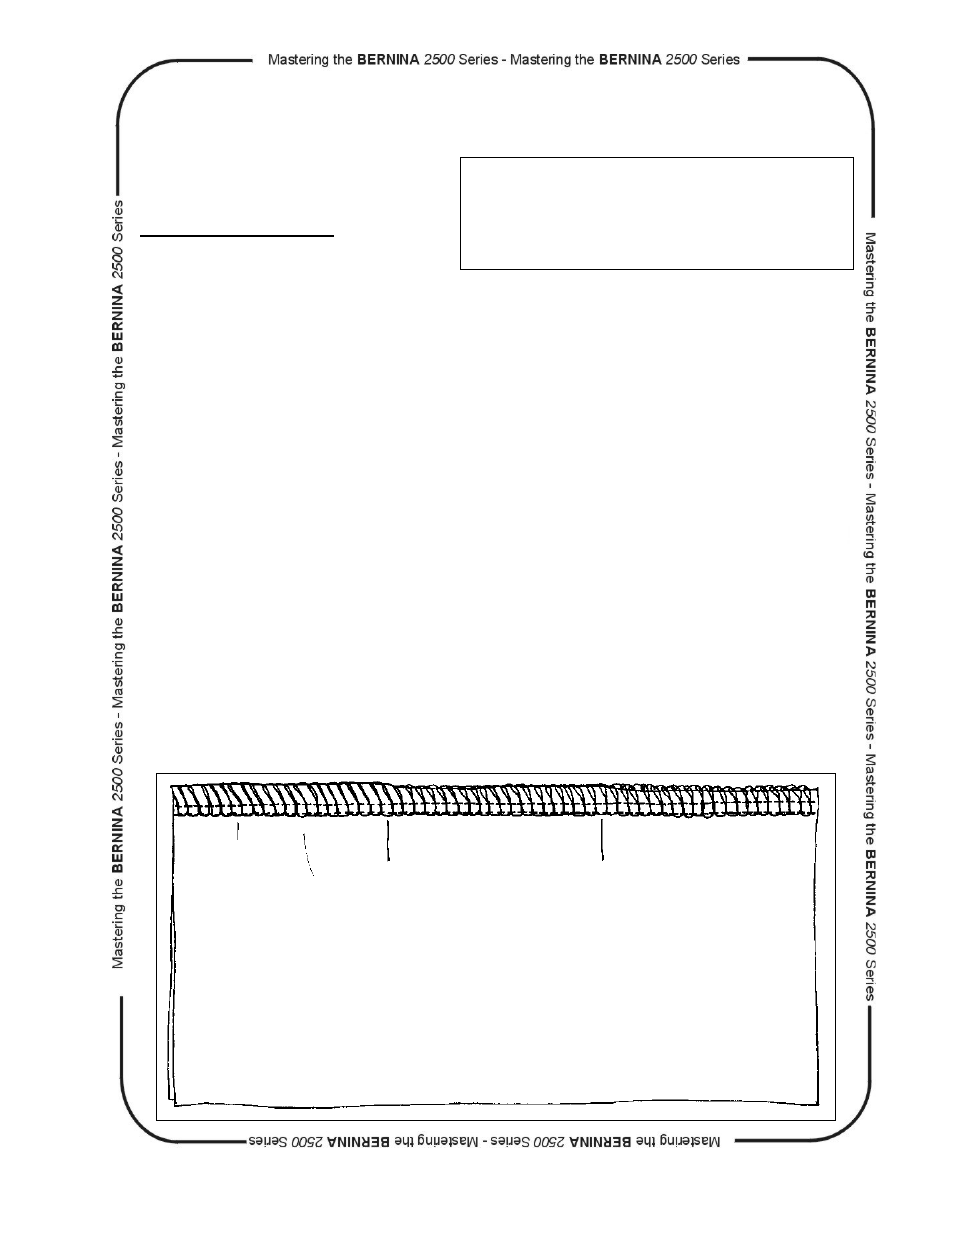
CUTTING WIDTH ADJUSTMENTS
Instruction Manual pg,___
•
Fold the fabric in half to 3” X 6”.
•
Divide and mark the fabric into 3 equal sections along the folded edge.
•
Turn the Stitch Selection Dial to select “A” on the Stitch Selection Panel.
•
Turn the Stitch Length Dial to 2.5 (normal).
•
Thread the serger for a 4-thread Overlock stitch.
•
Locate the Cutting Width adjustment Dial.
•
Rotate the Upper Knife up.
•
Adjust Cutting Width to 3.
•
Rotate the Upper Knife down into Cutting Position.
•
Serge to the first mark on the fabric, stopping when the Knife edge is on the
mark.
•
Adjust Cutting Width to 2 and serge to the second mark.
•
Adjust the Cutting Width to 1 and serge to the end of the fabric.
•
Mark the Cutting Width settings on the sample.
•
Rotate the Upper Knife up.
•
Adjust Cutting Width to 2 (normal).
•
Rotate the Upper Knife down into Cutting Position.
•
Compare the Cutting Width sample to the Balanced 4-thread sample to see how
Cutting Width affects the balance of the Overlock stitch.
•
Trim and mount the sample.
FABRIC:
Firm fabric 6” X 6”
NEEDLES:
80/12 Universal
THREAD:
4 cones of serger thread
PRESSER FOOT: Standard