AMX Signature Series NetLinx Integrated Controller NI-3101-SIG User Manual
Page 100
NetLinx Security within the Web Server
90
NI-3101-SIG Signature Series NetLinx Integrated Controller
1.
Click on the Create User Defined Device button (from within the Manage Other Device page).
2.
Begin by entering the address of the physical device within the Address field. This information can be
either the NetLinx Master port value (D:P:S) or an IP Address (#.#.#.#).
3.
From within the Device Category field, use the drop-down list to select the control method associated
with the physical target device (IR, IP, Serial, Relay, Other).
4.
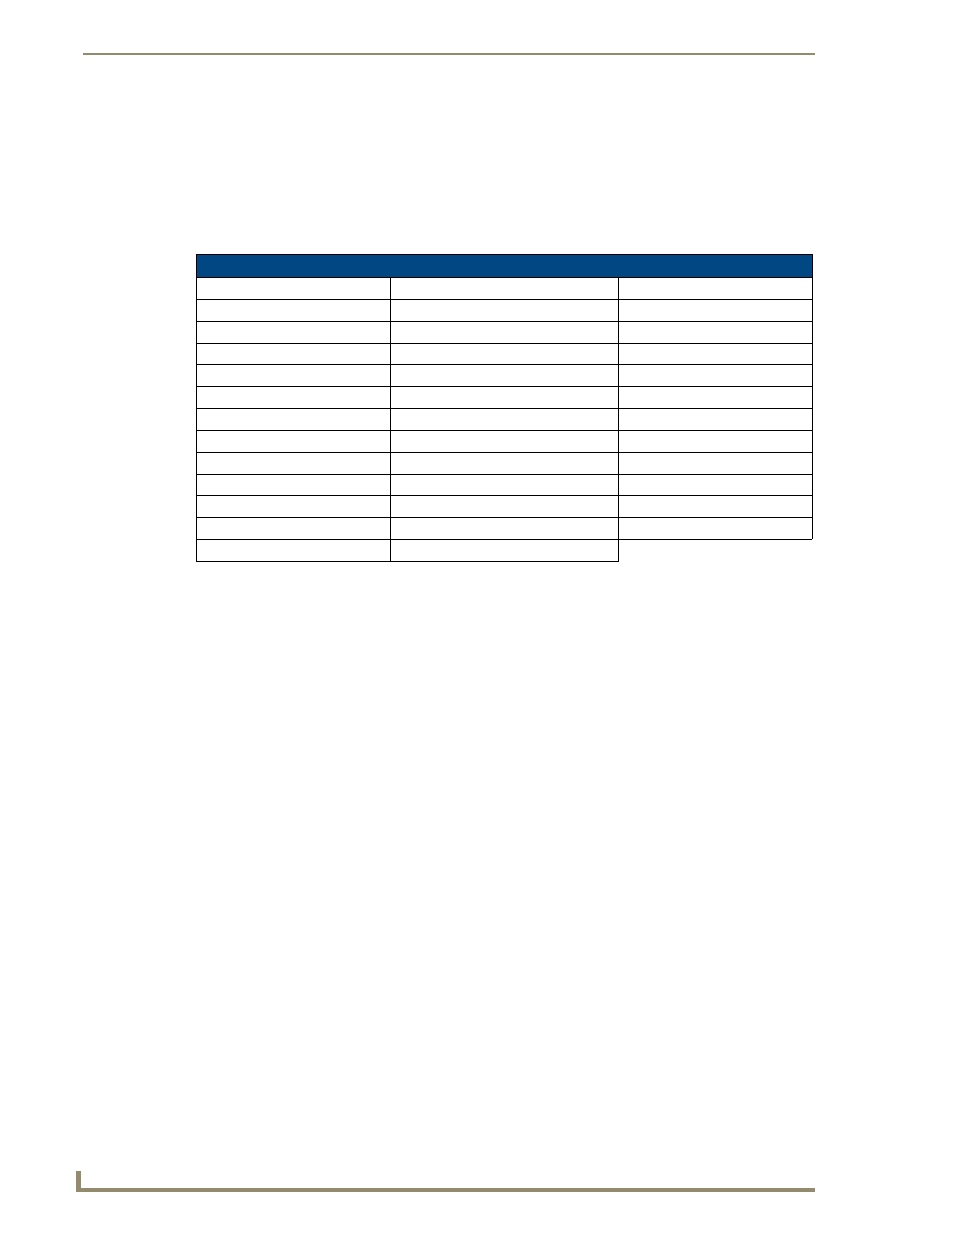
From within the SDK Class field, use the drop-down list to select the closest Device SDK class type
match for the physical target device. The following table provides a listing of the available choices.
5.
Use the GUID field to enter the manufacturer-specified device’s Global Unique Identification
information. Either the GUID or Make/Model must be specified within this field.
6.
Enter the name of the manufacturer for the device being used (up to 55 alpha-numeric characters) (ex:
Sony, ONKYO, etc.) into the Make field. Either the GUID or Make/Model must be specified within this
field
. Note that spaces in the name will be converted to underscores.
7.
Enter the model number of the device being used (up to 255 alpha-numeric characters)
(ex: Mega-Tuner 1000) into the Model field. Either the GUID or Make/Model must be specified within
this field
.
8.
Enter the firmware version used by the target device into the Revision field. Text is required within this
field.
The version must be in the format: major.minor.micro (where major, minor, and micro are
numbers). An example is: 1.0.0 (revision 1.0.0 of the device firmware).
9.
Once you are done creating the profile for the new device, click the New button to assign additional
Name
and Value property information for association with the new User Defined Device.
When the Add button is selected, the user-defined device is then inserted into the list of discovered
physical devices which appears within the lower section of the display (FIG. 72).
When the Cancel button is selected, the addition of the user defined device is aborted,
no amendment to the existing list is made, and the user is returned back to the Manage Device
Bindings
page.
10.
Once you have finished entering your devices, click the Back button (from within the Manage Device
Bindings
page) and then navigate to the View Discovered Devices page to view the listing of all Dynamic
Devices discovered in the system.
How do I write a program that uses Dynamic Device Discovery
These procedures assume the NetLinx developer does not have the Manufacturer device information necessary
at the time of the initial setup. For more detailed UI information, refer to the Manage Other Devices - Manage
Device Bindings
section on page 85. For information on the referenced NetLinx calls, refer to the NetLinx
Keywords Help file (found within NetLinx Studio).
SDK-Class Types
Amplifier DocumentCamera
SlideProjector
AudioConferencer
HVAC
Switcher
AudioMixer
Keypad
Text Keypad
AudioProcessor
Light
TV
AudioTape
Monitor
Utility
AudioTunerDevice
Motor
VCR
Camera
MultiWindow
VideoConferencer
Digital Media Decoder
PoolSpa
VideoProcessor
Digital Media Encoder
PreAmpSurroundSoundProcessor
VideoProjector
Digital Media Server
Receiver
VideoWall
Digital Satellite System
Security System
VolumeController
Digital Video Recorder
Sensor Device
Weather
Disc Device
SettopBox