2 connecting via a network hub, switch, or router, Connecting via a network hub, switch, or router, Figure 8: vp-16x18ak dip-switches – Kramer Electronics VP-16x18AK User Manual
Page 22: Table 3: dip-switch settings, Ection 6.6, Section
KRAMER: SIMPLE CREATIVE TECHNOLOGY
Connecting and Configuring the VP-16x18AK
18
6.5.2 Connecting via a Network Hub, Switch, or Router
You can connect the Ethernet port of the VP-16x18AK to the Ethernet port
on a network hub, switch, or router, via a straight-through cable with RJ-45
connectors. The VP-16x18AK Ethernet port has to be configured to be
compatible with your network (see
6.5.3 Configuring the Ethernet Port on the VP-16x18AK Using
K-Upload
To configure the Ethernet port on the VP-16x18AK, see the K-Upload
Guide
6.6
Setting the RS-485 Termination and Machine Number DIP-
switches
.
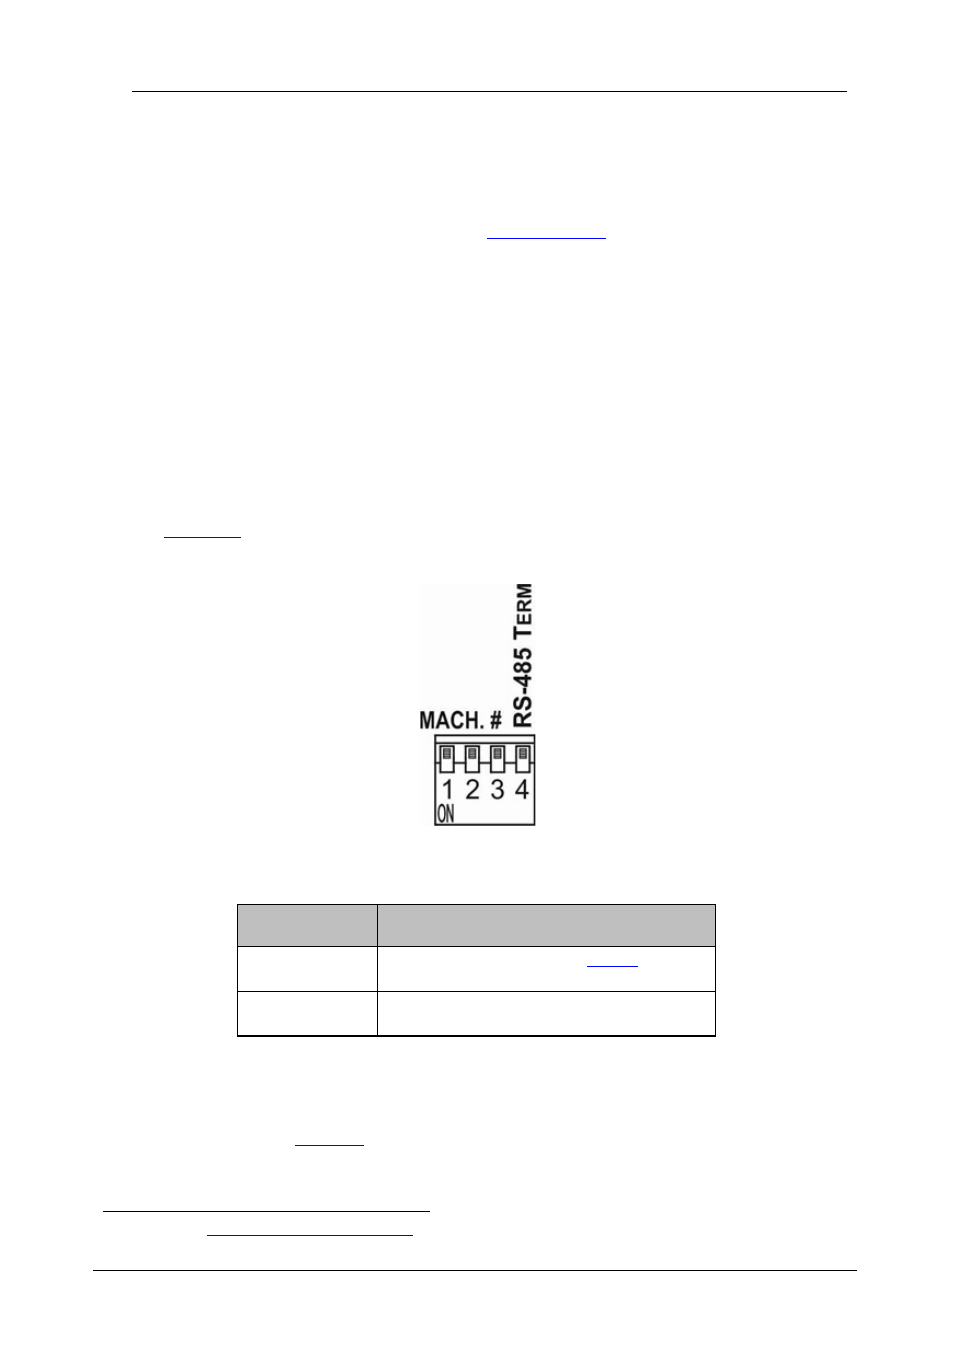
This section describes the VP-16x18AK DIP-switch settings that determine
the machine number and RS-485 bus termination.
illustrates the factory default DIP-switch positions. A switch in the
up position is off. To turn a switch on, push it down.
Figure 8: VP-16x18AK DIP-switches
Table 3: DIP-switch Settings
DIP-switch
Number
Function
1, 2, 3
RS-485 Machine number (see
Default—All off, machine number 1
4
RS-485 Termination
Default—Off
DIP-switches 1, 2 and 3 determine the RS-485 machine number for the
VP-16x18AK. When several VP-16x18AK units are connected, the
machine number determines the unique identity of the VP-16x18AK in the
sequence (see
1 Available fro