3 connecting to the vp-16x18ak via rs-232, 4 connecting to the vp-16x18ak via rs-485, Connecting to the vp-16x18ak via rs-232 – Kramer Electronics VP-16x18AK User Manual
Page 19: Connecting to the vp-16x18ak via rs-485, Figure 5: connecting to an unbalanced acceptor, Section
Connecting and Configuring the VP-16x18AK
15
15
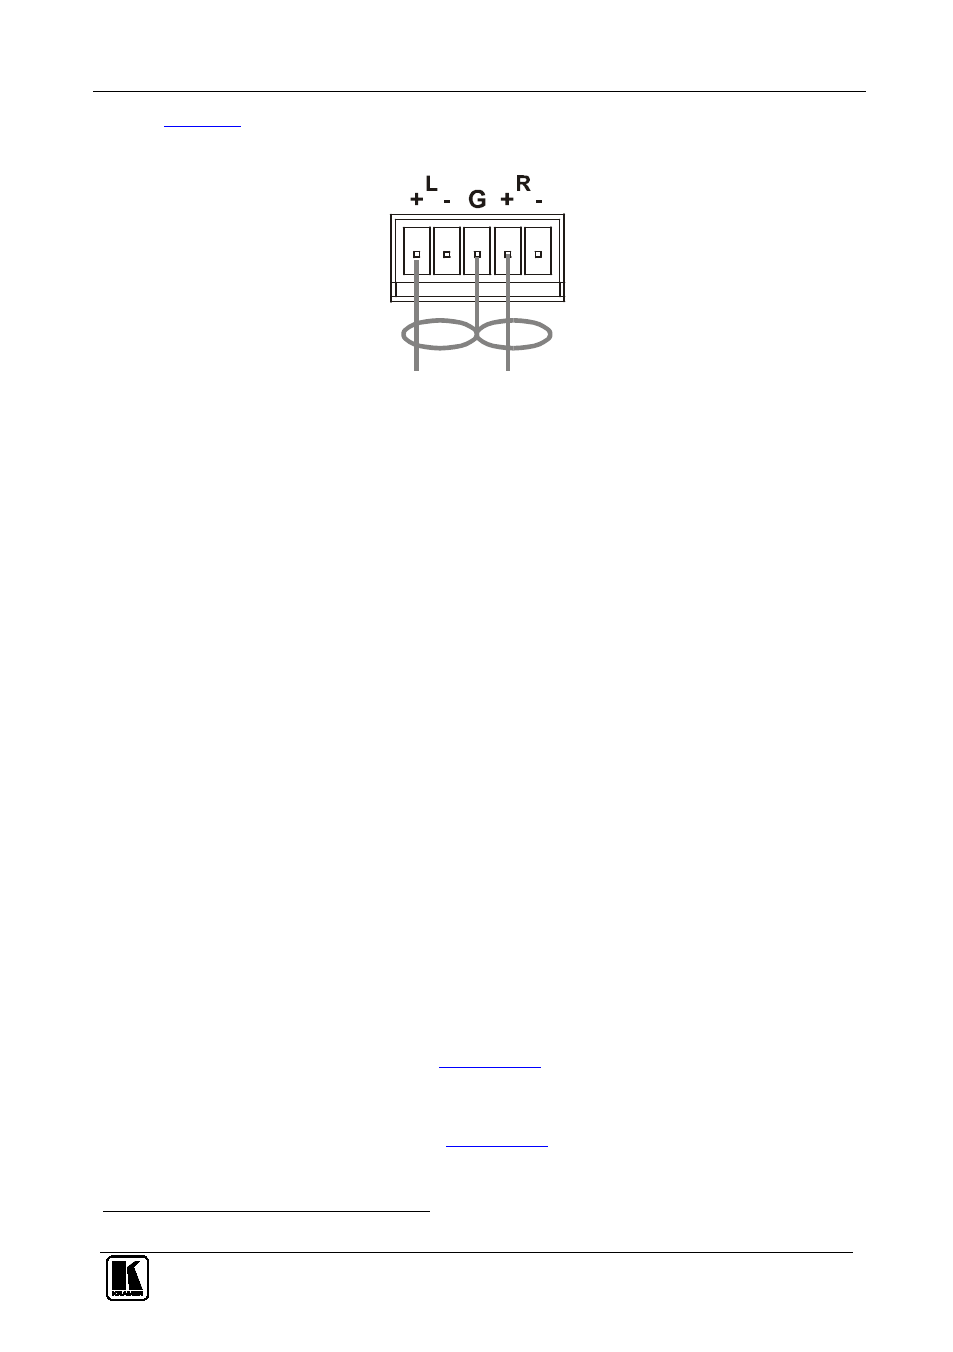
illustrates how to connect the VP-16x18AK to an unbalanced
acceptor.
Figure 5: Connecting to an Unbalanced Acceptor
6.3
Connecting to the VP-16x18AK via RS-232
You can connect to the VP-16x18AK via an RS-232 connection using, for
example, a PC. Note that a null-modem adapter/connection is not required.
To connect to the VP-16x18AK via RS-232:
• Connect the RS-232 9-pin D-sub rear panel port on the VP-16x18AK
unit via a 9-wire straight cable (only pin 2 to pin 2, pin 3 to pin 3, and
pin 5 to pin 5 need be connected) to the RS-232 9-pin D-sub port on
your PC
6.4
Connecting to the VP-16x18AK via RS-485
You can operate the VP-16x18AK via the RS-485 port from a distance of
up to 1200m (3900ft) using a PC equipped with a card that provides an
RS-485 port
To connect a PC or controller to the RS-485 port on the VP-16x18AK:
.
1. Wire the RS-485 port on the device to the RS-485 port on the
controller as follows:
Connect the A(+) pin on the RS-485 port of the PC to the A(+)
pin on the RS-485 port on the rear panel of the VP-16x18AK
Connect the B(–) pin on the RS-485 port of the PC to the B(–)
pin on the RS-485 port on the rear panel of the VP-16x18AK
Connect the G pin on the RS-485 port of the PC to the G pin on
the RS-485 port on the rear panel of the VP-16x18AK
2. Set the DIP-switches (see
) so that the machine number on
the VP-16x18AK is any number between 2 and 8.
3. Terminate the RS-485 line on both the VP-16x18AK (set DIP-switch 1
to ON) and on the PC (see
).
1 RS-485 can be used for control even for distances exceeding 1km