2 sofware interface, 1 minimum system requirements, 2 configuration procedure through software – Videotec ULISSE COMPACT User Manual
Page 45: 3 installing the software
Instruc
tions manual - English - EN
45
MNVCUCZ_1351_EN
9.2 Sofware interface
9.2.1 Minimum system requirements
The supplied Pan & Tilt controlling software supports
up to 16 channels. The software requires Windows
XP Service Pack 3 or higher and a PC with an Xeon
processor at 2.3GHz or higher.
9.2.2 Configuration procedure through
software
Once the pan & tilt has been preset and configured,
start configuring the IP parameters (7.1.6 Connection
of the Ethernet cable, page 18).
The IP address of the various units should be
configured using a PC.
Set the IP address of the PC: 192.168.10.1 (or
192.168.10.2, etc.).
To configure the unit, connect it physically to the
LAN, power it and run the browser Microsoft Internet
Explorer® version 6.0 or above.
To set the IP address of the various units,
power them, taking care to connect them
one at a time to the LAN (switch/hub).
Configure the unit and insert the settings
for at least the IP address and host name.
When the unit has all the desired settings,
connect the Ethernet cable and go on to
configure the next unit.
Enter address: 192.168.10.100.
You will be asked login and password. When making
the settings for the first time insert the default login
and password.
Login: admin
Password: 1234
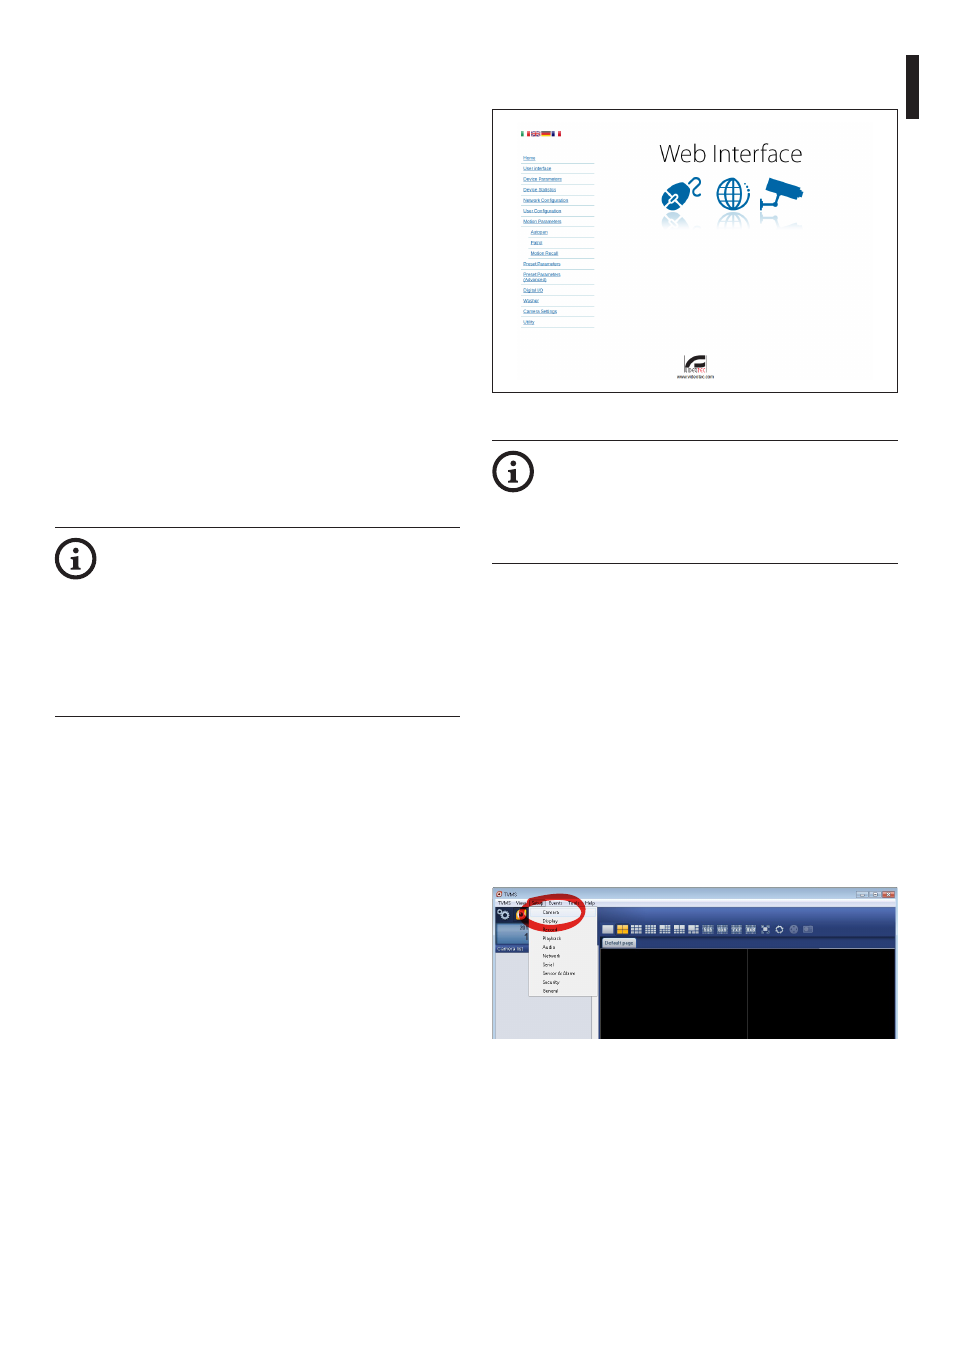
The Pan & Tilt control interface is displayed if login is
successful.
Fig. 87
The P&T can work via ONVIF or TCAM
protocol. In the event the ONVIF protocol is
used, make sure to set the time correctly in
the device or to configure an NTP server. (
9.3.5 Network Configuration, page 49).
9.2.3 Installing the software
Insert the CD and start the autoplay or launch the
installer. A web page opens for the installation of the
TVMS server application (32 or 64 bit, based on the
computer's features).
You will be asked login and password. When making
the settings for the first time insert the default login
and password.
Login: admin
Password: 1234
Select Camera from the Setup menu to add the
device to the VMS.
Fig. 88