Sensor cap replacement – GF Signet 2610 Process Optical Dissolved Oxygen Sensor User Manual
Page 4
4
2610 DO Sensor
Care and Maintenance
Sensor Cap Replacement
Replace the Sensor Cap
The sensor cap has a 1-year life after the instrument
takes its fi rst reading. Install the cap by the date
printed on the package. Replacement caps are
available from Georg Fischer, part number 3-2610.392
(159 310 122).
Avoid allowing moisture, including atmospheric humidity,
inside the cap. Keep the cap in its sealed package until
you are ready to install it. Install promptly. Make sure
that O-ring grooves are dry and that the O-rings are not
rolled or pinched inside the cap.
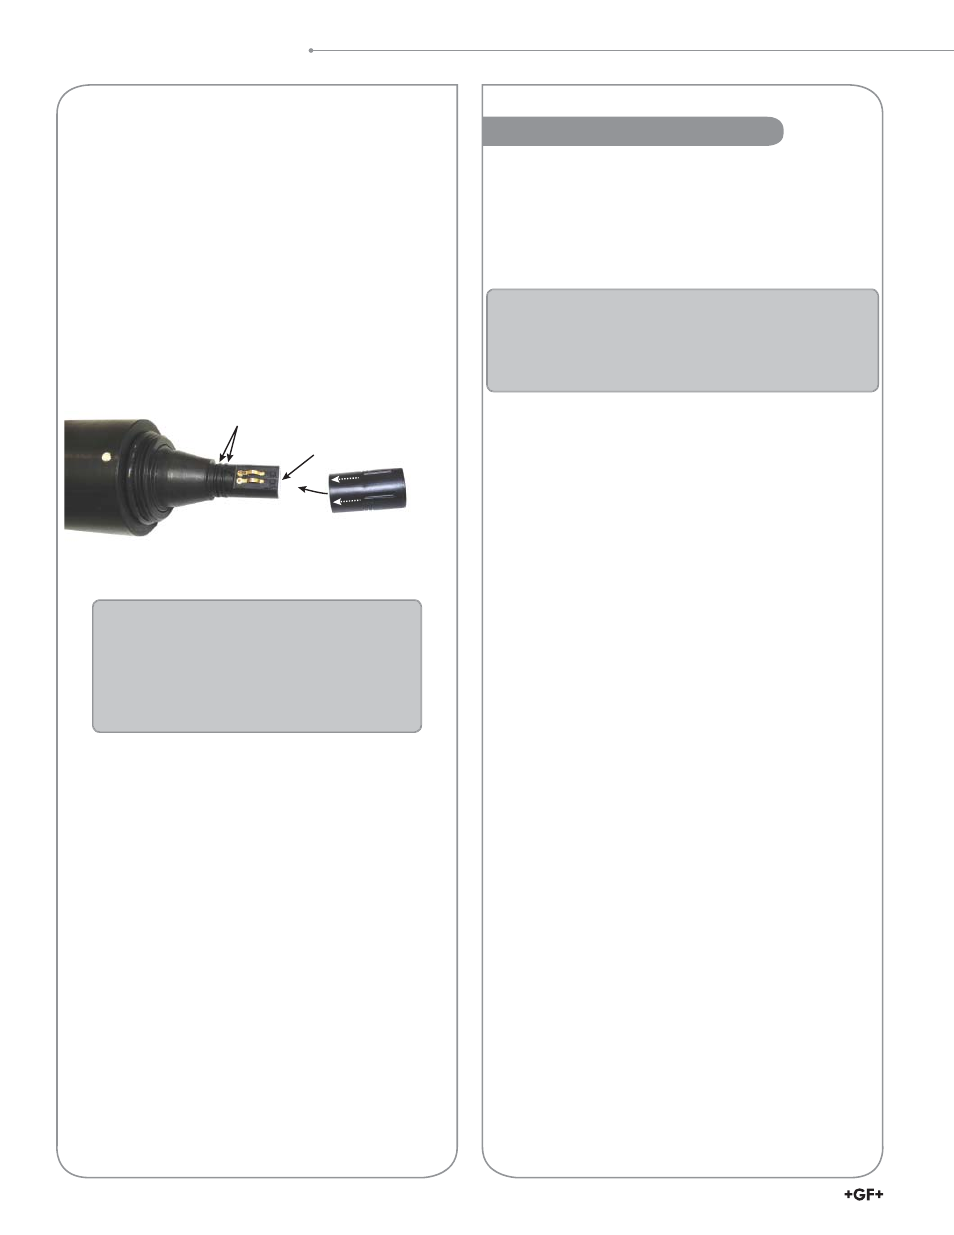
1. Pull the used sensor cap off of the sensor. DO
NOT TWIST!
2. Remove the existing O-rings from the sensor.
3. Use a lint-free cloth to remove any moisture from
the sensor body. NOTE: Make sure that the O-ring
grooves are dry. Avoid touching or cleaning the
lens with anything other than the supplied lens
wipe.
4. Use
your
fi nger to apply a thin layer of lubricant
around the O-ring grooves. Place the O-rings on
the sensor. NOTE: Do not transfer lubricant to the
lens or sensor pins.
5. Clean the lens on the sensor with the wipe
provided in the kit and allow to dry thoroughly.
Inspect for scratches or dirt.
6. Remove the new cap from its sealed package.
7. Align the arrow on the cap with the index mark on
the sensor and press it fi rmly until it seals over the
probe body. DO NOT TWIST. Make sure that the
O-rings are not pinched or rolled between the cap
and sensor.
8. Replace the nose cone on the sensor.
Sensor Cap Replacement Kit Contents:
• Sensor cap
• O-rings (2)
• O-ring lubricant
• Lens wipe
• Instruction sheet
Lightly coat with lubricant
Install 2 O-rings
Replace cap in
a dry environment
Clean lens and allow to dry