Preliminar y – Extron Electronics MVX VGA A User Guide User Manual
Page 56
3-33
MVX VGA A Matrix Switchers • Operation
PRELIMINAR
Y
For example: When lit steadily, the Input 3 LED indicates the following,
depending on the number of input buttons the switcher has:
Switchers with 12 input buttons — 47 dB of attenuation when compared
to the Input 3 LED blinking quickly (48 dB to 50 dB of attenuation). The
blinking Input 4 LED (45 dB to 46 dB of attenuation) is at least 2 dB less
than the fast blinking Input 3 LED (48 dB – 46 dB) and at most 5 dB less
(50 dB – 45 dB).
Switchers with 16 input buttons — 52 dB of attenuation when compared
to the Input 3 LED blinking (53 dB to 55 dB of attenuation). The blinking
Input 4 LED (49 dB to 51 dB of attenuation) is at least 2 dB less than
the fast blinking Input 3 LED (53 dB – 51 dB) and at most 6 dB less
(55 dB – 49 dB).
See the table on page 3-32 to read the volume display.
Example 9: Viewing and adjusting an output volume level
In the following example, the audio output volume is viewed and adjusted. The
steps show the front panel indications that result from your action.
Audio output volume is displayed differently on different models. See the table
on page 3-32. For this reason, figure 3-53 and figure 3-55 show the indications
displayed on a switcher with 16 output buttons without duplicating all of the
actions shown in figure 3-52 and figure 3-54, which show all actions on switchers
with 12 output buttons.
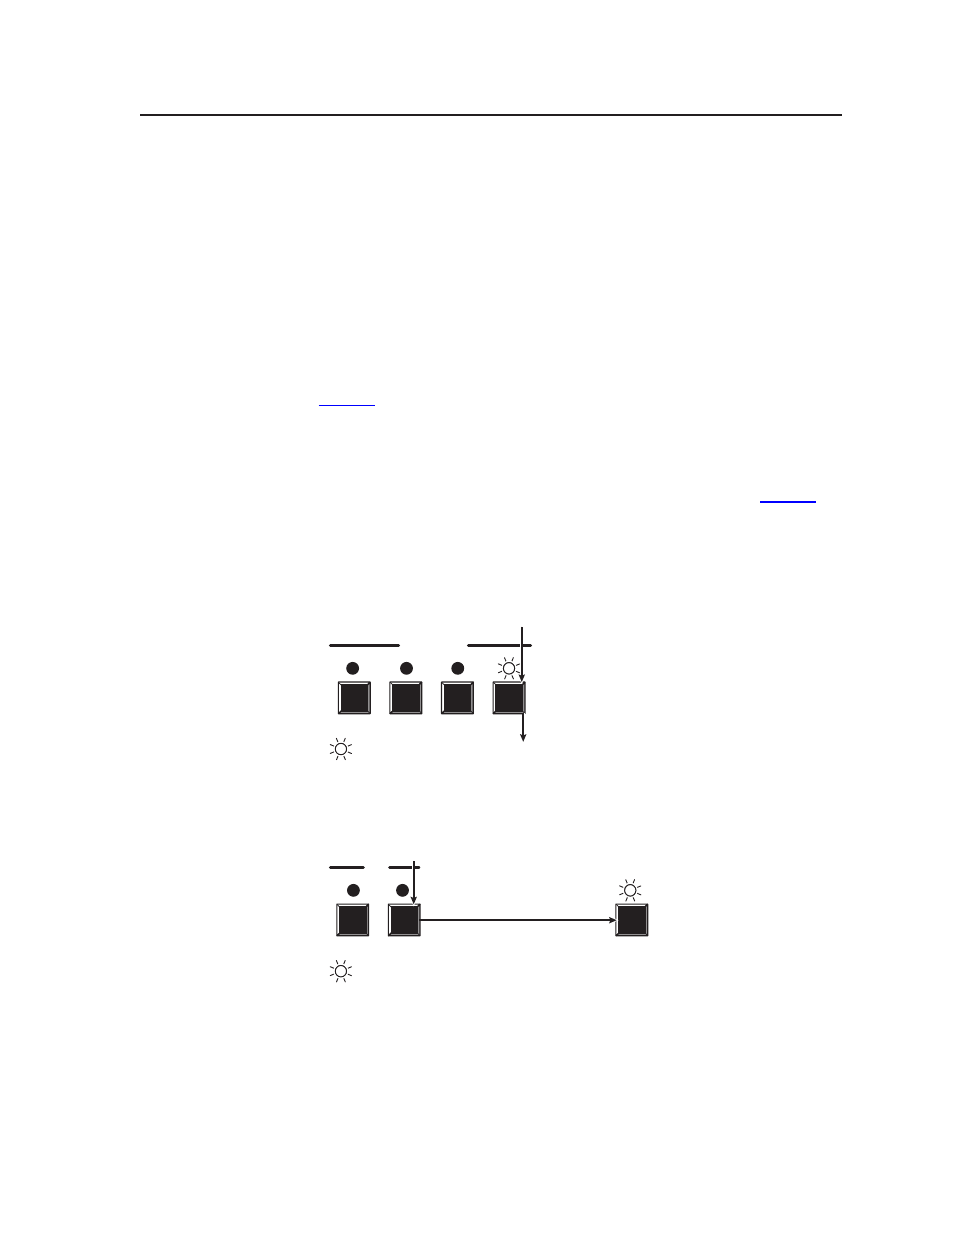
1
.
Press and release the Esc button (figure 3-50).
ENTER PRESET VIEW
ESC
CONTROL
Press the Esc button to clear all selections.
The LED blinks once.
= LED blinks once.
1
1
Figure 3-50 — Clear all selections
2
.
Press and hold the Audio button for approximately 2 seconds (figure 3-51).
RGBHV AUDIO
AUDIO
I/O
The LED blinks to indicate Audio mode.
Release the button.
Press and
hold the Audio button.
2 seconds
= Blinking LED
Figure 3-51 — Select Audio mode