Replacements and upgrades, Firmware replacement, Notch – Extron Electronics MLC 206 AAP EC User Guide User Manual
Page 69: Caution
B-5
MediaLink Controllers • Dimensions, Templates, Replacements, and Upgrades
Replacements and Upgrades
Firmware replacement
In some cases the MLC’s firmware may require replacement with an updated
version. We recommend that you send the unit in to Extron for service and
updates.
CAUTION
Changes to firmware must be performed by authorized service personnel
only.
Follow these steps to replace firmware in the MLC 206.
1.
Disconnect the power supply from the power source.
To prevent electric shock, always unplug the MLC from the power source
before opening the enclosure.
2.
Remove the MLC from the wall or furniture.
3.
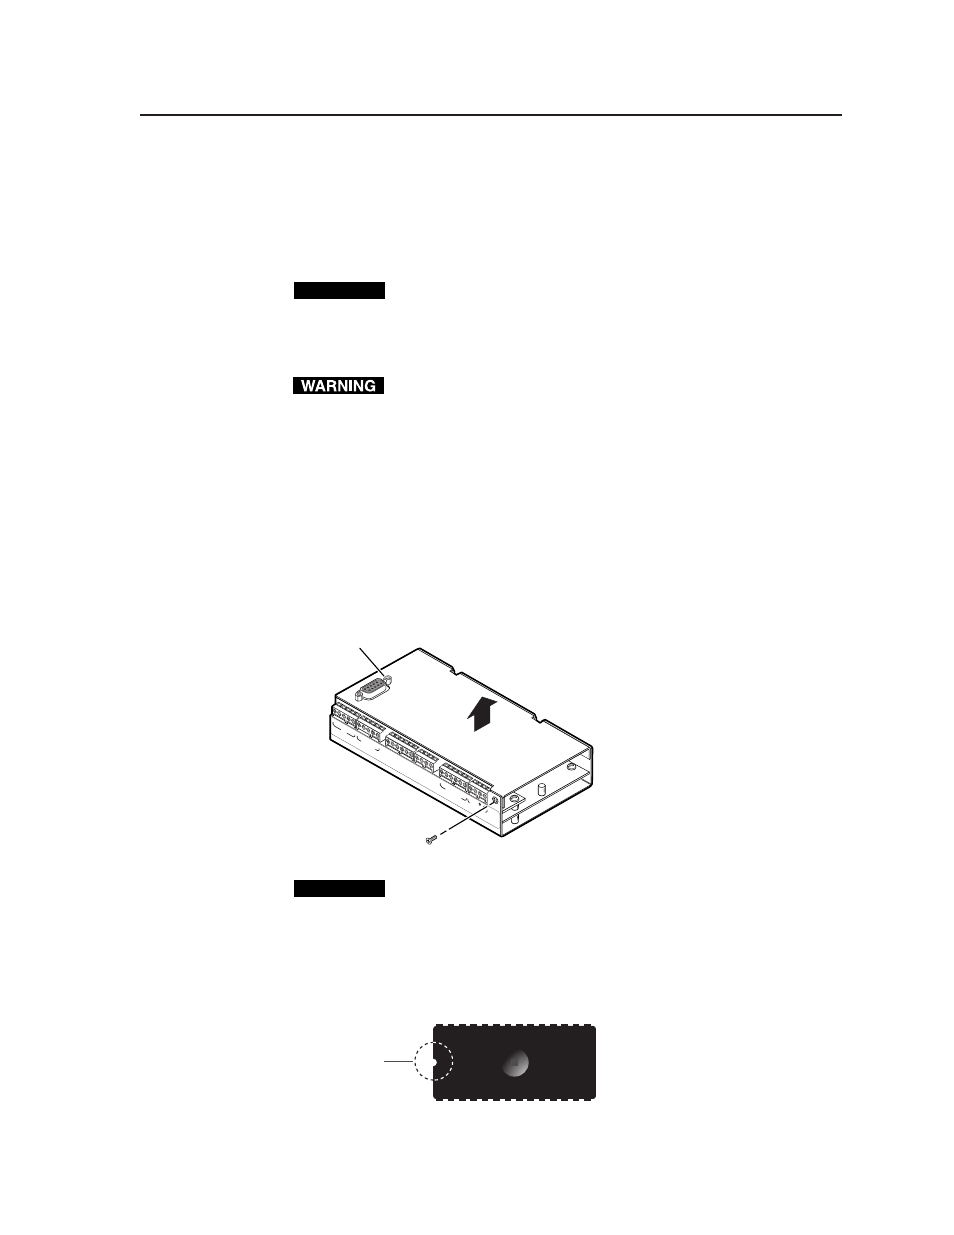
Remove the MLC’s rear cover.
A.
Remove the five Philips head screws that fasten the rear cover to the
main part of the enclosure.
B.
If applicable, disconnect the host computer’s RS-232 cable from the
MLC’s 9-pin Control connector.
C.
Remove the two hex standoffs, which are on either side of the 9-pin
Control connector.
D.
Lift the cover straight off the MLC.
Remove five screws.
Remove two hex screw connectors.
A
B
C
D
E
A
B
C
IR
Displa
y/Sour
ce Contr
ol
Extr
on Switc
her Contr
ol
Rela
ys
IR
/RCM
RS-232
D
E
A
B
C
A
B
D
1A
1B
2A
2B
3A
3B
1
2
3
4
5
6
Tall
y Out
MLS
/Power
33-644-01 A
07 01
Pr
inted in the
USA
Lift cover straight up.
CAUTION
Do not touch any other electronic components inside the MLC. Doing so
could damage the MLC. Electrostatic discharge (ESD) can damage IC
chips even though you cannot feel it. You must be electrically grounded
before proceeding with firmware replacement. A grounding wrist strap is
recommended.
4.
Locate the main controller firmware chip on the circuit board, and note which
end has the direction indicator notch, as shown in the following illustrations.
Notch