Gps2424 replacement procedures, Installing or replacing a 596b3 rectifier, Figure 4-1: detail of 596b3 rectifier position – GE Industrial Solutions Galaxy Verification User Manual
Page 78
Galaxy Power System Verification Procedures
4 - 10 Replacement Procedures
Issue 3 January 2008
GPS2424 Replacement Procedures
Installing or
Replacing a 596B3
Rectifier
Step
Action
1
Locate and turn off the ac service feeding the rectifier.
Note: Do not turn off ac service to the entire system, only to
the rectifier that has failed.
2
Turn the rectifier’s ON/STBY switch to STBY.
Caution
Rear portion of the rectifier or converter that is in
operation is HOT to the touch. Use appropriate
precautions.
3
(Steps 3 and 4 for replacement only. For a new installation,
proceed to Step 5.)
Locate the Allen-head bolt in the center of the rectifier front
panel. Using the Allen wrench provided, rotate the bolt
counterclockwise to release the rectifier for removal.
4
Caution
Handle the rectifier or converter using two hands, one
hand supporting the rear of the unit, the other hand on the
front handle.
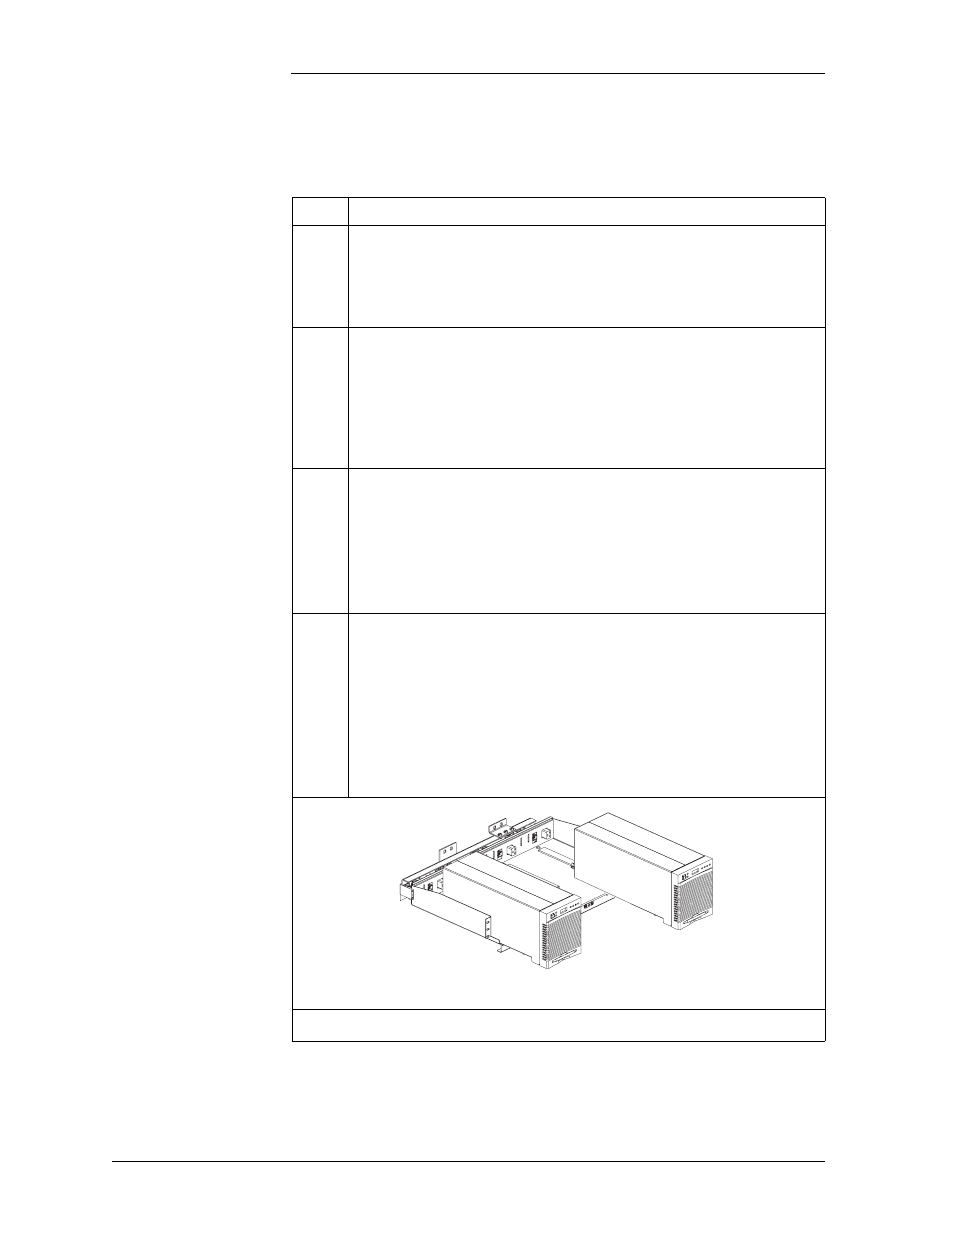
Grasp the front handle and slide/pull the rectifier from the
shelf assembly. Support the rear of the unit as it slides from
the shelf.
Figure 4-1: Detail of 596B3 Rectifier Position
Continued on next page.