Step 4: connect sampling optics, Step 5: start the software and receive data – Ocean Optics S1024DW Install User Manual
Page 8
5
•
In the Wavelength Calibration page, the
coefficients for each spectrometer channel
in your system have already been loaded
as part of the spectrometer configuration
file. Check the Enabled box for each
spectrometer channel in your system.
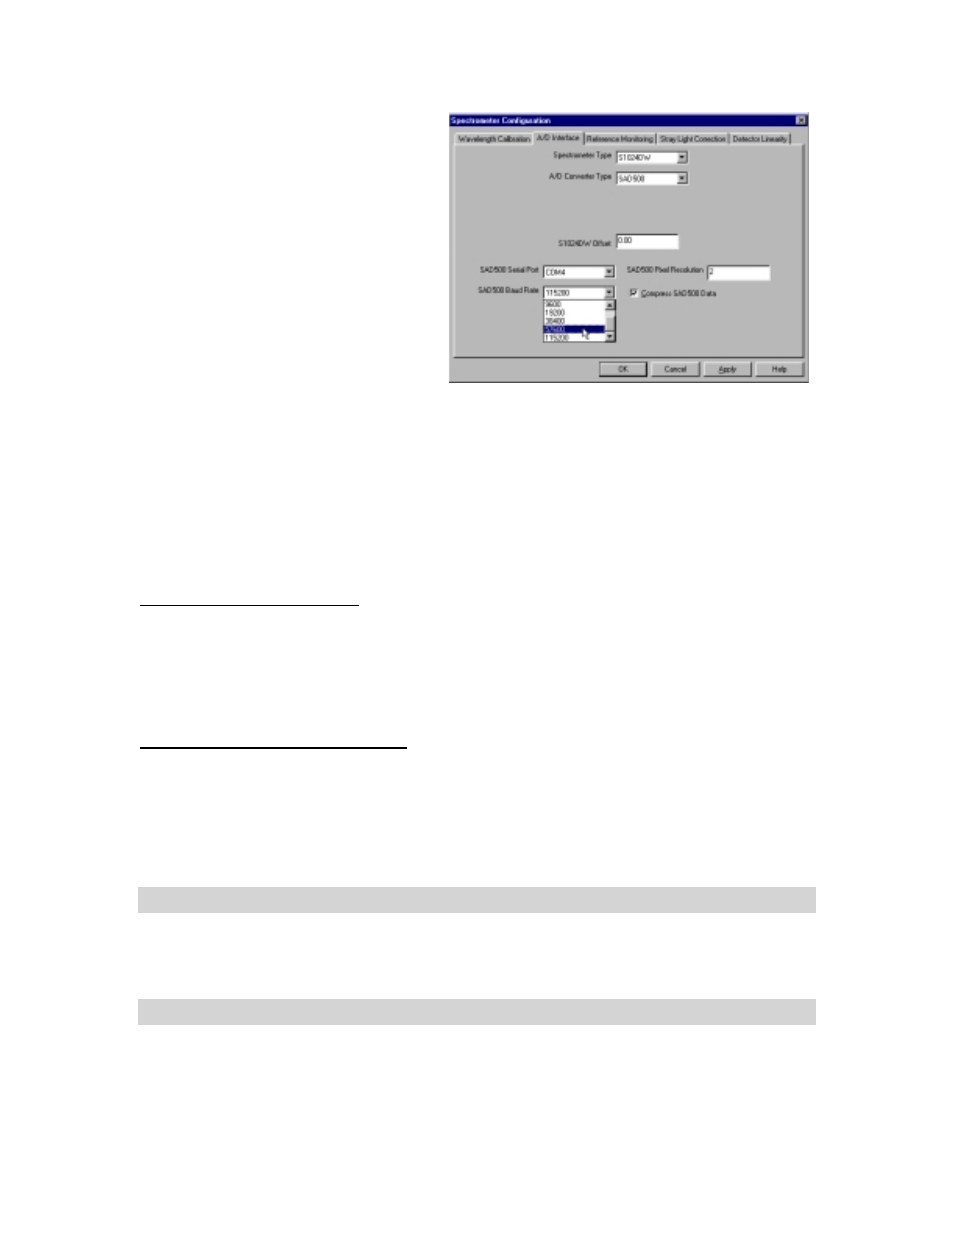
•
In the A/D Interface page, enter the same
settings and values as you did in the
Configure Hardware dialog box. The
S1024DW Offset function allows you to
adjust the signal baseline. Some
S1024DW units have a negative baseline,
which does not affect any data since all
data is referenced from the same baseline.
If your unit has a negative baseline and
you want to insure the baseline (and
therefore your data) is positive, you can enter an offset value to raise the baseline.
•
The Detector Linearity page is for spectrometers other than the S1024DW.
At this point, OOIBase32 should be acquiring data from your spectrometer. There should be a dynamic trace
responding to light near the bottom of the displayed graph.
When you exit OOIBase32, all of this configuration information will be stored in the spectrometer
configuration file. The next time you run OOIBase32, the software will use the [your serial number].spec
file as the standard for your spectrometer configuration. If you wish, save the spectrometer configuration
file with a different name by choosing Spectrometer | Save Configuration As from the OOIBase32 menu.
OOIBase32 Settings Dialog Box
At this point, it is a good idea, though not necessary, to configure several OOIBase32 operation parameters.
Choose Edit | Settings from the menu to open the OOIBase32 Settings dialog box. Go through each page
of this dialog box to select options for saving, opening, and printing data; to choose waveform sound files
for various program events; to configure default setting files; and to select other important options such as
storing and copying data and choosing warning messages. (For detailed information on each page of this
dialog box, see the
OOIBase32 Spectrometer Operating Software Manual
or the software’s help files.)
Configure Data Acquisition Dialog Box
Finally, select Spectrum | Configure Data Acquisition from the menu to set your data acquisition
parameters in the Configure Data Acquisition dialog box. The Basic page allows you to set the integration
time and choose averaging and boxcar smoothing values. The External Trigger page allows you to specify
the external trigger mode and automatically save data for each external trigger. The Strobe page allows you
to control external strobe events with the spectrometer. (For detailed information on each page of this
dialog box, see the
OOIBase32 Spectrometer Operating Software Manual
or the software’s help files.)
Step 4: Connect sampling optics
Check the
Table of Contents
to find step-by-step directions for setting up and operating specific sampling
optics such as light sources, sampling chambers, fibers, and other accessories.
Step 5: Start the software and receive data
Run OOIBase32 in Scope Mode and take a dark spectrum and a reference spectrum (see the
Experiment
Tutorial
section for details). Choose the absorbance, transmission, or relative irradiance mode to take your
sample measurements.