Setup (apxx-q542x), Table 12- apxx accessing the web interface, 0 setup (apxx-q542x) – B&B Electronics APXN-Q5428 - User Manual User Manual
Page 23
AirborneM2M™ Users Guide
B&B Electronics, Inc.
1/9/2014
23
10.0
Setup (APXx-Q542x)
The instructions in Table 12 provide a step-by-step guide for configuration of the
AirborneM2M
™ Access Point/Wireless Router (APXx-Q542x).
Table 12- APXx Accessing the Web Interface
1
Place the AirborneM2M™ CD in the CD/DVD drive of the laptop or desktop you will be using to configure the
AirborneM2M™ device. Follow the on screen directions for installation.
2
Use a piece of Cat5 cable to connect the Ethernet port on the APXx to a network that supports DHCP, or
directly to the Ethernet port on your laptop or desktop.
Note: When connected directly to a computer Ethernet port, disable all other installed Ethernet adapters,
wireless or wired, during configuration process.
3
Apply power to the APXx-Q542x.
The unit will boot and display the following LED patterns:
COMM:
RED
LINK :
OFF
POST:
ORANGE
POWER:
BLUE
4
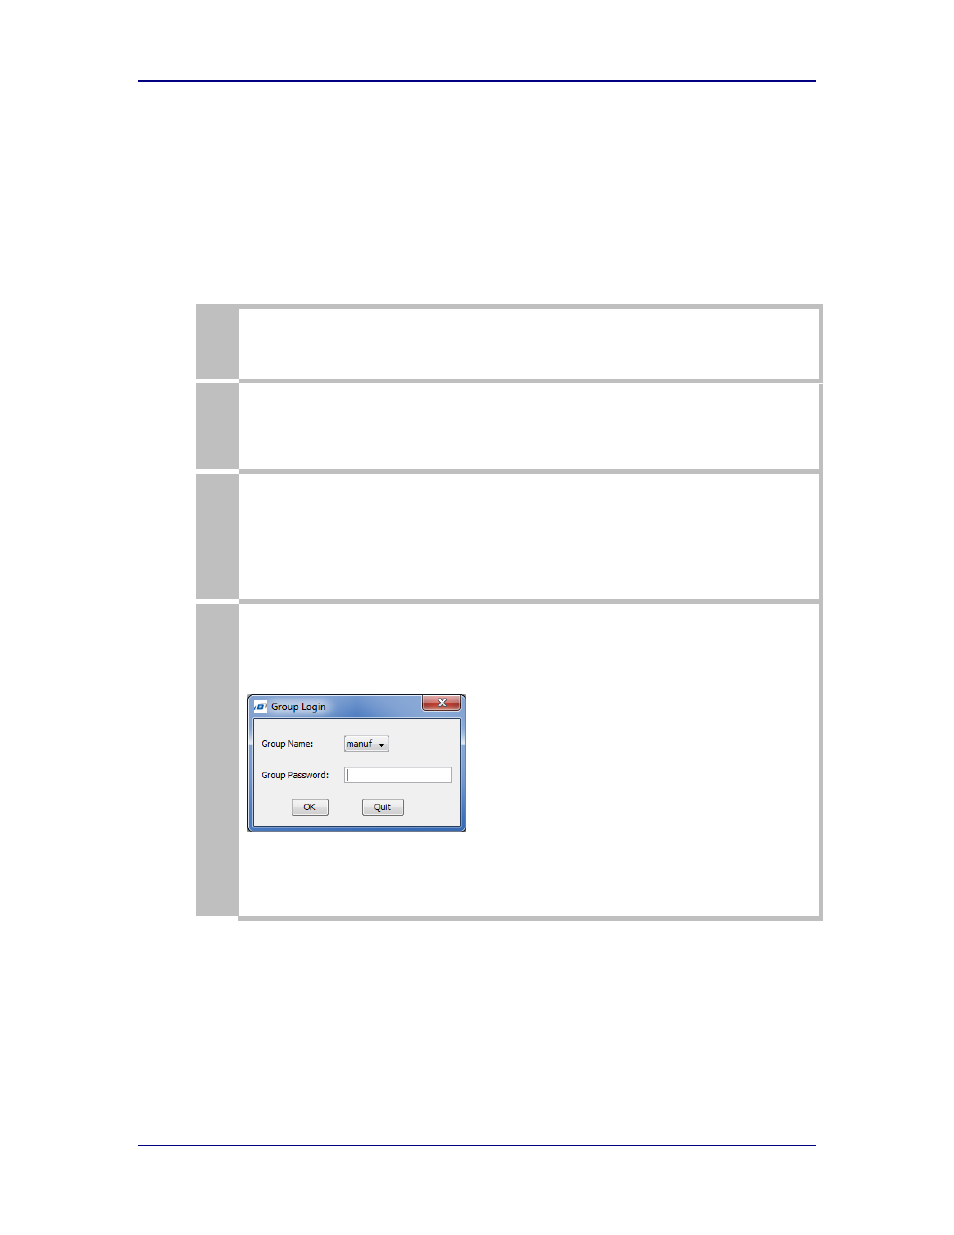
Run the Airborne Management Center (AMC) application. This was installed during the CD installation and a
menu item will be found in the Airborne folder located in the programs directory of your system. The
application will display the following dialog:
Select Group Name: manuf and enter Group Password: dpac