Electrical connection, Signal output, Starting up – M&C TechGroup PMA 20 Operator's manual User Manual
Page 14: Figure 6, Electrical connection pma 20
14
Gas sampling and gas conditioning technology
9-3.5.1-ME
14
ELECTRICAL CONNECTION
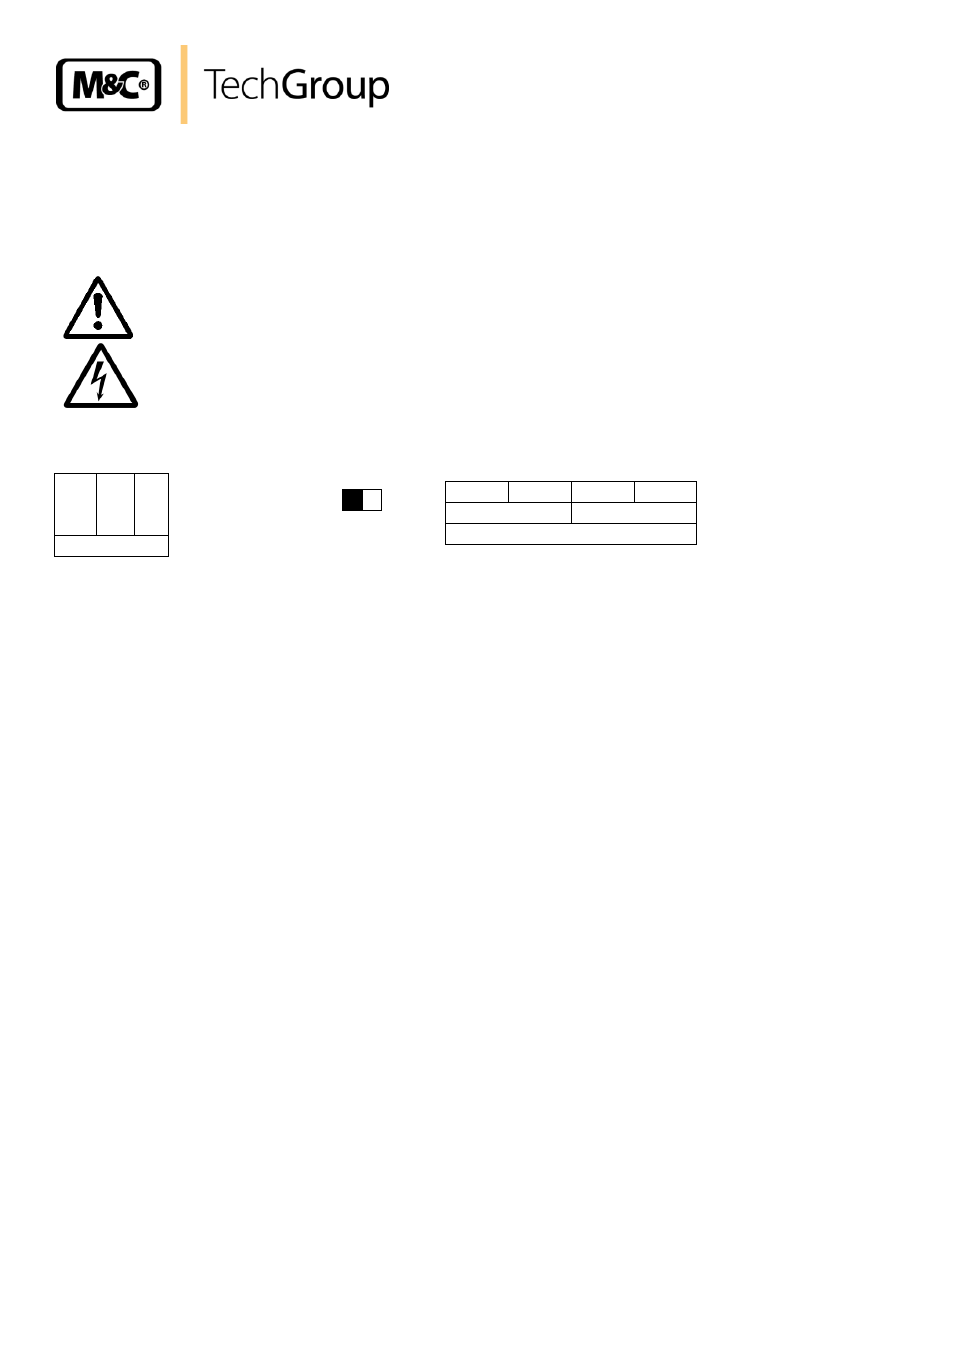
The electrical connection is done at the terminals in the connection box below the analyser:
Loosen the two screws of the lid end remove it.
C A U T I O N !
False supply voltage can damage the equipment. When connect-
ing the equipment, please ensure that the supply voltage is
identical with the information provided on the model type plate!
Power
SW1 Signal output
PE
L
N
X1
Figure 6
Electrical connection PMA 20
Lead power cable with wire cross section 2,5mm
2
through the left cable gland with clamp-
ing range 8-12mm cable diameter and connect according to figure 6 at terminal X1.
Check wether service-power-switch (SW1), which is located to the left of terminal X2, is in
position 1 (left position).
14.1
SIGNAL OUTPUT
The PMA 20 has two signal outputs as standard. One signal is 0-1V for 100% O
2
(independent of
the chosen measuring range). The second signal is 0-20 or 4-20mA according to the order with a
burden of 500Ohm for each measuring range. The output signals are not galvanically isolated.
Lead signal cable with wire cross section 1,5mm
2
through the right cable gland with
clamping range 6-8mm cable diameter and connect according to figure 6 at terminal X2.
Remount lid.
15
STARTING UP
Check electrical connections and gas connections.
Turn measuring range selection switch from „0“ to the desired measuring range. The ana-
lyser is ready for operation immediately.
Check mechanical zero of the indication; if necessary adjust zero position by turning the
slotted screw in the pane of the indication instrument.
Turn measuring range selection switch to 30%.
Switch on mains voltage.
The indication instrument shows 21% O
2
with ambient air in the measuring cell and the
LED for heater control lights up permanently.
0
+
0
+
mA
mV
X2