5 the more connections screen – ZyXEL Communications Prestige P-870HW-51a v2 User Manual
Page 57
Chapter 5 WAN Setup
P-870HW-51a v2 User’s Guide
57
5.5 The More Connections Screen
The ZyXEL Device allows you to configure more than one Internet access
connection. To configure additional Internet access connections click Network >
WAN > More Connections. The screen differs by the encapsulation you select.
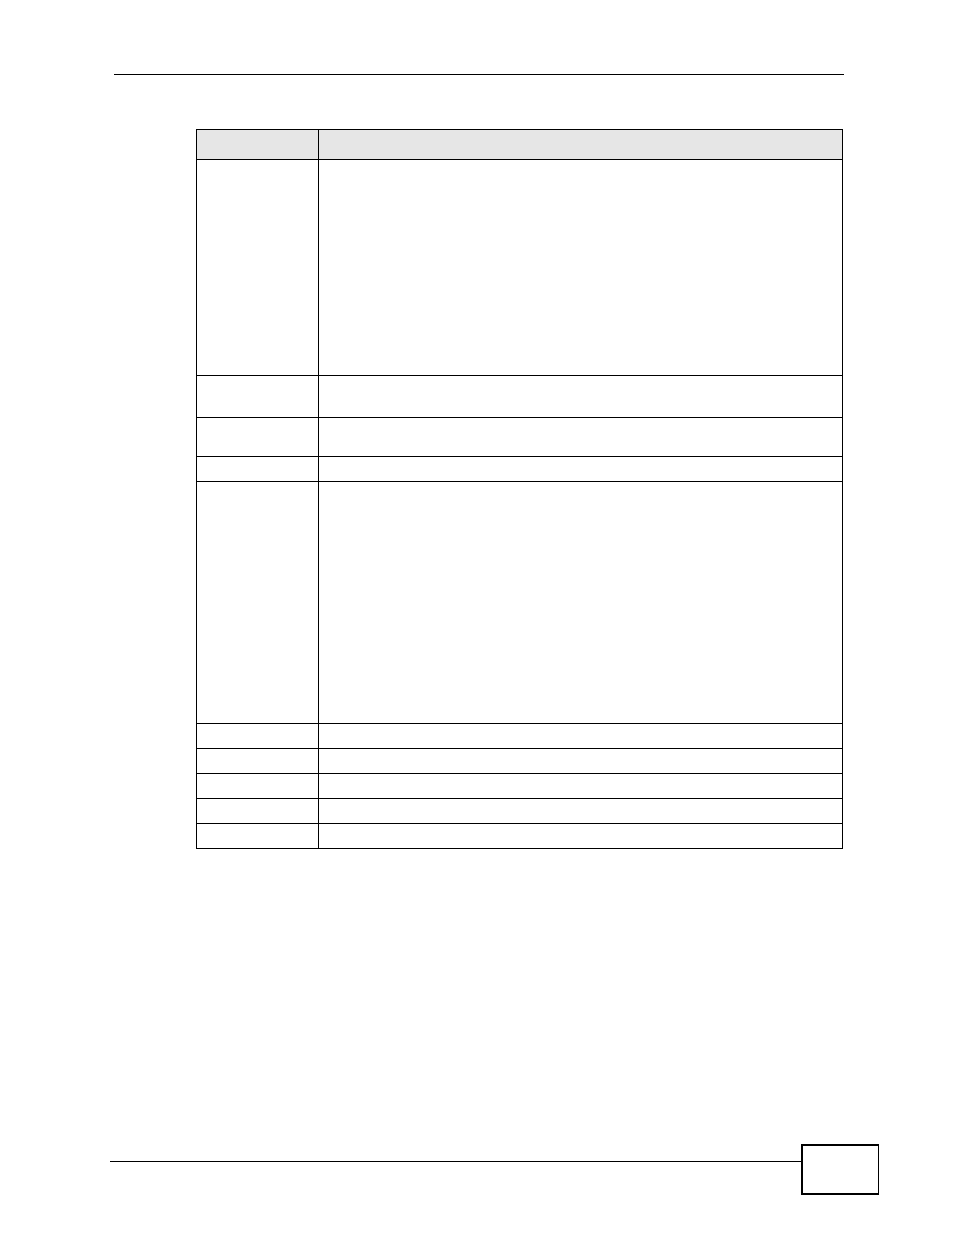
PPPoE
Passthrough
(PPPoE
encapsulati
on only)
This field is available when you select PPPoE encapsulation.
In addition to the ZyXEL Device's built-in PPPoE client, you can enable
PPPoE pass through to allow up to ten hosts on the LAN to use PPPoE
client software on their computers to connect to the ISP via the ZyXEL
Device. Each host can have a separate account and a public WAN IP
address.
PPPoE pass through is an alternative to NAT for application where NAT is
not appropriate.
Disable PPPoE pass through if you do not need to allow hosts on the LAN
to use PPPoE client software on their computers to connect to the ISP.
IP Filter
This section is not available when you configure the ZyXEL Device to be
in bridge mode.
IP Filter
Active
Select this option to enable IP filtering on this connection.
VLAN
VLAN Active Select this option to enable VLAN multiplexing of multiple protocols over
a single virtual circuit. You need to assign a VLAN ID and priority level to
traffic through each WAN connection. All WAN connections share one
MAC address. This allows the backbone switch to classify and service
traffic based on the VLAN tag, instead of the MAC address.
Otherwise, disable VLAN multiplexing and each WAN connection has its
own MAC address.
Note: This field is only configurable for the first WAN connection.
When you change the setting here, all existing WAN
connections will be removed except for the first WAN
connection.
VLAN ID
Enter a VLAN ID number for traffic that goes through this connection.
Priority
Enter a priority level for traffic that goes through this connection.
Back
Click this to return to the previous screen.
Apply
Click this to save the changes.
Reset
Click this to restore your last-saved settings.
Table 10 WAN > Internet Connection: Advanced Setup (continued)
LABEL
DESCRIPTION