5 the phonebook menu, 1 contact list, Figure 40 lcd menu: phonebook – ZyXEL Communications V300 User Manual
Page 59: Table 19 lcd menu: phonebook
Chapter 5 LCD Menus: Basic Settings
V300 User’s Guide
59
6 Select the conditions under which you want calls from this number to be redirected.
• Select UnCond FW (unconditional forward) to have the V300 always redirect calls
from this number.
• Select BusyFW to have the V300 redirect calls if the line is busy.
• Select NoAS FW (no answer forward) to have the V300 forward calls if you do not
pick up.
• Select DND FW to have the V300 redirect calls from this number if you have DND
(Do Not Disturb) turned on.
7 Press PHONEBOOK. The Entry menu displays. Select Active and enable it.
8 Ensure that Active is also selected in the Specific FW and Call FW menus. Your
specific forward entry is successfully configured.
5.5 The Phonebook Menu
Use the phonebook to set up a list of your contacts. You can also assign your contacts to
groups, block calls from them, allow them to call you even when you have DND (Do Not
Disturb) turned on, and set up speed dial entries.
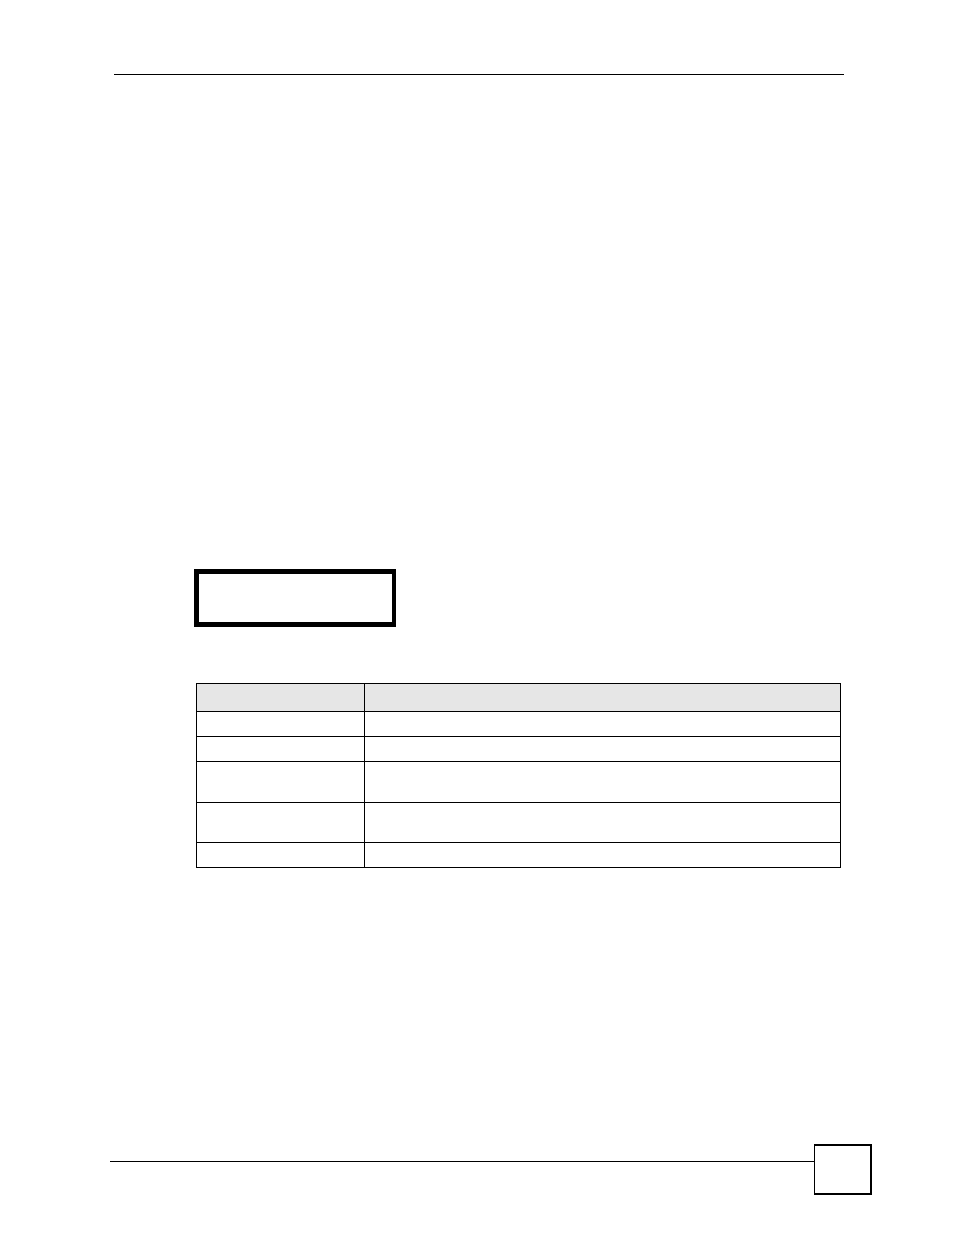
Select Menu Setting > Phonebook. The following screen displays.
Figure 40 LCD Menu: Phonebook
The following table describes the labels in this screen.
5.5.1 Contact List
Use the Contact List to add, edit or remove entries from the phonebook. Use the Navigator and
press the SEND key to call the selected entry (the V300 uses the speakerphone and the default
line to make the call).
Select Phonebook > Contact List.
4 Phonebook
1 Contact List
Table 19 LCD Menu: Phonebook
LABEL
DESCRIPTION
Contact List
Select this to set up, edit or delete a phonebook entry.
Group
Select this to see the phonebook entries belonging to each group.
Block List
Select this to see the phone numbers that are prevented from calling the
V300.
DND WhiteList
Select this to see which contacts (phonebook entries) are allowed to call
the V300 even when DND (Do Not Disturb) is turned on.
Speed Dial
Select this to see or configure speed dial entries.