Xerox 4512N User Manual
Page 113
P a p e r J a m s
C h a p t e r 6 : T r o u b l e s h o o t i n g ❖ 6-21
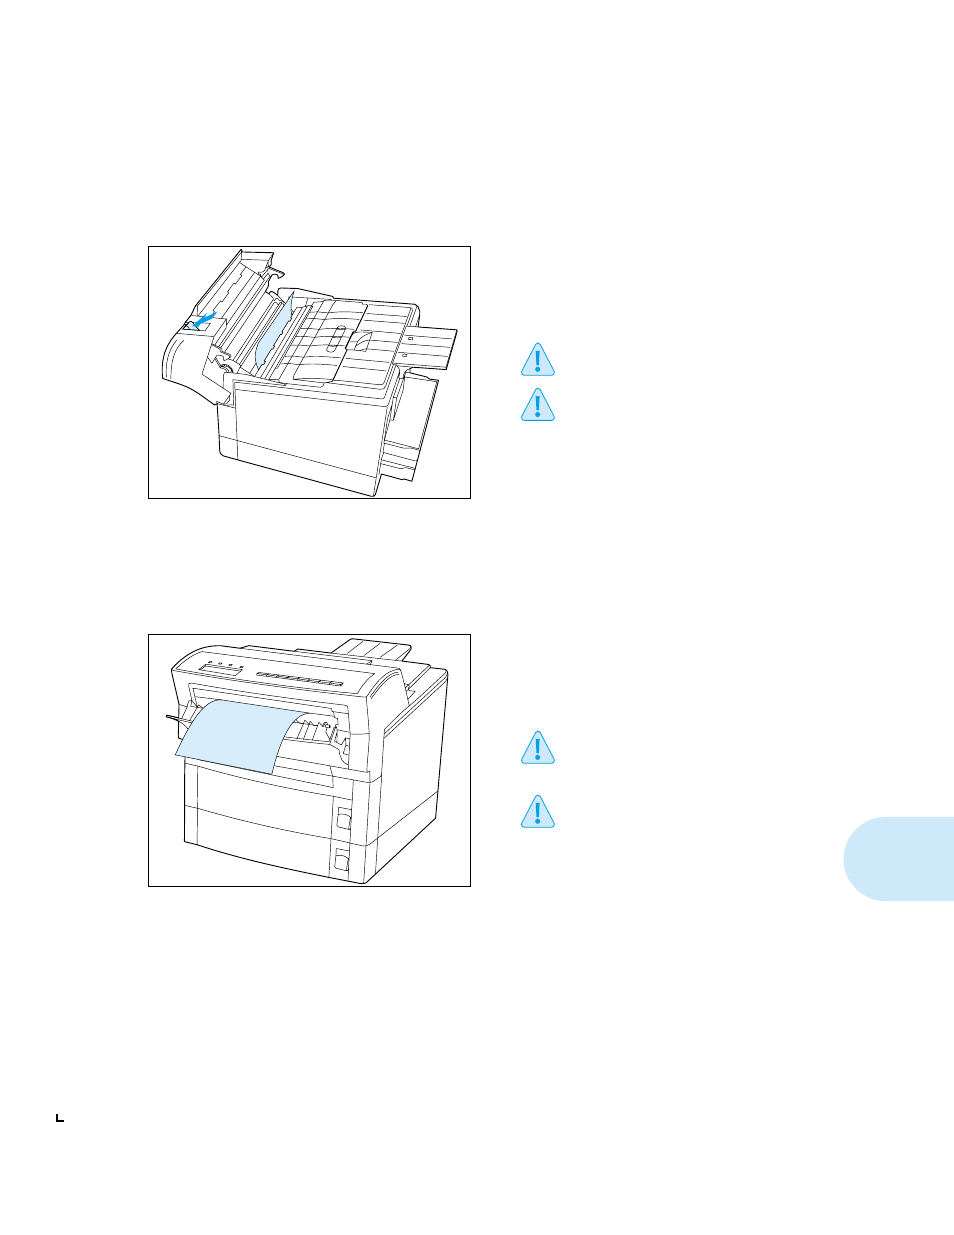
From Under the Top Cover
From Under the Front Cover
1
Open the top cover.
2
If you see a misfed sheet of paper, remove it as
carefully as you can, pulling it straight up and
out.
If you tear the paper, be sure to remove
all of the pieces.
If you cannot get the paper completely
out, do not try to remove it because it
may have loose toner on it. Instead,
close the cover and try the procedure
“From Under the Front Cover,” below.
3
When you have completely cleared the jam,
close the cover.
The printer will then resume the print job.
1
Open the front cover.
2
If you see a misfed sheet of paper, remove it as
carefully as you can, pulling it straight up and
out.
If you tear the paper, be sure to remove
all of the pieces. Also, the paper may
have loose toner on it.
If you cannot get the paper completely
out, do not try to remove it because it
may have loose toner on it. Instead,
close the cover and try the procedure
“From Under the Top Cover,” above.
3
When you have completely cleared the jam,
close the cover.
The printer will then resume the print job.