Xerox 4512N User Manual
Page 10
A s s e m b l i n g t h e P r i n t e r
8 ❖ S e t t i n g U p G u i d e
5
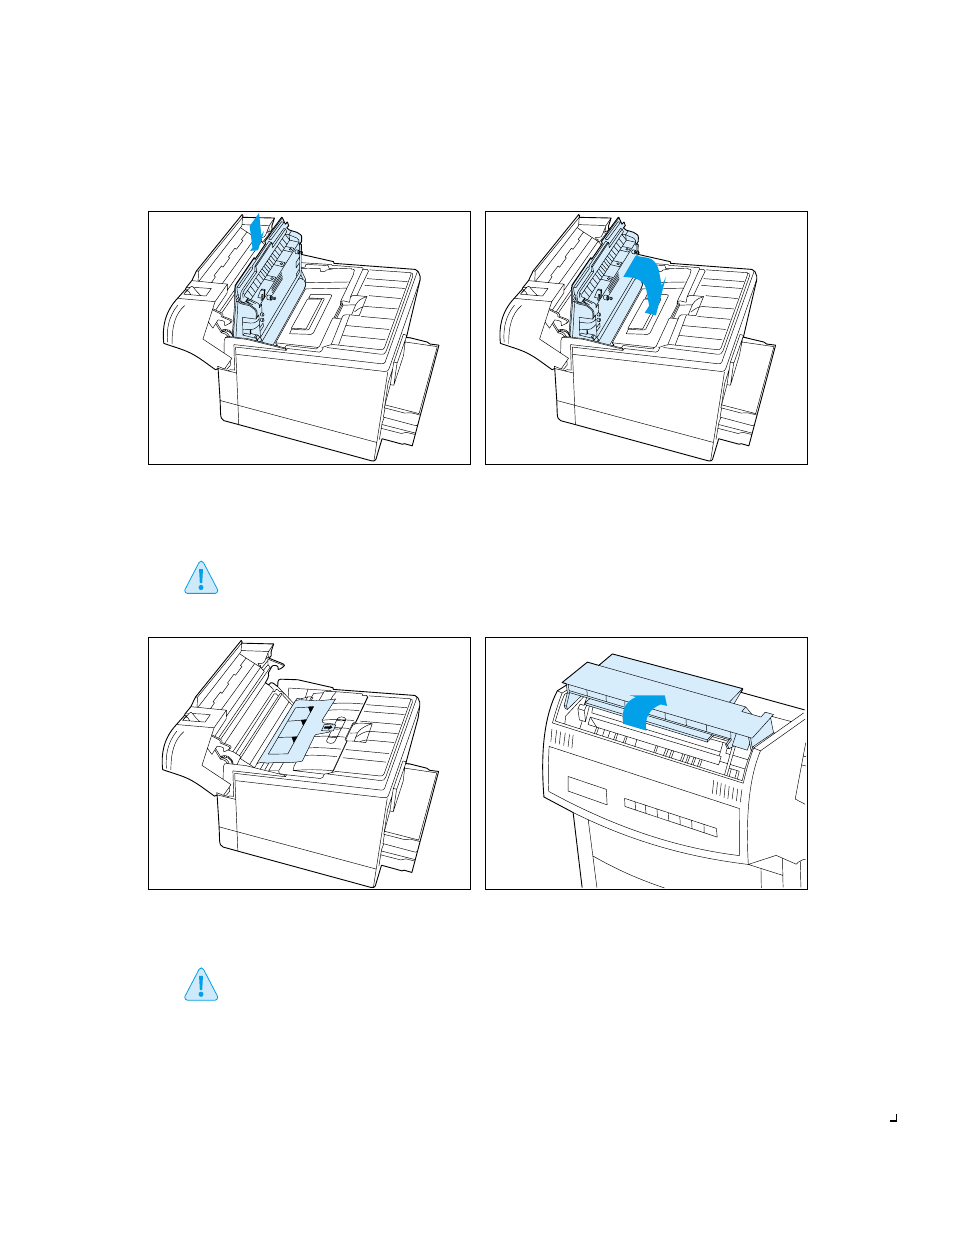
Remove the Photoconductor / Drum from its
wrapper and insert it vertically into the slots
on the sides of the printer’s interior.
The photosensitive drum is easily
damaged. Do not touch it or expose it to
direct light.
6
Pivot the Photoconductor / Drum down toward
the back of the printer until it falls into place
horizontally.
7
Carefully remove the sheet of black protective
paper from the Photoconductor / Drum.
Be sure not to leave any torn pieces of
paper in the printer.
8
Rotate the fuser cover to the rear.
This manual is related to the following products:
See also other documents in the category Xerox Printers:
- 3040 (2 pages)
- Phaser 7750 (5 pages)
- Phaser 7750 (2 pages)
- 6350 (4 pages)
- Phaser 6180 (4 pages)
- Phaser 3600 (2 pages)
- Phaser 3435 (98 pages)
- ColorQube 9202 (16 pages)
- ColorQube 9203 (13 pages)
- DocuColor 242-252-260 con Creo Spire CX260-17131 (216 pages)
- DocuColor 8000AP (13 pages)
- DocuColor 8000AP (4 pages)
- DocuPrint M760 (44 pages)
- Phaser 860 (42 pages)
- Phaser 3450 (58 pages)
- Phaser 3635MFP (10 pages)
- Phaser 5500 (5 pages)
- Phaser 6100 (7 pages)
- Phaser 7300 (28 pages)
- WorkCentre Pro 215 (62 pages)
- Color Printer Phaser 7300 (3 pages)
- Phaser Color Printer 7750 (8 pages)
- 4127 (4 pages)
- 480 (352 pages)
- 3R11474 (2 pages)
- 4500 (3 pages)
- 721P85600 (116 pages)
- 721P (2 pages)
- WorkCentre XE80 Digitaler Kopierer - Laserdrucker-9588 (58 pages)
- FreeFlow DST2-NL (23 pages)
- FaxCentre F12 (4 pages)
- 4182 (39 pages)
- Copycentre C175 (2 pages)
- ColorStix 8200 Ink Sticks 016-2045-00 (9 pages)
- DocuColor CX250 (276 pages)
- HP Toner Cartridges C9722A (2 pages)
- DocuColor 40CP (82 pages)
- 4850 (90 pages)
- Phaser 016-1300-00 (2 pages)
- X2 (41 pages)
- M123 (12 pages)
- 6130N (3 pages)
- WorkCentre PE120-120i-3133 (20 pages)
- 7300 (4 pages)
- Color Printer Phaser 6280 (158 pages)