Clearing the jam – Xerox 4512N User Manual
Page 112
P a p e r J a m s
6-20 ❖ D o c u P r i n t 4 5 1 2 / 4 5 1 2 N U s e r G u i d e
Clearing the Jam
Search for the jammed paper, starting with the paper trays, then under
the top cover, then under the front cover.
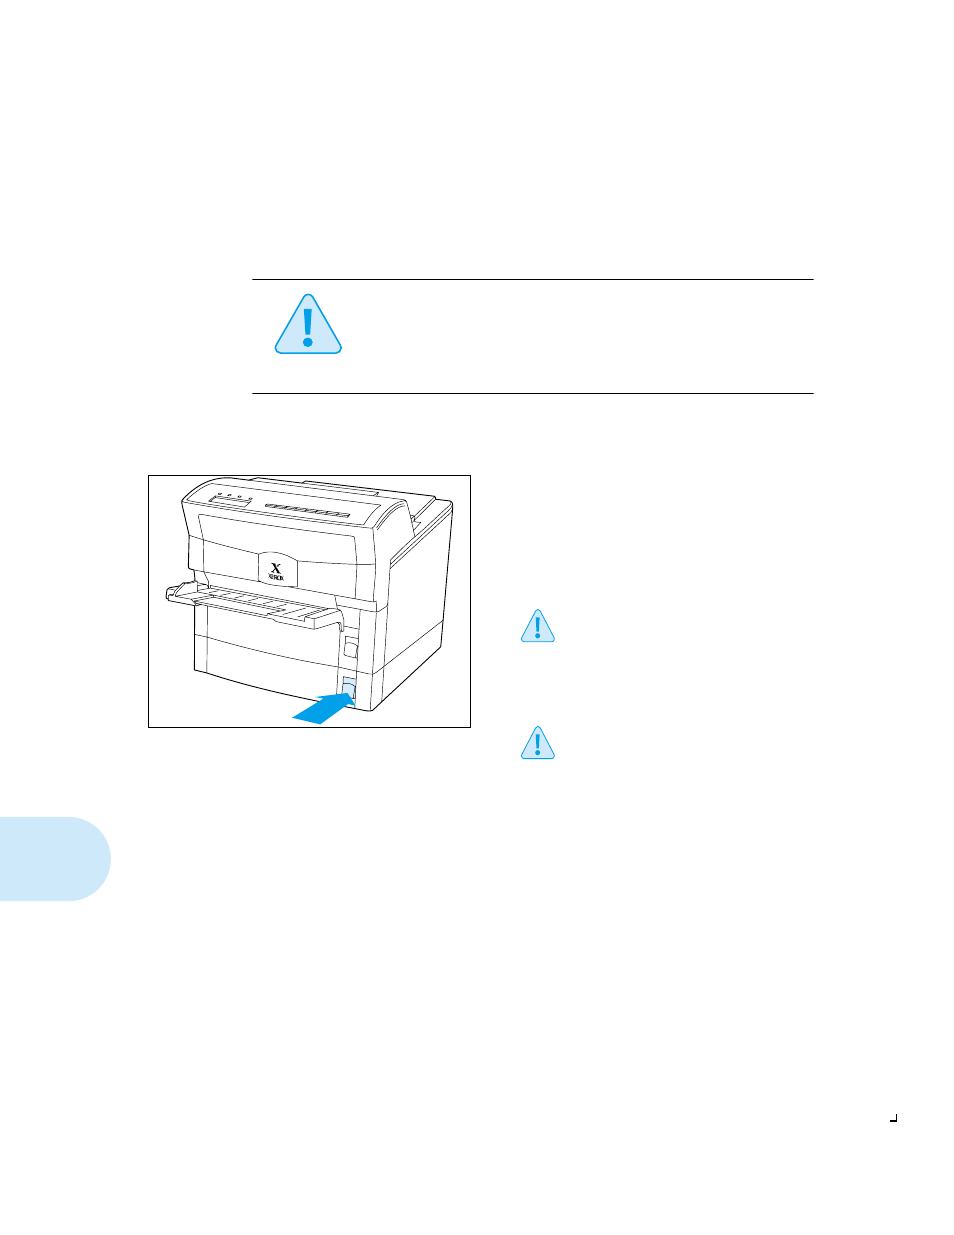
From the Paper Tray(s)
Caution
Be careful not to touch any of the components inside the printer
when removing jammed paper. They may be very hot.
Also, jammed paper may have loose toner on it and should therefore
be handled carefully.
1
If you know which tray was feeding paper,
open that tray first. If not, begin with the lower
tray. Open the tray part way and look inside.
2
If you see a misfed sheet of paper (out of
alignment or loose in the tray), remove it as
carefully as you can.
If you tear the paper, be sure to remove
all of the pieces.
3
If the paper has been partially fed from the
lower tray to the upper tray, open the upper
tray and try to remove the paper from there.
If a length of paper has already been
fed up into the printer, do not try to
remove it because the paper will have
loose toner on it. Instead, close the
paper tray(s) and go to “From Under
the Top Cover” (page 6-21) for
directions.
4
When you have completely cleared the jam,
push the tray(s) back in.
The printer will then resume the print job