13 trusted remote hosts import, 14 trusted remote host certificate details, Figure 162 trusted remote host import – ZyXEL Communications P-2602H User Manual
Page 281: Table 111 trusted remote host import
Chapter 19 Certificates
P-2602H(W)(L)-DxA User’s Guide
281
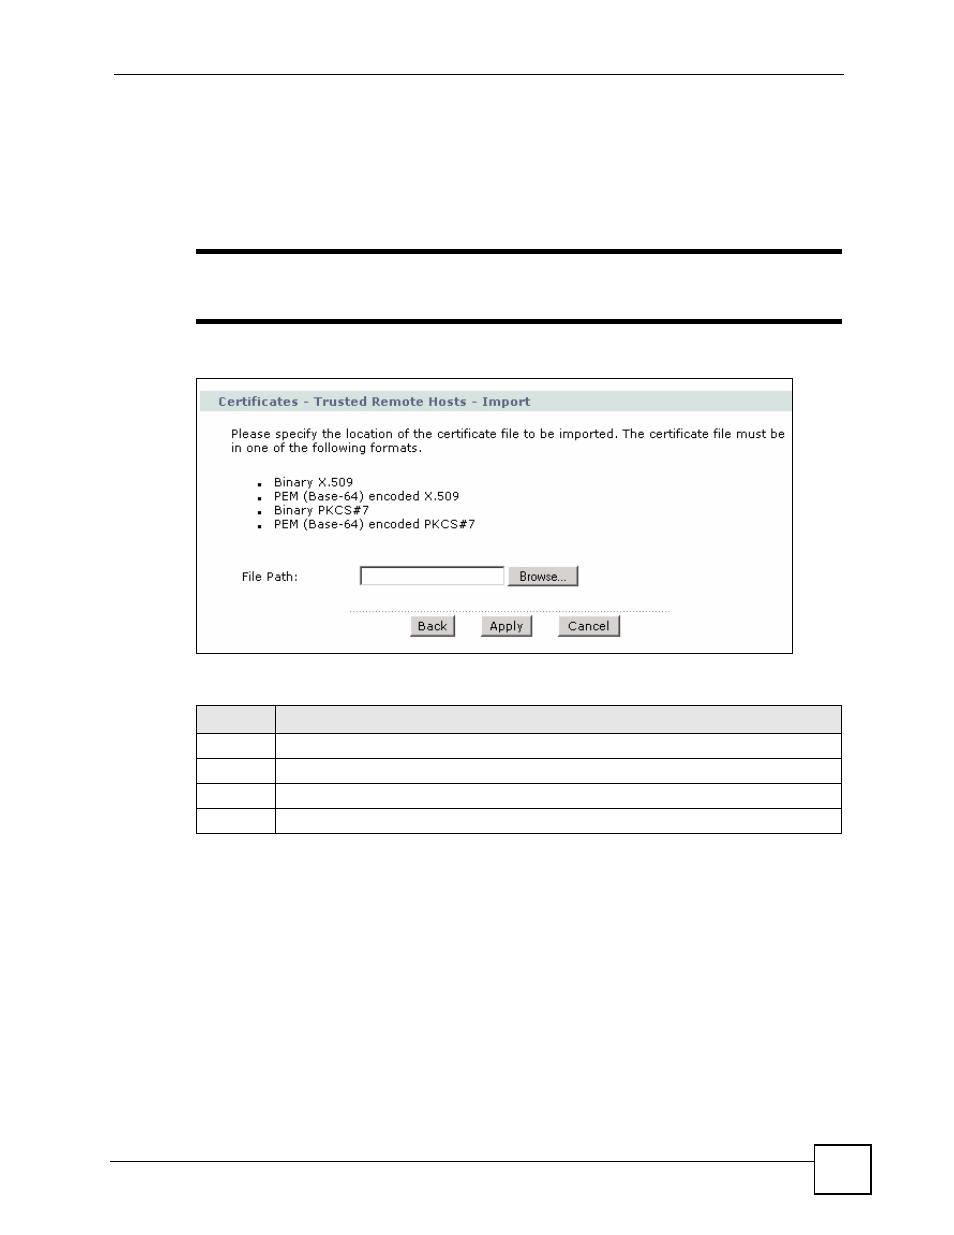
19.13 Trusted Remote Hosts Import
Click Security > Certificates > Trusted Remote Hosts to open the Trusted Remote Hosts
screen and then click Import to open the Trusted Remote Host Import screen. Follow the
instructions in this screen to save a trusted host’s certificate to the ZyXEL Device.
"
The trusted remote host certificate must be a self-signed certificate; and you
must remove any spaces from its filename before you can import it.
Figure 162 Trusted Remote Host Import
The following table describes the labels in this screen.
19.14 Trusted Remote Host Certificate Details
Click Security > Certificates > Trusted Remote Hosts to open the Trusted Remote Hosts
screen. Click the details icon to open the Trusted Remote Host Details screen. Use this
screen to view in-depth information about the trusted remote host’s certificate and/or change
the certificate’s name.
Table 111 Trusted Remote Host Import
LABEL
DESCRIPTION
File Path
Type in the location of the file you want to upload in this field or click Browse to find it.
Browse Click
Browse to find the certificate file you want to upload.
Apply
Click Apply to save the certificate on the ZyXEL Device.
Cancel
Click Cancel to quit and return to the Trusted Remote Hosts screen.