ZyXEL Communications 202H User Manual
Page 103
Prestige 202H User’s Guide
Dial-in Setup
10-11
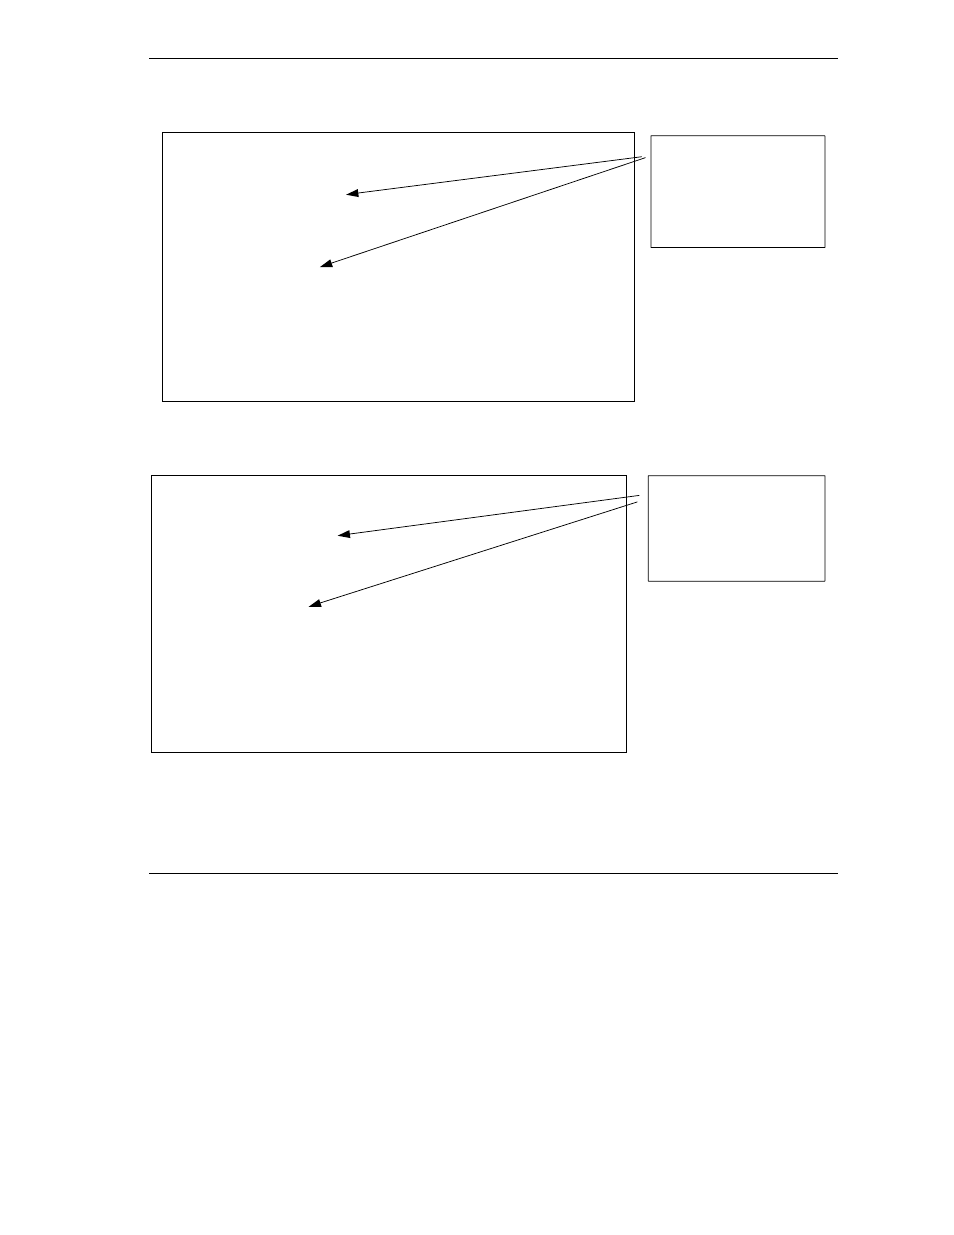
LAN 1
Figure 10-9 LAN 1 LAN-to-LAN Application
LAN 2
Figure 10-10 LAN 2 LAN-to-LAN Application
Go to menu 24.4.5 of the Prestige on LAN 1 and enter the numbers that correspond to the menu in LAN 1
above to test callback with your connection.
Menu 11.1 - Remote Node Profile
Rem Node Name= LAN_2
Active= Yes
Call Direction= Both
Incoming:
Rem Login= lan2
Rem Password= *******
Rem CLID=
Call Back= No
Outgoing:
My Login= lan1
My Password= ********
Authen= CHAP/PAP
Pri Phone #= 1234
Sec Phone #=
Edit PPP Options= No
Rem IP Addr= 192.168.2.1
Edit IP= No
Telco Option:
Transfer Type= 64K
Allocated Budget(min)= 0
Period(hr)= 0
Schedules=
Carrier Access Code=
Nailed-Up Connection= No
Toll Period(sec)= 0
Session Options:
Edit Filter Sets= No
Idle Timeout(sec)= 300
Press ENTER to Confirm or ESC to Cancel:
Press Space Bar to Toggle.
Set Call Direction and
Call Back to
Both
and
No
respectively.
Menu 11.1 - Remote Node Profile
Rem Node Name= LAN_1
Active= Yes
Call Direction= Both
Incoming:
Rem Login= lan1
Rem Password= *******
Rem CLID=
Call Back= Yes
Outgoing:
My Login= lan2
My Password= ********
Authen= CHAP/PAP
Pri Phone #= 456
Sec Phone #=
Edit PPP Options= No
Rem IP Addr= 192.168.1.1
Edit IP= No
Telco Option:
Transfer Type= 64K
Allocated Budget(min)= 0
Period(hr)= 0
Schedules=
Carrier Access Code=
Nailed-Up Connection= No
Toll Period(sec)= 0
Session Options:
Edit Filter Sets= No
Idle Timeout(sec)= 300
Press ENTER to Confirm or ESC to Cancel:
Press Space Bar to Toggle.
Set Call Direction and Call
Back to
Both
and
Yes
respectively.