Customizing the currency pick list, To customize the currency pick list, Defining a custom currency symbol – Over And Back 180 User Manual
Page 160: To define a custom currency symbol
Page 160
Application Specific Tasks
4. Hold Option
and press Return
to finish.
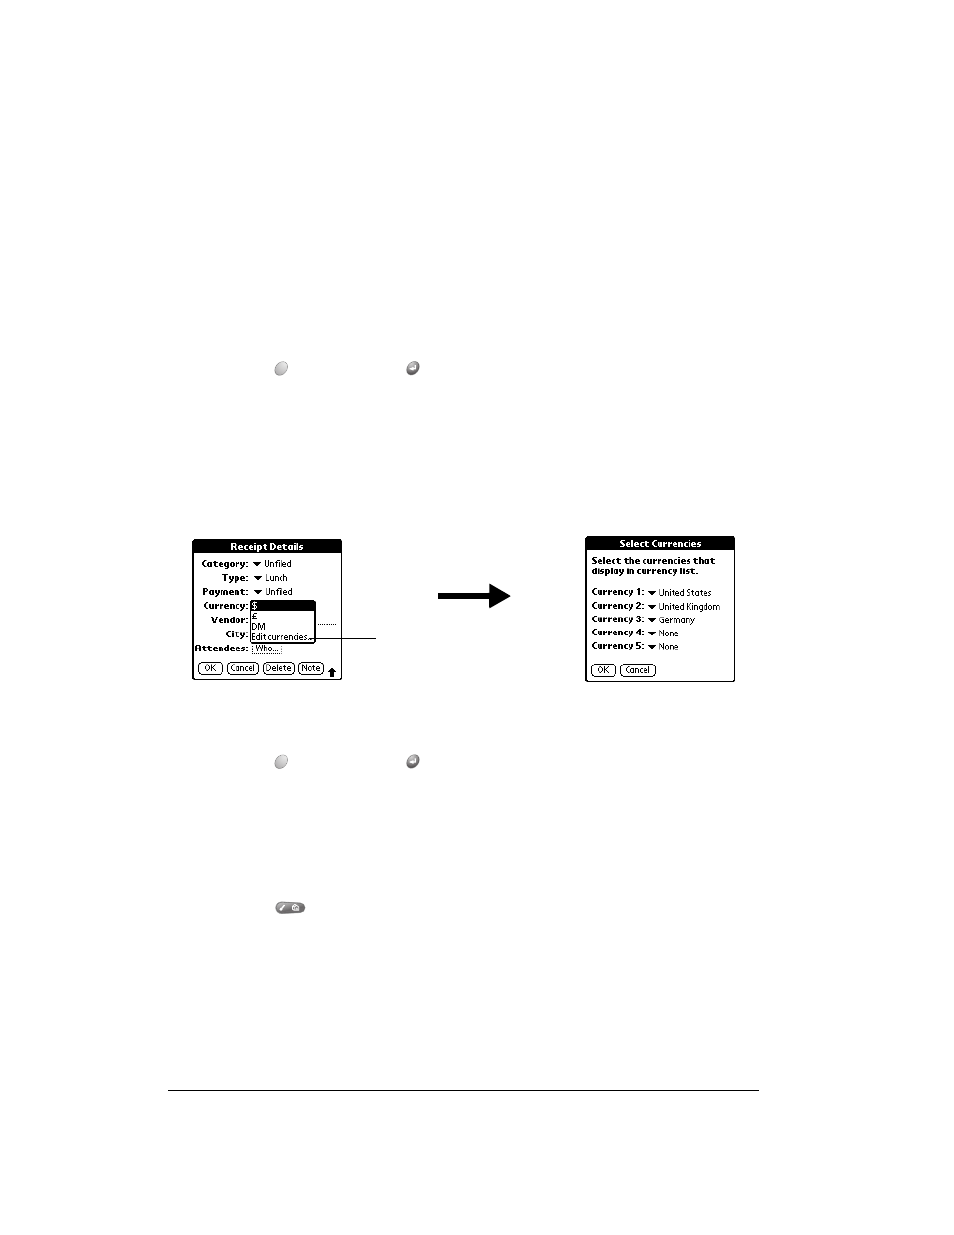
Customizing the Currency pick list
You can select the currencies and symbols that appear in the Currency pick list.
To customize the Currency pick list:
1. In the Receipt Details dialog box, tap the Currency pick list and select Edit currencies.
2. Tap each Currency pick list and select the country whose currency you want to display on that
line.
3. Hold Option
and press Return
twice to finish.
Defining a custom currency symbol
If the currency you want to use is not in the list of countries, you can create your own custom
country and currency symbol.
To define a custom currency symbol:
1. Press Menu
.
2. Under Options, select Custom Currencies. (/Y)
3. Tap one of the four Country boxes.
Currency
Enables you to choose the type of currency used to pay the Expense
item. The default currency unit is defined in the Preferences dialog (see
page 164). You can also display up to four other common types of
currency. see the next section in this chapter for more information.
Vendor and City
Lets you record the name of the vendor (usually a company) associated
with the expense and the city where the expense was incurred. For
example, a business lunch might be at Rosie's Cafe (Vendor) in San
Francisco (City).
Attendees
See the section that begins on page 69 for details.
Tap Edit
currencies