SUPER MICRO Computer X6DHi-G2 User Manual
Page 101
Appendix C: Software Installation
C-11
Adding a Bootable Array
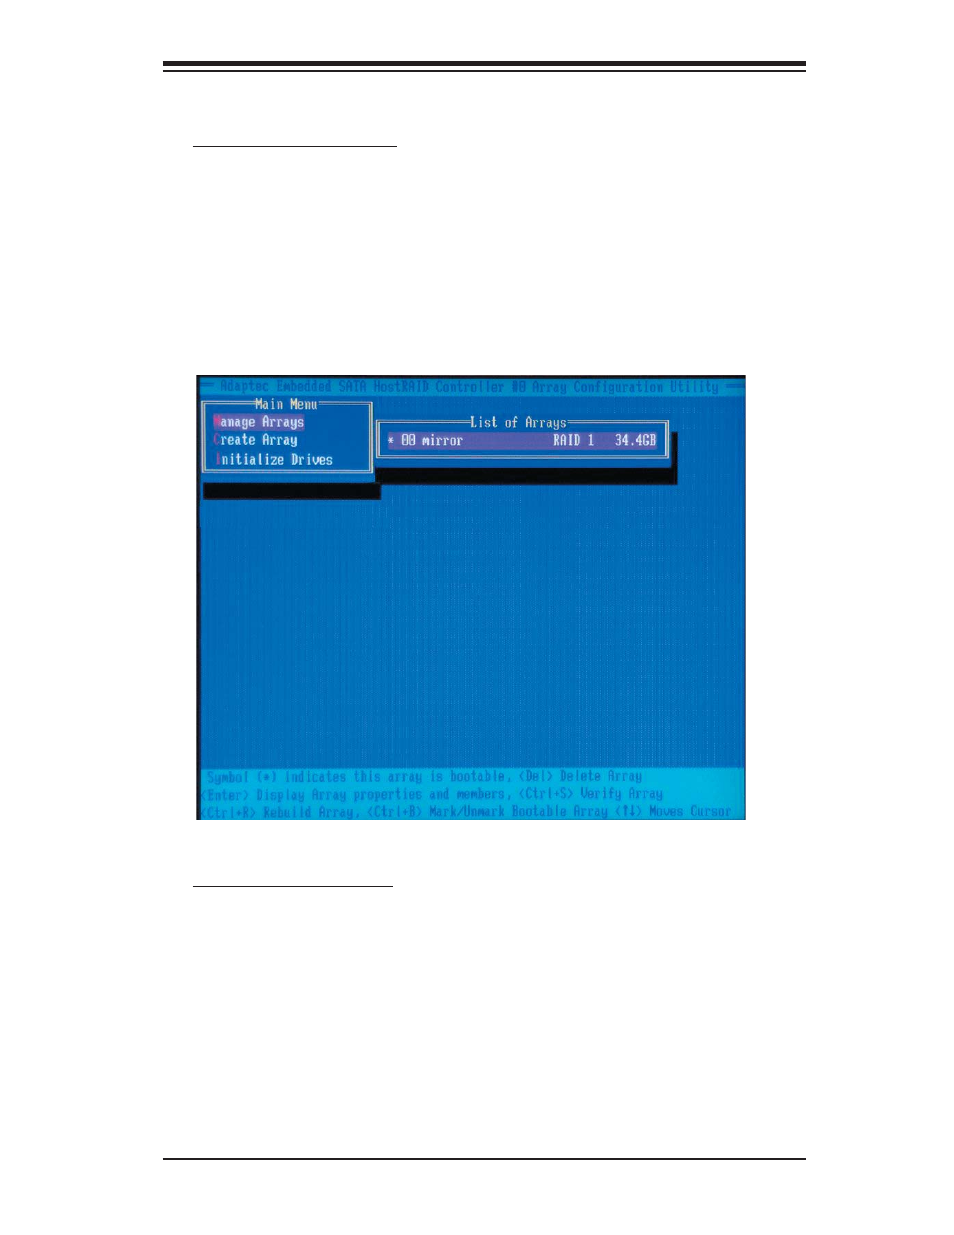
To make an array bootable:
1. From the Main menu, select Manage Arrays.
2. From the List of Arrays, select the array you want to make bootable, and press
Ctrl+B.
3. Enter Y to create a bootable array when the following message is displayed: "This
will make all other existing bootable array non-bootable. Do you want to make this
array bootable? (Yes/No):" Then, a bootable array will be created. An asterisk will
appear next to the bootable array (as shown in the picture below:)
Deleting a Bootable Array
To delete a bootable array:
1. From the Main menu, select Manage Arrays.
2. From the List of Arrays, select the bootable array (*) you want to delete, and
press Ctrl+B. (* a bootable array is the array marked with an asterisk (as shown
in the picture above.)
3. Enter Y to delete a bootable array when the following message is displayed: "The
array is already marked bootable. Do you want to make this array as not bootable?
(Yes/No):" Then, the bootable array will be deleted and the asterisk will disappear.
(Note: do not use the delete key to delete the bootable array.)