No cost wind damping procedure – Retrotec DM-2 User Manual
Page 48
Page 48 of 72
©Retrotec Inc. 2012
Retrotec offers two wind-damping kits specifically designed to reduce the pressure fluctuations due to
wind.
The basic wind-damping kit consists of a dual-tube pressure averaging system and will work in wind
conditions up to about 10 mph. The deluxe wind-damping kit (our “Wild Wind Tamer”) consists of a
four-tube engineered damping system that will provide damping results in winds up to 20 mph.
1. Set up the house/room gauge and red tube as normal.
1. Connect the open end to the T-connection on the basic wind-damping kit; connect the open
tube to the output port on the deluxe wind-damping kit.
2. Place the wind-damping tubes away from the building to avoid the pressure pulse that gets
created when the wind hits the wall.
3. Cover the end of the tubes with sheet material/a box to stop the wind, if required.
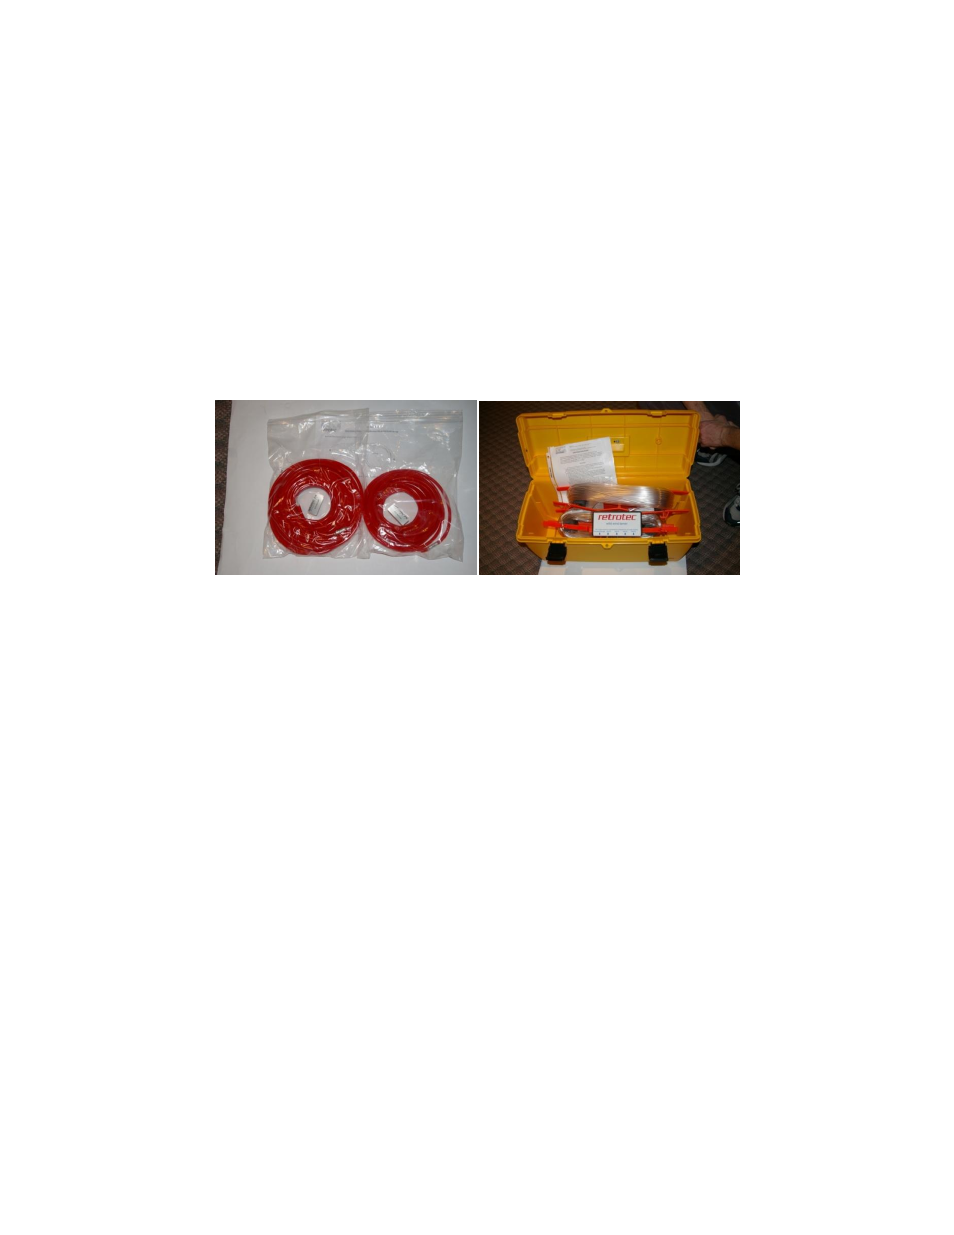
Figure 14: Wind damping kits; basic (left) and deluxe (right).
No cost wind damping procedure
Overall, what works best is to have one tube run to the outdoors, with a T-connector in the outdoor
end connected to two equal length tubes that are placed as far away from the building as possible.
Place the outdoor pickup tube at least ten feet away from the building's wall and at ground level. This
will eliminate the stagnation pressure developed when the wind hits the wall.
If pressure is still too high place a T on the end of the tube and tape it to the middle of a plastic dinner
plate or smaller plate. Tape the T to the concave surface of the plate which is the one that would
normally be facing up.
Invert the plate on the ground so the tube is covered by the plate. This will prevent the velocity from
impinging on the end of the tube.
If further wind damping is required, connect a T-connector to the end of the outdoor tube and connect
2 other 15 foot tubes, and then repeat the step of covering the tube ends with the plate.
This should work well and cost nothing. Let us know what the result is.
9.3 Let Time Averaging take effect before making readings
While the Time Averaging feature is useful to help minimize the effects of wind, it can also cause
problems if not used correctly. Whenever Time Averaging is on, it is important to wait at least twice
the time averaging period before taking a reading.