Casio ClassPad Manager Version 3.0 User Manual
Page 59
E-57
20060301
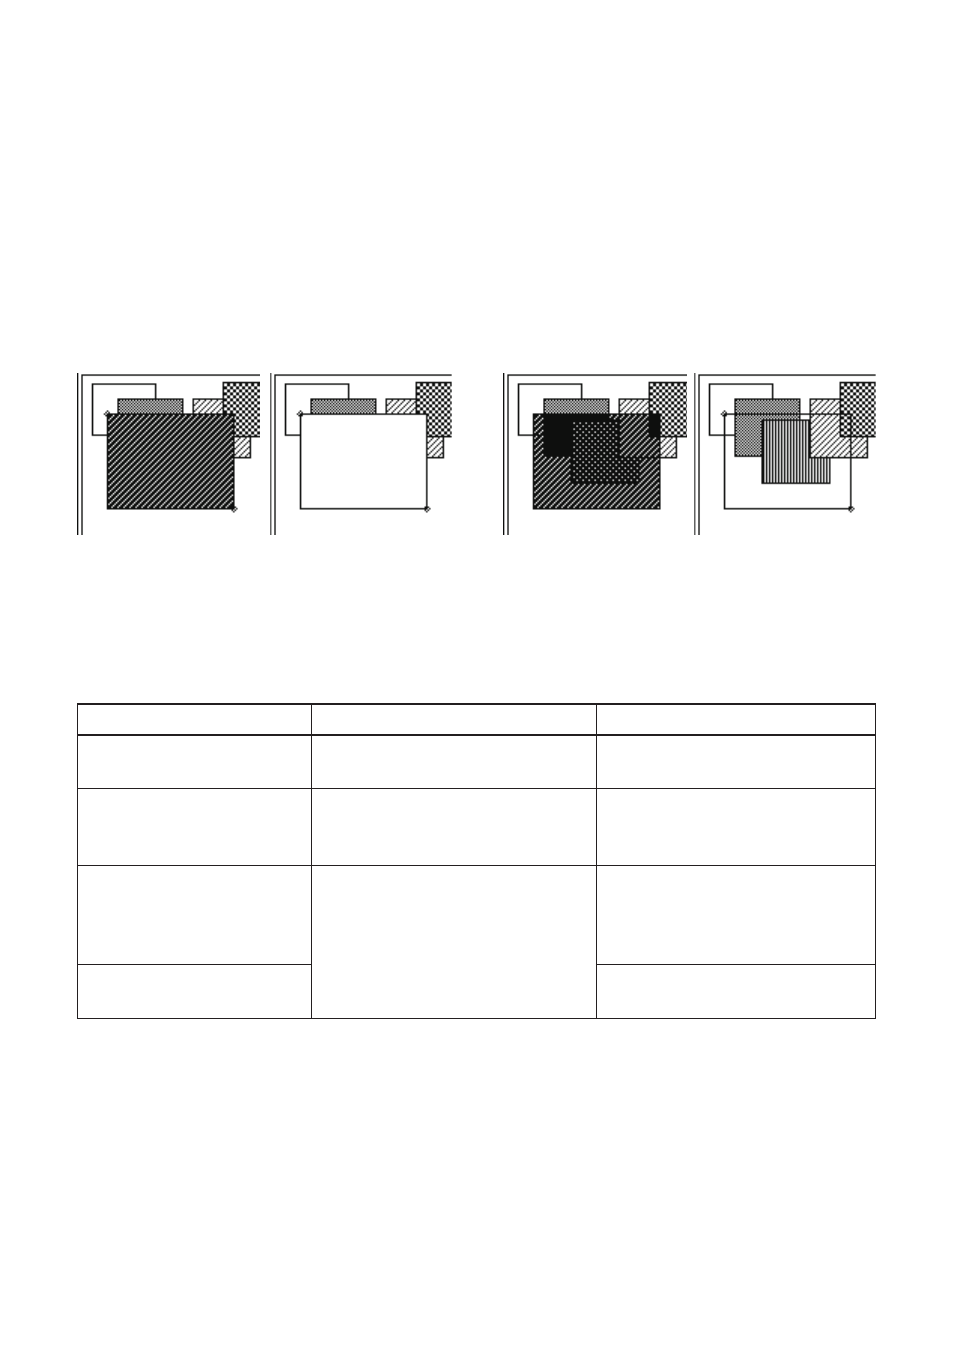
■ To make a closed fi gure (polygon, rectangle, square, ellipse, or circle)
translucent or opaque
1.
On the [Draw] menu, click [Draw Opaque] so the [Draw Opaque] command does not have a
check mark next to it.
• Figures you draw are opaque when there is a check mark next to [Draw Opaque], and
translucent when there is no check mark.
2.
Perform the procedure under “Drawing Figures” on page E-52 to draw the fi gure you want.
• The fi gure is either opaque or translucent, depending on the setting you selected in step 1.
[Draw Opaque] On
[Draw Opaque] Off
■ Changing Settings after Drawing a Figure
Right after you draw a fi gure there will be points (small o points) indicating the points you specifi ed
when drawing it. You can change the line thickness, line color (black or white), fi ll pattern, and
opaque/translucent settings while these points are still on the display.
To change this attribute: After using this drawing tool:
Perform this operation:
Line thickness
line, arrow, rectangle line, square,
rectangle, circle, ellipse, polygon
Click
F.
Line or text color (white,
black)
line, arrow, rectangle line, square,
rectangle, circle, ellipse, polygon,
text
Click
d (or e).
Figure fi ll pattern
square, rectangle, circle, ellipse,
polygon
Click the down arrow button (
v)
on the right side of page 1 of
the toolbar, and then click the fi ll
pattern you want.
Opaque/translucent setting
of a fi gure
Click [Draw] - [Draw Opaque].