Casio ClassPad Manager Version 3.0 User Manual
Page 29
E-27
20060301
5.
While the dialog box is displayed, use the ClassPad’s bundled USB cable to connect it to your
computer.
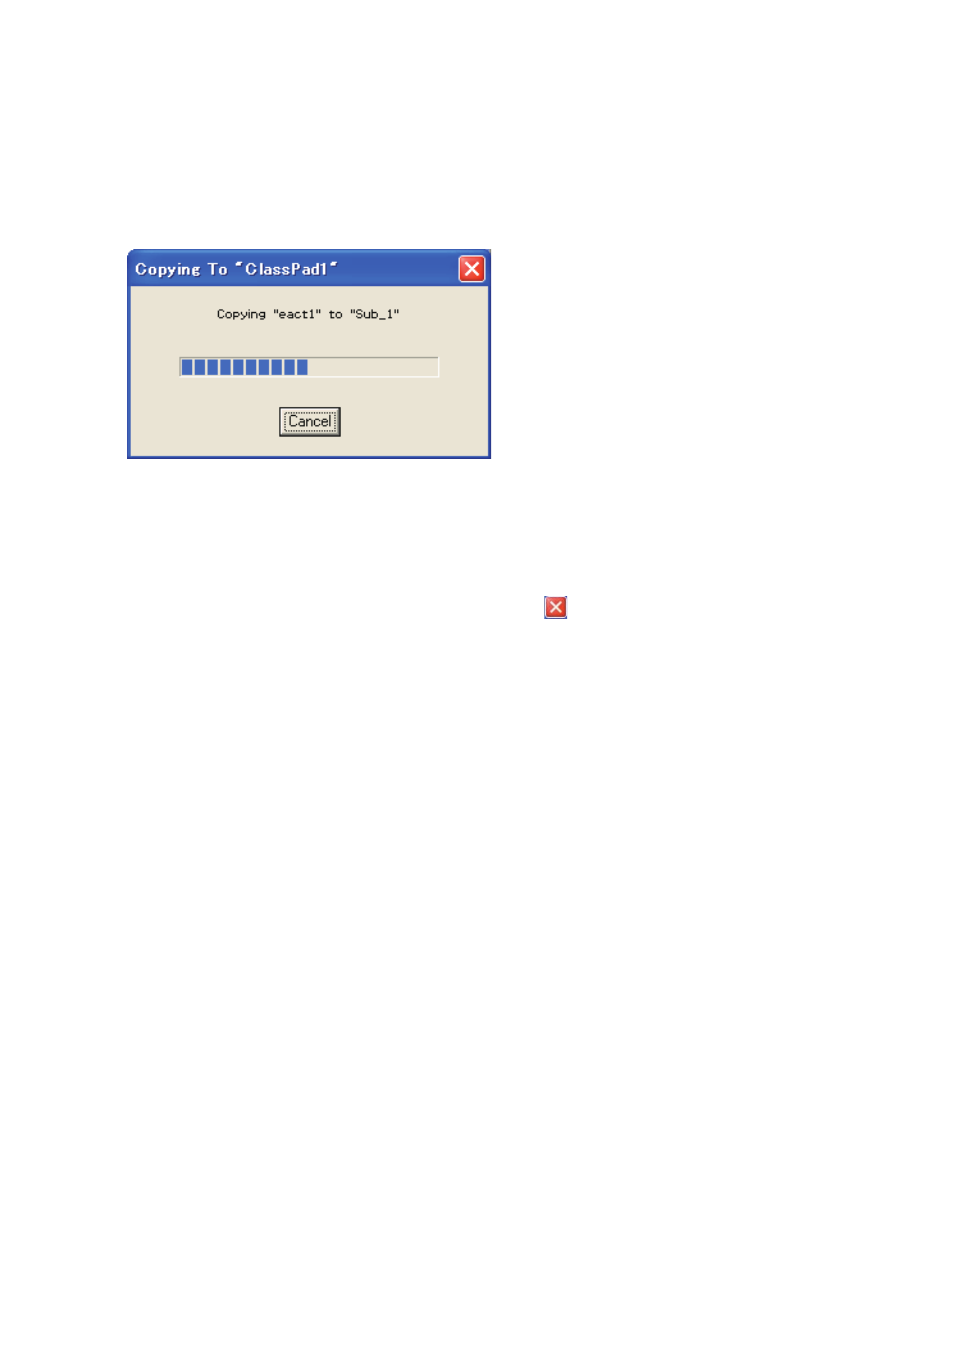
• The ClassPad will establish a connection with ClassPad Manager automatically, and then
transfer all of the data in ClassPad memory to ClassPad Manager. A dialog box remains on
your computer screen while data transfer is in progress.
• After data transfer is complete, the connection is closed automatically. At this time, the
eActivity application starts up automatically in the ClassPad Window and displays the last
eActivity you created on the ClassPad.
6.
You can repeat this with as many ClassPads as you wish. When you are fi nished, close the
Transfer and Show Assistant dialog box by clicking the
in the upper right corner. The eActivity
window will now display the fi le that was open before you started Transfer and Show.
Note
• A vcp fi le created using Transfer and Show is stored in a folder named “Transfer and Show” with a
name based on the name of the attached ClassPad, which is located inside the home folder. See
“Home Folder” on page E-28 for more information.
• Under initial default settings, the current vcp fi le for a particular named ClassPad in the Transfer
and Show folder is overwritten each time you execute Transfer and Show with that ClassPad.
• You can use any one of the following procedures to open the original vcp fi le (active document
before executing Transfer and Show).
• “To open an existing vcp fi le” (page E-23)
• “To change the active document” (page E-64)
• “To make a particular vcp fi le in the home folder the active document” (page E-65)