Show calibration values, 6 calibr a ting the 3-d t o uc h pr obe – HEIDENHAIN TNC 320 (340 55x-05) ISO programming User Manual
Page 347

HEIDENHAIN TNC 320
347
12.6 Calibr
a
ting the 3-D T
o
uc
h Pr
obe
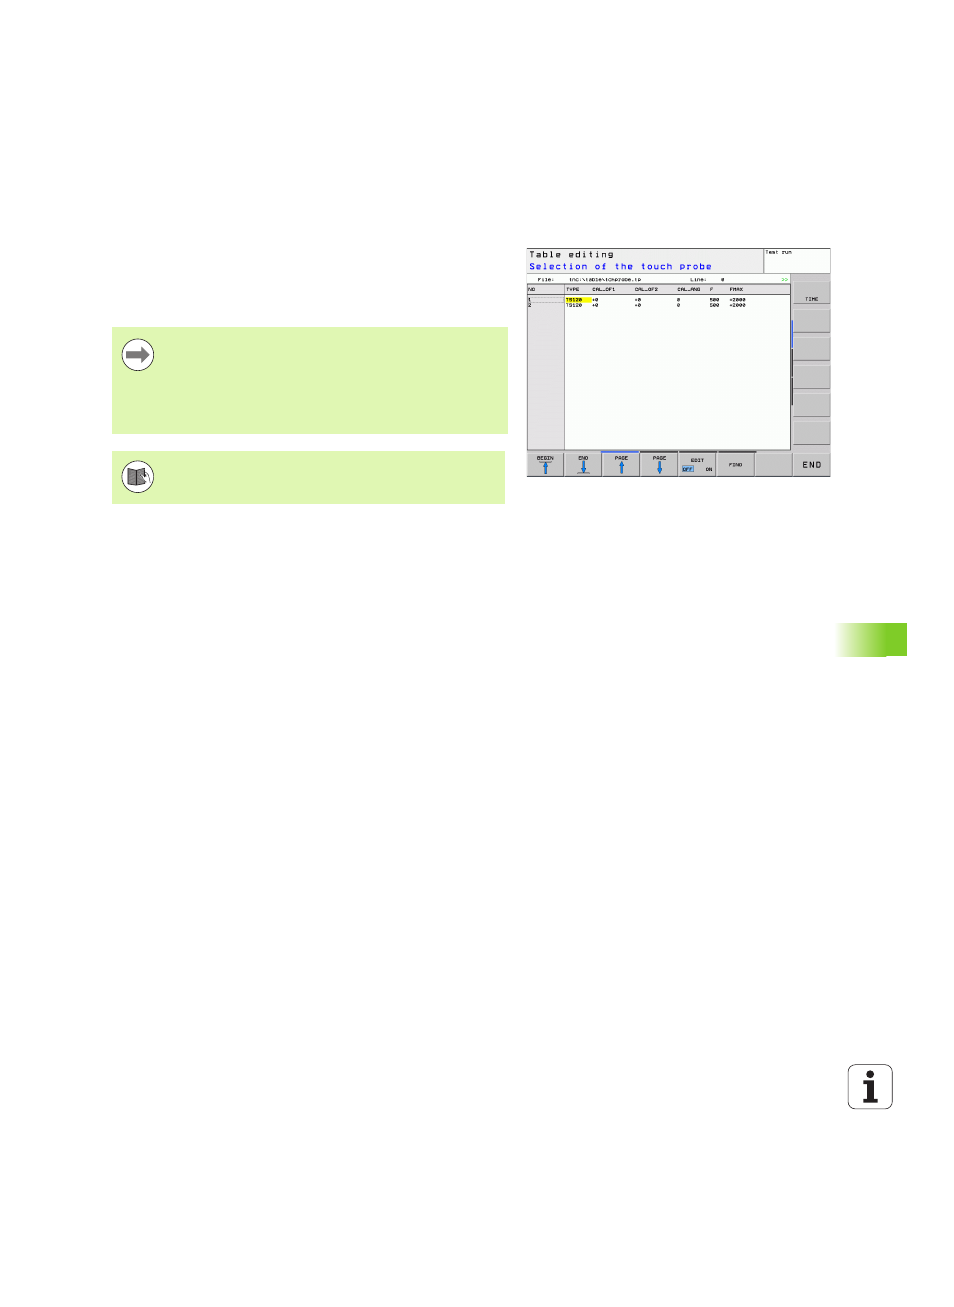
Show calibration values
The TNC saves the effective length and effective radius of the touch
probe in the tool table. The TNC saves the ball-tip center misalignment
in the touch-probe table, in the CAL_OF1 (principal axis) and CAL_OF2
(minor axis) columns. You can display the values on the screen by
pressing the TOUCH-PROBE TABLE soft key.
Make sure that you have activated the correct tool number
before using the touch probe, regardless of whether you
wish to run the touch probe cycle in automatic mode or
manual mode.
The determined calibration values are not considered until
a tool is called (or called again, if required).
For more information about the touch probe table, refer to
the User’s Manual for Cycle Programming.
- TNC 122 User Manual (63 pages)
- TNC 122 Technical Manual (70 pages)
- TNC 360 Service Manual (157 pages)
- TNC 416 Technical Manual (510 pages)
- TNC 335 Technical Manual (581 pages)
- TNC 360 User Manual (237 pages)
- TNC 360 ISO-Programmierung (2 pages)
- TNC 415 (280 540) User Manual (227 pages)
- TNC 370D (92 pages)
- TNC 416 (289 pages)
- TNC 415 (280 540) Technical Manual (752 pages)
- TNC 415 (259 96x) Service Manual (195 pages)
- TNC 407 (280 580) User Manual (376 pages)
- iTNC 530 (340 420) Pilot (104 pages)
- TNC 407 (280 580) ISO Programming (333 pages)
- TNC 415 (280 540) Service Manual (252 pages)
- PT 880 Installation (112 pages)
- ND 100 User Manual (116 pages)
- ND 287 User Manual (147 pages)
- ND 280 Quick Start (12 pages)
- ND 200 (156 pages)
- ND 282 (10 pages)
- ND 287 Quick Start (26 pages)
- ND 282 B (39 pages)
- ND 281 A (44 pages)
- ND 281 B v.1 (53 pages)
- ND 281 B v.2 (65 pages)
- ND 221 v.2 (10 pages)
- ND 231 B v.2 (56 pages)
- ND 231 B v.1 (44 pages)
- ND 221 B v.2 (45 pages)
- ND 550 v.2 (8 pages)
- NDP 560 (10 pages)
- ND 523 (93 pages)
- ND 570 (8 pages)
- ND 750 v.2 (46 pages)
- ND 760 v.3 (72 pages)
- ND 770 v.1 (40 pages)
- ND 770 v.3 (41 pages)
- ND 760 E (44 pages)
- IOB 49 (21 pages)
- NDP 960 (68 pages)
- ND 780 Installation (132 pages)
- ND 970 (47 pages)
- ND 1100 Quick Start (36 pages)
