Connecting the sds data logger to a network – Super Systems SDS 8120 User Manual
Page 14
Super Systems Inc.
Page 14 of 104
Color Touch Screen Data Logger Operations Manual
Clicking on the “Cancel” button will prompt the user to confirm exiting the setup without
continuing. Clicking on the “< Back” button will display the previous page, which is the
installation setup page (Figure 11). Clicking on the “Next >” button will install the software to
the specified location. Once the software has been installed, the installer can be closed. The
SDS Reporter software will now be ready to use.
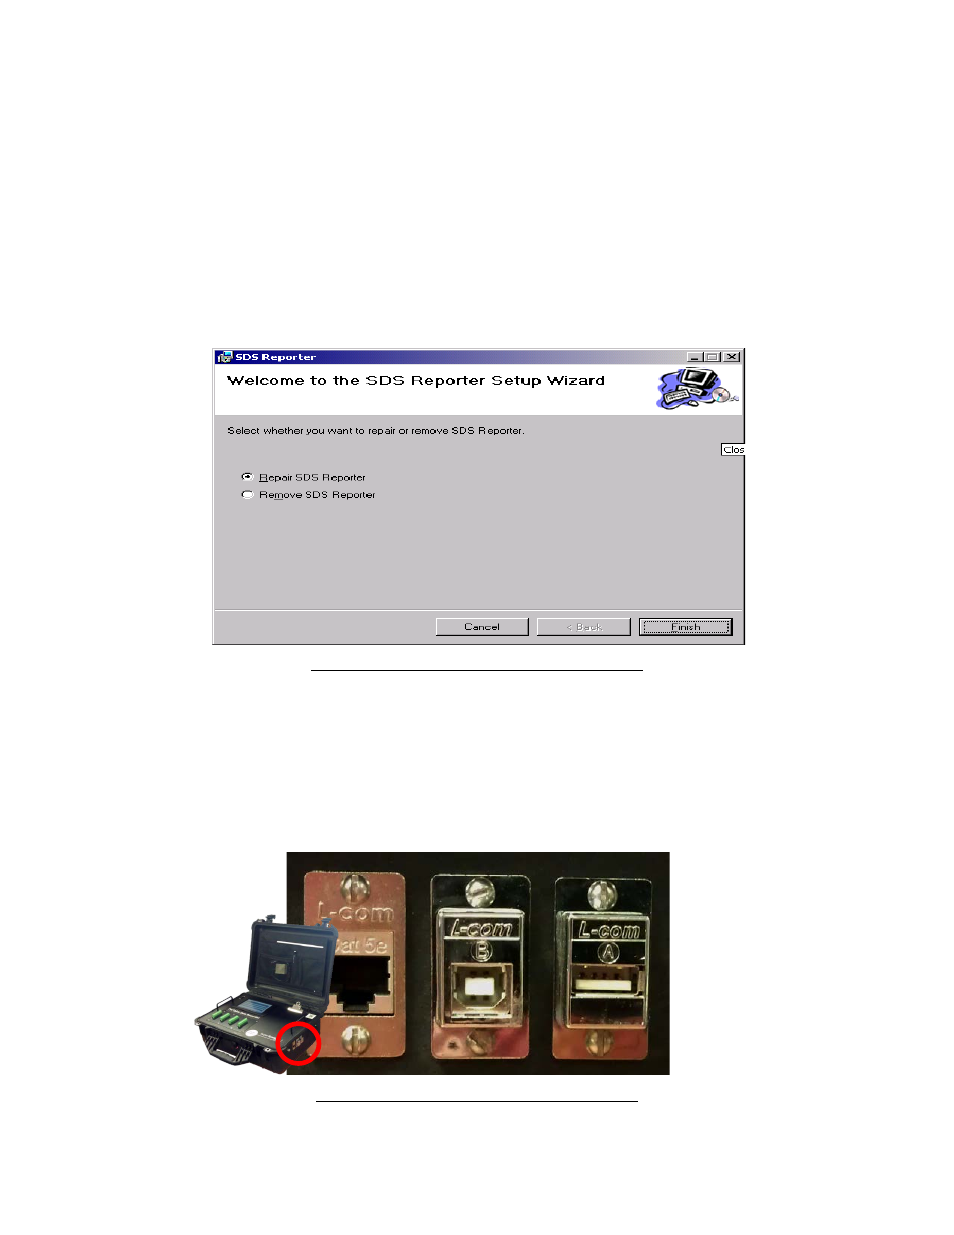
If there is a version of the SDS Reporter already installed on the computer, the installer will
either re-install the software (Repair SDS Reporter option) or remove the software from the
computer (Remove SDS Reporter option) (Figure 13). Clicking on the “Finish” button will
proceed with the selected action. Note: The installer does not remove any subfolders in the
main SDS folder. These files will have to be manually removed.
Figure 13 - Repair/Remove SDS Reporter screen
Connecting the SDS Data Logger to a Network
Every SDS Data Logger shipped includes an Ethernet crossover cable that will connect the data
logger to a network. Once the data logger is connected to a network, the SDS Reporter
software will be able to find it during any searches.
Connecting the data logger to your network or directly to a PC can be accomplished using the
Ethernet port on your data logger.
Figure 14 - Location of Ethernet and USB ports