Record playback, Figure 27: gvr3550 record playback toolbar, Record – Grandstream GVR3550 User Manual User Manual
Page 46: Playback, Igure, Gvr3550, Ecord, Layback, Oolbar, Able
Grandstream Networks, Inc.
GVR3550 User Manual
Page 46 of 120
Firmware Version 1.0.0.65
Last Updated: 10/2014
RECORD PLAYBACK
GVR3550 support synchronous 4 channels playback, users can specify the camera and playback date, or
make operations like Rewind, Single Frame Rewind/ Forward, Full Screen/Cancel Full Screen, Capture,
Lock Record, Tagging, lock Record, etc.
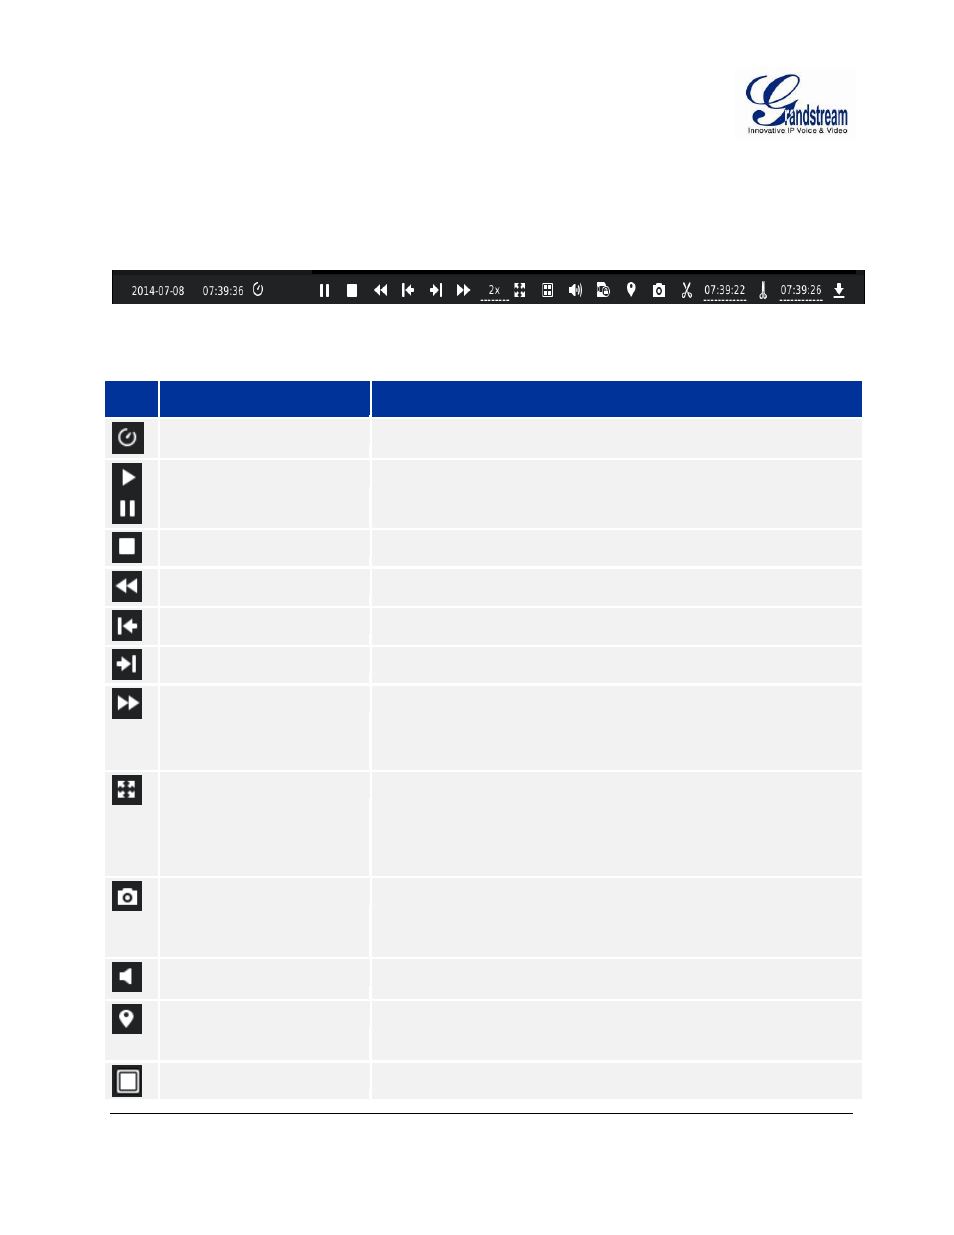
The playback toolbar is shown in Figure 27.
Figure 27: GVR3550 Record Playback Toolbar
Table 15: GXV3550 Record Playback Toolbar Explanation:
Icon
Name
Explanation
Manual Set Time
Click to enter the time setting page to set when to play the record.
Play/Pause
Play/pause record.
Stop
Stop playing record.
Rewind.
Play backward at certain speed, only available when in full screen.
Single Frame Rewind
Single frame play backward, only available when in full screen.
Single Frame Forward
Single frame play forward, only available when in full screen.
Speed Adjustment
To speed up the record, support 2 times, 4 times, 8 times and 16
time, 1 time, 1/2 time, 1/4 time, 1/8 time and 1/16 time fast forward.
Only available when in full screen.
Full screen
Select camera to enter full screen mode. Click the screen to bring up
the toolbar on the bottom of screen. The mouse located outside the
toolbar without any operations in three seconds would be hidden
automatically.
Capture
Snapshot the current screen and save the image to the external
storage device. If the capture failed, a prompt will be shown as in
Figure 28. Please insert the USB device then go to Main Menu-
>System Settings->Basic System Settings to set the save path
Volume
Click the button to bring up the volume control bar, drag it to adjust
the volume. Click the button again to close the control bar.
Tagging
Click the button to bring up the tagging setting page as shown in
Figure 29. Fill in the "Tag Name" input box and then click the
"Save" button.
1 Window.
Click a screen to display.