Formax 6900 Series User Manual
Page 14
13/40
13/40
13/40
13/40
Envelope fingers adjustment
Envelope fingers adjustment
Envelope fingers adjustment
Envelope fingers adjustment
When the envelope stop position is correct the insert fingers
A (Fig. 19) can be adjusted. Adjust the fingers by loosening
the thumb screw on top of each finger (5 in total). Slide the
finger until the tip has entered about 5 mm (0,2 inch) into
the envelope. Re- tighten the screw. The fingers on either
side of the loc can be moved sideways to the desired
position. Place the outer fingers about 10 mm (0,4 inch)
from the edges of the envelope.
Check the finger positions when changing to a different type
of envelope.
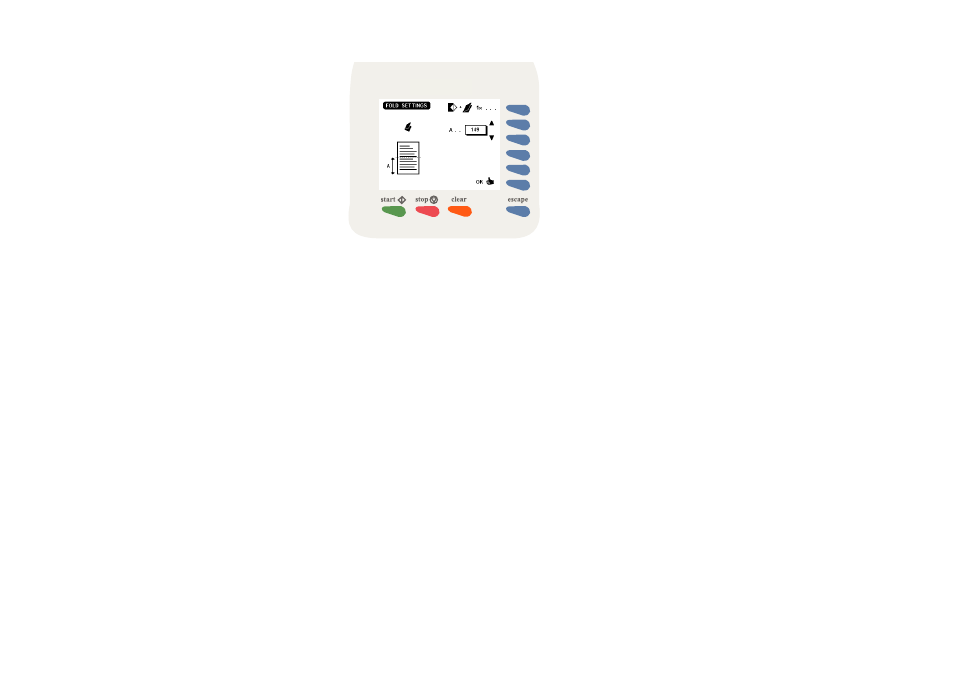
Fig. 20
Fine tuning the folder settings
Fine tuning the folder settings
Fine tuning the folder settings
Fine tuning the folder settings
In the 6900 Series, if and when the electronic folder FO-3 is used,
the operator has the possibility to adjust the (mechanical) folder
settings during the execution of a specific job. This might be
neccesary for instance when adapting the fold settings to
the current mechanical paper parameters (thickness,
sturdiness et cetera).
After pressing key 5 in figure 18 the menu of figure 20
appears.
The following functions are available:
• test for a folded document 1x (key 1). It makes sense to
do this in the same menu screen.
• Increase/ decrease value of fold setting A (keys 2 and
3). Basically there is no limitation in the values. The
possibilities are same as in the equivalent settings of the
job menu (FO settings).
• as keys 2 and 3, for fold setting B, if relevant (keys 4 and
5). This depends on the fold type. Setting B is relevant for
all fold types except single fold. Note that you cannot
change the fold type in this menu.
• enter and effectuate the settings (key 6). Back to the menu
"test run" menu of figure 18.
• discard the settings (Esc). Back to the "test run" menu of
figure 18.
Key
1
2
3
4
5
6