Figure – Daktronics Venus DataStreamer User Manual
Page 66
60
Creating Messages for the Panelized DataTrac
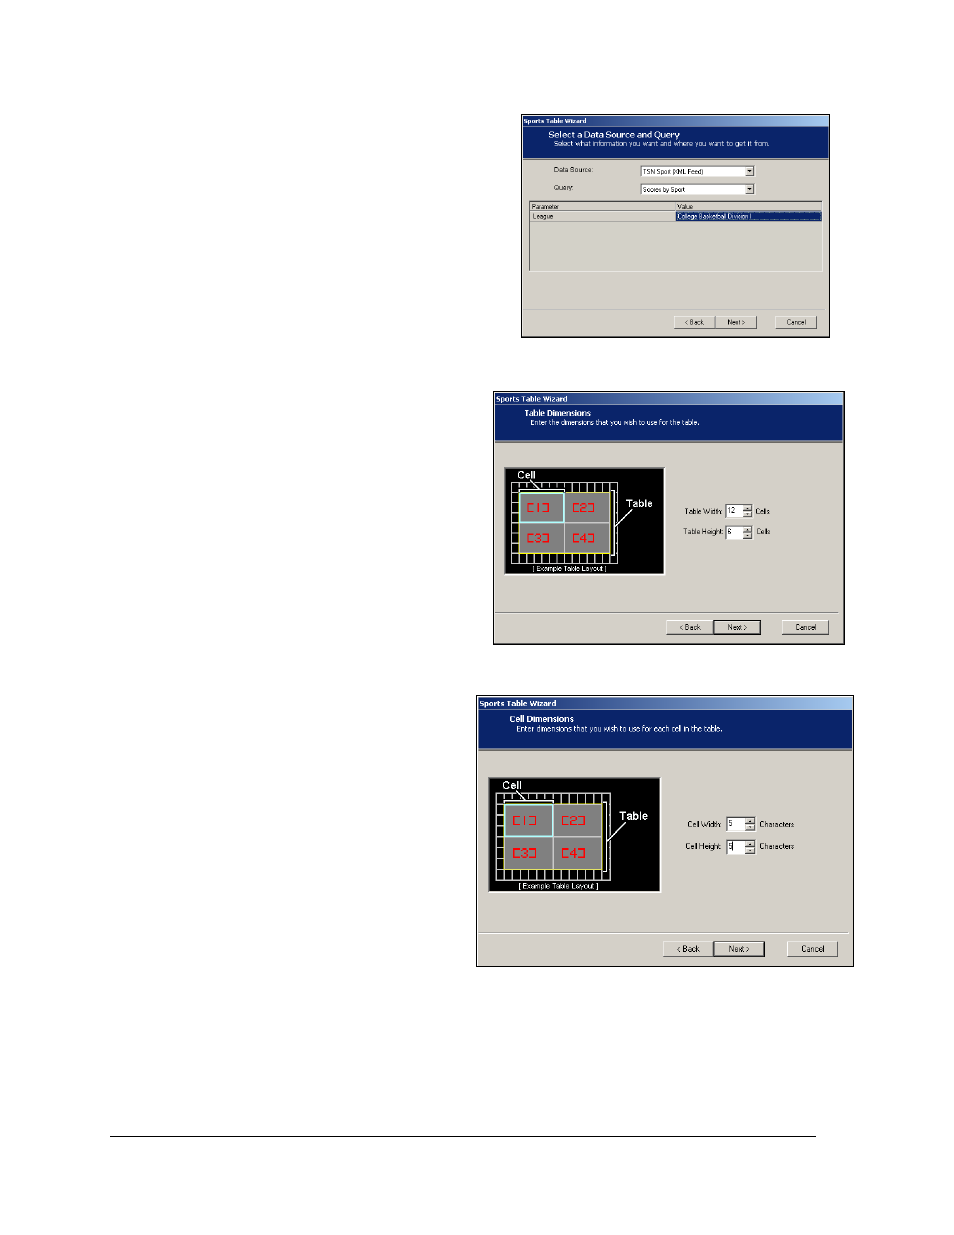
3. Click the up and down arrows next to
the Table Width field to set the number of
columns which the table will contain as
shown in Figure 108. Repeat this step in
Table Height to set the number of rows
the table will contain. Click Next.
4. Click the up and down arrows to set the
width and height of each cell within the
table as shown in Figure 109. Click
Next.
5. Click under the Field column in the table
and select the information to be
displayed in that field of the table as
shown in Figure 110.
6. In the Line and Character columns,
set the line and character which the
field should display within each
cell. For example, line 1 is the very
top line of the defined cell and
character 2 is the second column in
from the left of the defined cell.
7. Click in the Width column to set the
maximum number of characters
available for the field to be
displayed.
8. Click in the Height field to set the
number of rows to be used for
displaying the information. Note:
If a field is wider than the
allowed width, set the height
higher than one and the data will
wrap onto the additional rows.
9. Click in the Justify and Color
column to set the appearance of
the data in the field.
Figure 107: Sports Data Source Dialog
Figure 108: Setting Table Dimensions
Figure 109: Sports Cell Dimensions