3 adding a time/date frame, Adding a time/date frame – Daktronics Venus DataStreamer User Manual
Page 41
Creating Messages for a DAKTicker
35
6. Click the Font tab to choose the type of font for the message and any other attributes
the font should have.
7. Click in the Description field to enter the name for this text frame. This helps to
differentiate between frames.
8. Click the File menu and select Save As and the Save dialog window will appear.
9. Enter a name for the message and click OK to save the message or Cancel to void the
action. Once the message is saved, it is ready to be sent to the display via the Playlist
Manager.
6.3 Adding a Time/Date Frame
Both Date and Time Frames can be displayed on the DAKTicker. To add either a date or a
time frame, complete the following steps:
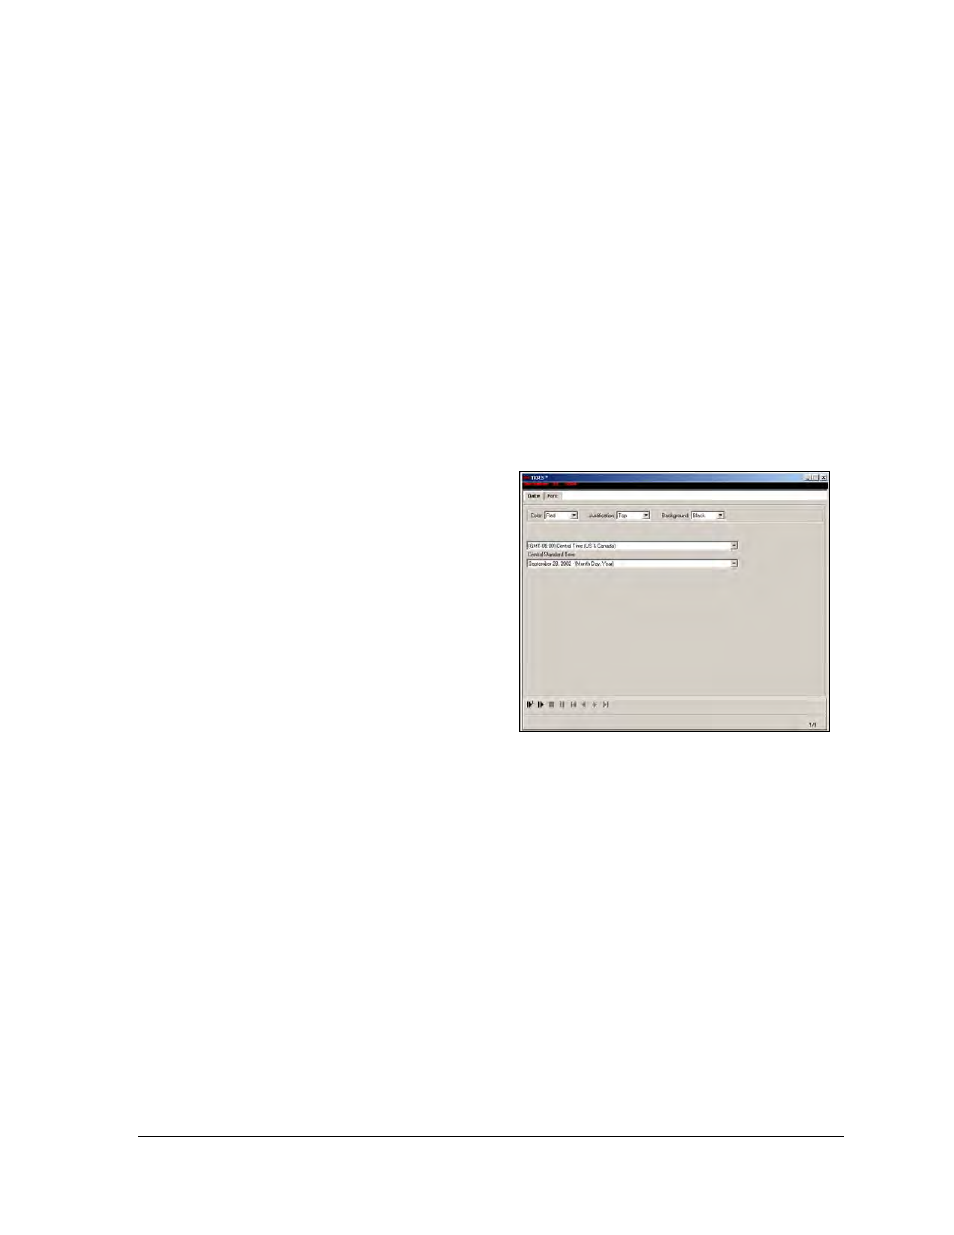
1. Click the Date/Time icon located on
the left toolbar. The Date/Time
window will appear as a new frame
in the message as shown in Figure
2. Click the down arrow to set the
color that the date or time will
appear.
3. Choose the alignment of the date or
time field by clicking on the down
arrow next to the Justification field
and then choosing Center, Top, or
Bottom.
4. Choose the background color by clicking on the down arrow next to the background
field and selecting the desired color.
Note: This feature is available only for RGB displays.
5. Choose the time zone for the date or time information to be displayed.
Note: The time displayed will show a 30 to 90 second delay compared to the clock
on the control computer.
6. Choose the format for the time and/or date to appear.
7. Click the File menu and click Save.
Figure 56: Time and Date Frame