Chapter 3 installing the mtas shelf – Comtest Networks MTAS-192 METALLIC TEST ACCESS SYSTEM User Manual
Page 23
CT-IG-MTAS192-2008-v1_8.doc
Comtest Networks
MTAS-192
June 2006
Installation Guide
17
Chapter 3
Installing the MTAS Shelf
3.1
Mounting the MTAS-192 Shelf
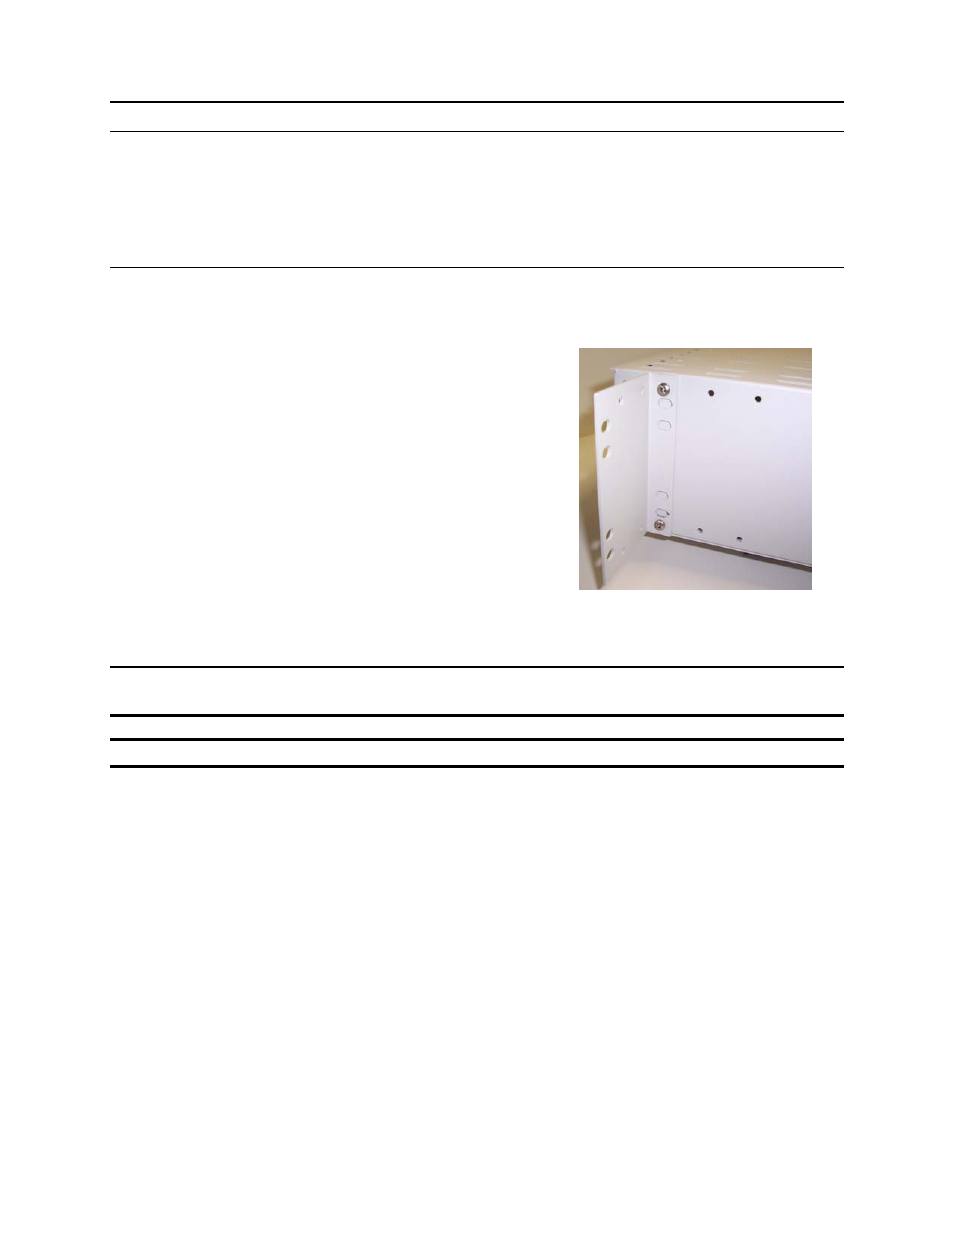
Step 1. The MTAS-192 shelf comes with two (2)
universal mounting flanges and four (4)
10-32 screws and washers. Attach the
left and right side universal mounting
flanges to the MTAS-192 shelf using the
supplied screws to set the depth of the
shelf with respect to the equipment rack.
For 19" racks, screw the long side of the
mounting flange to the shelf using the
supplied 10-32 screws and lock washers.
For 23" racks, screw the short side of the
mounting flange to the shelf.
Figure 15: Universal Mounting Flanges
Screwed to MTAS Shelf
WARNING: Using non-standard screws may pierce line cards in the shelf/chassis. Use
only bolts shipped with the MTAS-192 mounting flanges.
NOTE: Do not over-torque the screws.
Step 2. Once the mounting flanges are attached, screw the MTAS-192 shelf to the
equipment rack at the correct, pre-determined height using four 10-32 screws
(not supplied).
3.2
Installing the MTAS Circuit Packs
Step 1. Unpack the MTAS cards, observing all ESD precautions. Wear a grounding
wrist strap and/or use an anti-static mat.
Step 2. Grasp the faceplate of the card with both hands, one hand at the top of the
faceplate, and one hand on the bottom.
Step 3. Pull the black card ejector/latch all the way back and insert the card into the
shelf using the guides at the top and bottom of the shelf to seat the card (see
Figure 16: Inserting a LINE Card).