Baby Lock Destiny (BLDY) Instruction & Reference Guide-Part1 User Manual
Page 164
SEWING THE STITCHES
162
→ Depending on the stitch, the straight stitch with the
middle (center) needle position is selected,
regardless of the preset stitch width.
*
Regardless of the setting selected in the machine
settings screen, the brightness of the light changes to
“5”.
f
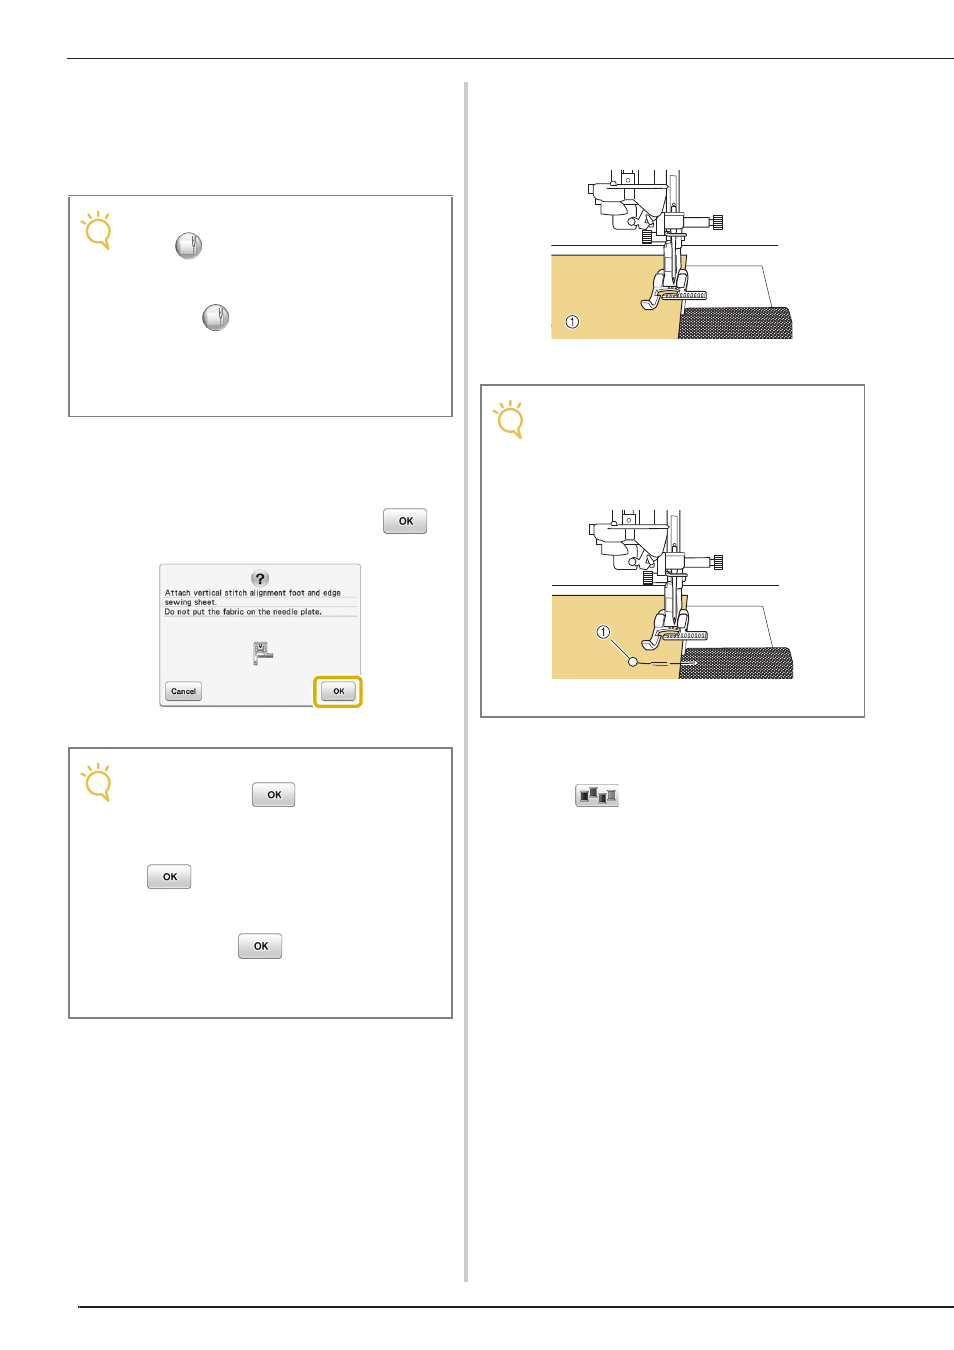
When the message shown below appears,
check that the vertical stitch alignment foot
“V” is attached and that the edge sewing
sheet is positioned, and then press
.
→ Then the edge sewing window appears.
g
Place the fabric under the presser foot.
h
Move the fabric to the desired position for
edge sewing. Position the fabric so that its
edge is as straight as possible.
a Fabric
i
Check that the built-in camera is correctly
detecting the fabric.
*
Press
to change the colors of the fabric edge
indicator line and starting point according to the
color of the fabric. Each press of this key changes
the color of the fabric edge indicator line to red
Note
• After
is pressed, the stitch width and
stitch length cannot be changed. Change
the stitch width and stitch length before
pressing .
• Some decorative stitches will function with
the edge sewing. When selecting a stitch, if
it is not applicable to this function, an error
message will appear.
Note
• Before pressing
, install the vertical
stitch alignment foot “V” and position the
edge sewing sheet; otherwise, the built-in
camera cannot detect the fabric.
If
is pressed before the edge sewing
sheet is positioned, the message shown in
step
f
appears again.
• After pressing
, do not place your
hands or any other object near the needle
plate until the message “Recognizing…”
disappears.
Note
• When pinning the fabric, insert the pins as
shown below. If the head of the pin extends
off the edge of the fabric, the fabric may not
be correctly detected.
a Basting pin