Baby Lock Destiny (BLDY) Instruction & Reference Guide-Part1 User Manual
Page 105
USING SENSOR FUNCTIONS WITH SEWING STITCH
Se
wi
n
g Ba
sics
103
2
Using the Sensor Pen to Specify
the Sewing End Point
Before start sewing, test the pattern first from steps
a
to
c
to see if the stitch can be used with this
function. Before starting to sew, mark the end
point.
a
Start sewing after a stitch has been selected,
and then stop the machine when the
desired sewing end point enters the sensor
pen touch range.
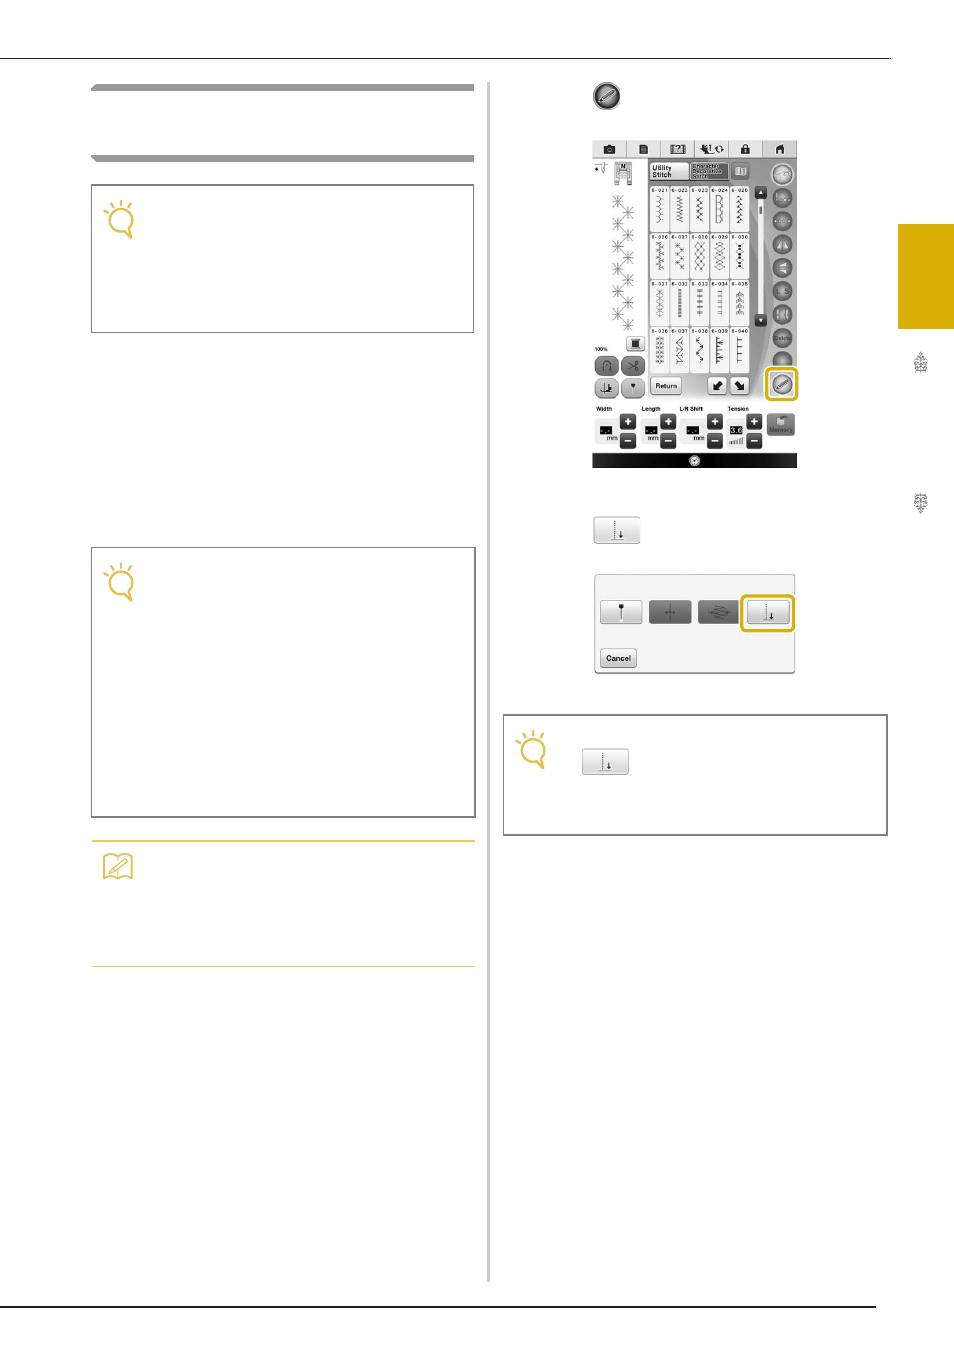
b
Press .
→ The sensor functions screen appears.
c
Press .
→ The sewing end point setting screen appears.
Note
• In order to specify the end point of a longer
piece of fabric more accurately, use the
sensor pen to touch the end point twice. Be
sure to touch the same point.
• Before starting to sew, mark the end point
of this longer piece of fabric.
Note
• If the needle drop point is being specified
with the sensor pen within 70 mm (approx.
2-3/4 inches) from the sewing end point, the
machine will not require the second touch.
After completing step
d
, continue with
step
h
. However, the actual sewing end
point may be slightly different than the
specified location.
In order to specify the location accurately,
stop the machine at a location more than
70 mm (approx. 2-3/4 inches) away from
the sewing end point before specifying it for
the first time.
Memo
• If the needle drop point is greater than
100 mm (approx. 4 inches) from the
selected ending point using the sensor pen,
a more accurate position can be specified
the second time that the point is touched.
Note
• If
is not available, the sewing end
point cannot be specified with the selected
stitch pattern. Select a different stitch
pattern.