Programmed edit recording, R 6 j – Aiwa NSX-A508 User Manual
Page 16
Attention! The text in this document has been recognized automatically. To view the original document, you can use the "Original mode".
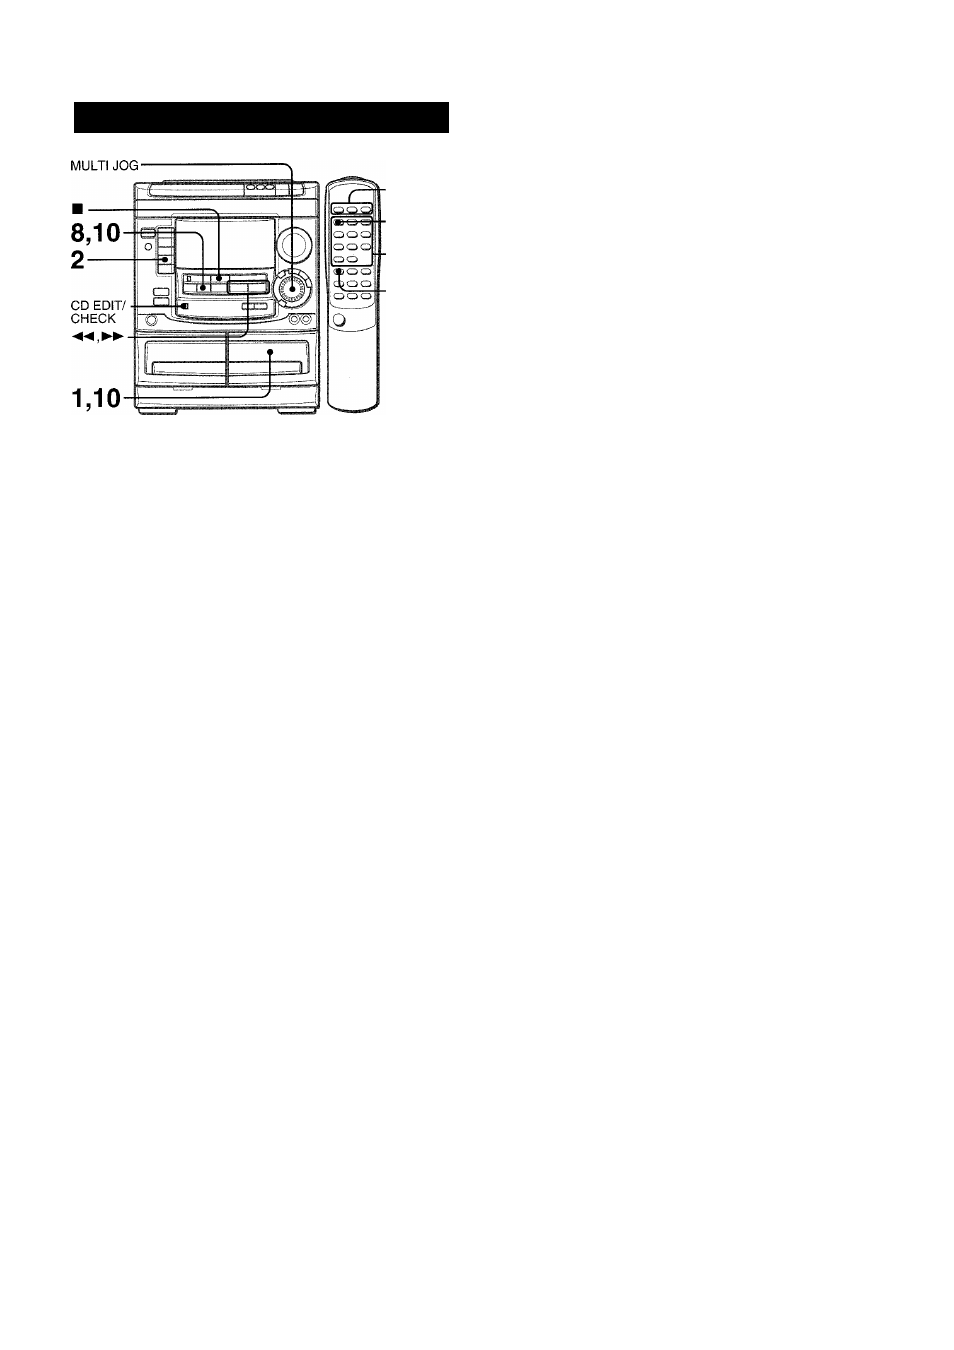
PROGRAMMED EDIT RECORDING
5
3.7.8.9
4,5
3.7.8.9
In the programmed edit recording function the tracks can be
programmed while checking the remaining time on each side of
the tape.
The programmed edit recording will not start from a point halfway
in the tape. The tape must be recorded on from the beginning of
either side.
1 Insert the tape into deck 2.
Insert the tape with the side to be recorded on first facing out
from the unit.
2 Press CD and load the disc(s).
3 Press EDIT/CHECK twice while pressing SHIFT
on the remote control.
“EDIT” and “PRGM” appear.
• When “Al” is displayed, press
EDIT/CHECK
while pressing
SHIFT
again.
4 Press numbered buttons on the remote control
to designate the tape length.
10 to 99 minutes can be specified.
• The ◄◄, ►► or
MULTI JOG
are also available to designate
the tape length.
Tape length
Tape side A (front side)
.. CikA
N
o
R.... 30»
Maximum recording
time for side A
5
Press DISC DIRECT PLAY 1-3 to select a disc.
Then, press numbered buttons 0-9 and + 10 on
the remote control to program a track.
Example: To select the 10th track of disc 2, press
DISC
DIRECT PLAY 2,
then press
+10
and
0.
Remaining
time
Programmed
on side A
tracks
R 6 j-......01
O
..25 ii 41
6 Repeat step 5 for the rest of the tracks for side
A.
A track whose playing time is longer than the remaining time
cannot be programmed.
7 Press EDIT/CHECK while pressing SHIFT on the
remote control to select side B and program the
tracks for side B.
After confirming “B” on the display, repeat step 5.
Tape side B (reverse side)
I
.0^
Hi..........;;
1....
_S:
8
Press EDIT/CHECK while pressing SHIFT to
select side A and press # REC/REC MUTE to
start recording.
CD play and recording of edited tracks for the first side start
simultaneously. When the last track programmed for side A
is finished, deck 2 enters the recording stop mode. After
entering the recording stop mode, go to step 9.
9 Press EDIT/CHECK while pressing SHIFT on the
remote control for recording of the second side.
“B” is displayed.
10 Turn over the tape in deck 2 and press # REC/
REC MUTE to start recording.
Recording starts.
To stop recording
Press ■. Recording and CD play stop simultaneously.
To check the order of the programmed track numbers
Before recording, press
EDIT/CHECK
while pressing
SHIFT
on
the remote control to select side A or B, and press ◄◄ or
I
repeatedly.
Disc number Track number Program number
I
I
I
■V.
-----,
:.vr_ _
I
Tape side
B
8 :F‘....... ©3
n
;
Programmed track
numbers
To change the program of each side
Press
EDIT/CHECK
while pressing
SHIFT
on the remote control
to select side A or B, and press ■
CLEAR
to clear the program
on the selected side. Then program tracks again.
To clear the edit program
Press
■ CLEAR
twice so that “EDIT” disappears on the display.
*
CD EDIT/CHECK on the unit is also available instead of EDIT CHECK
on the remote control.
_N
15
ENGLISH