Top Flite TOPA0500 User Manual
Page 59
COVERING SEQUENCE
Refer to the painting section that follows before you
cover the fuse.
FUSELAGE
1. Stab bottoms, then stab tops
2. Fin
3. Aft fuse bottom
4. Forward fuse bottom (two pieces)
5. One fuse side, then the other (with the two halves
joining in the middle of the top)
6. Nose cone (this was done in four pieces)
7. Bottom, then top of elevators
8. Rudder
WING
1. One side, then the other of nacelle bottoms
2. One side, then the other of nacelle tops
3. Bottom of center section
4. Bottom of one, then the other outer panel
5. Top of center section
6. Top of one, then the other outer panel
7. Bottom, then top of ailerons
8. Bottom of flaps
PAINTING
Earlier in the manual we recommended you primer the
cabin top, wing fillet and the tail cone before you cover
the fuselage and add the color paint after you cover the
model. To do it this way, first roughen the plastic parts
attached to the fuse with 320-grit sandpaper, then spray
on a coat of primer. We used Top Flite LustreKote for
everything that needed to be painted or fuel proofed.
After the primer dries, sand with 400-grit. Wet sanding
works best because it keeps your sandpaper from
becoming clogged, but of course you want to avoid
getting the rest of the balsa fuse wet. You may wet sand
if you are careful by shaking most of the water off your
sandpaper after you wet it. Keep a cloth handy to wipe
water from the balsa. After you are done wet sanding,
allow the fuse to dry for a while, then dry sand it once
more to smooth surrounding balsa that may have been
wetted. Wet sand and prime the engine cowls too. Now
the fuse is ready for covering.
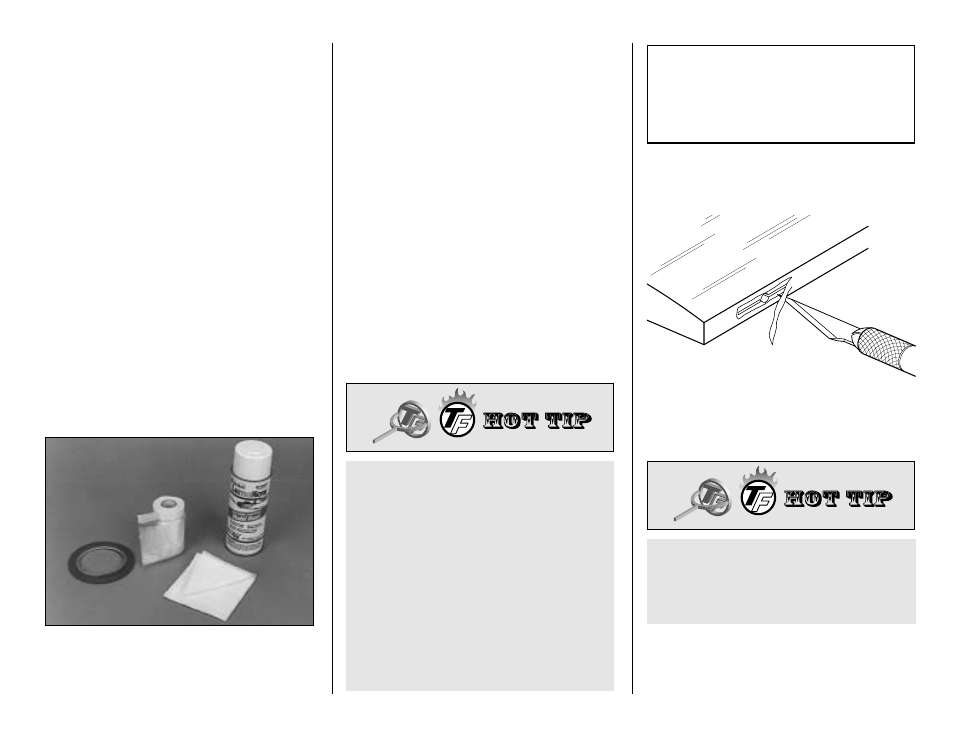
For masking fine lines, use Top Flite Fine Line Masking
Tape (TOPR8012) and use Kyosho Masking Cover
Sheet (KYOR1040) for masking large areas. Lightly use
a Top Flite Tack Cloth (TOPR2185) to remove dust just
before you paint.
After the cabin top, wing fillets and tail cone are primed
and the fuse is covered, spray on your colors to the
plastic. Mask the seam between the covering and the
plastic parts so you don’t get paint on the covering. You
can cover the small seam between the paint and the
covering with a panel line.
JOIN THE CONTROL SURFACES
❏
1. Start with the stab and elevators. Remove a small
strip of covering from the hinge slots.
❏
2. Fit the hinges in the stab or elevators only (without
glue). Fill the torque rod holes in the elevators with epoxy.
Before you glue in the hinges, apply a few drops of
household oil to a tissue. Wipe the tissue over the
trailing edge of the stab and the leading edge of both
elevators coating them with a fine film of oil. This will
prevent excess CA you use for gluing in the hinges
from sticking to the elevator and stab at the hinge gap.
AWAY FROM THE SLOT
CUT THE COVERING
Important: If you are using aluminum paint (as we
did on our prototype), do not sand the paint before
you apply your clear coat. Sanding aluminum adds a
scuffed
appearance that the clear coat will not
remove. Apply your clear coat directly over the
aluminum paint and it will match the MonoKote
aluminum well.
The finer a layer of paint you can apply to the plastic
on the fuselage, the smaller and therefore the less
visible the seam between the paint and the covering
will be. To apply the finest possible amount of
LustreKote to the plastic parts on the fuselage, we’ve
found that you can apply LustreKote with an airbrush.
Of course, LustreKote is only available in a spray can.
To get LustreKote into your airbrush, use the method
described earlier to get it into a container (spray it
through a tube). You should be able to spray
unthinned LustreKote directly through your airbrush,
but if it does require thinning, experiment with
different kinds of thinner. We’ve had great success
with K&B thinner. Of course, you should test a small
area first. We also recommend you spray on a final
coat of clear to bring the LustreKote to the same
shine as the MonoKote— especially over aluminum.
- 59 -