Design concepts – TC-Helicon VoiceLive 3 - Reference Manual User Manual
Page 9
VoiceLive 3 – Reference manual (2014-03-29) 7
Welcome to the Voice-
Live 3 reference manual!
First, thank you so much for taking the leap and
purchasing VoiceLive 3. We at TC-Helicon are
honored that you chose to spend your hard-
earned money on our vocal, guitar and loop
processing system – and we are confident that
VoiceLive 3 will fundamentally change your per-
formances.
As you discovered in the Quick Start Guide (the
short manual that came in the box), VoiceLive 3
is easy to use at the top level but offers unprec-
edented depth in both control and editing. We
recommend you treat your VoiceLive 3 like any
other new instrument and dedicate some time to
learning how to use it.
Yes, that means RTFM!
Read the… full manual.
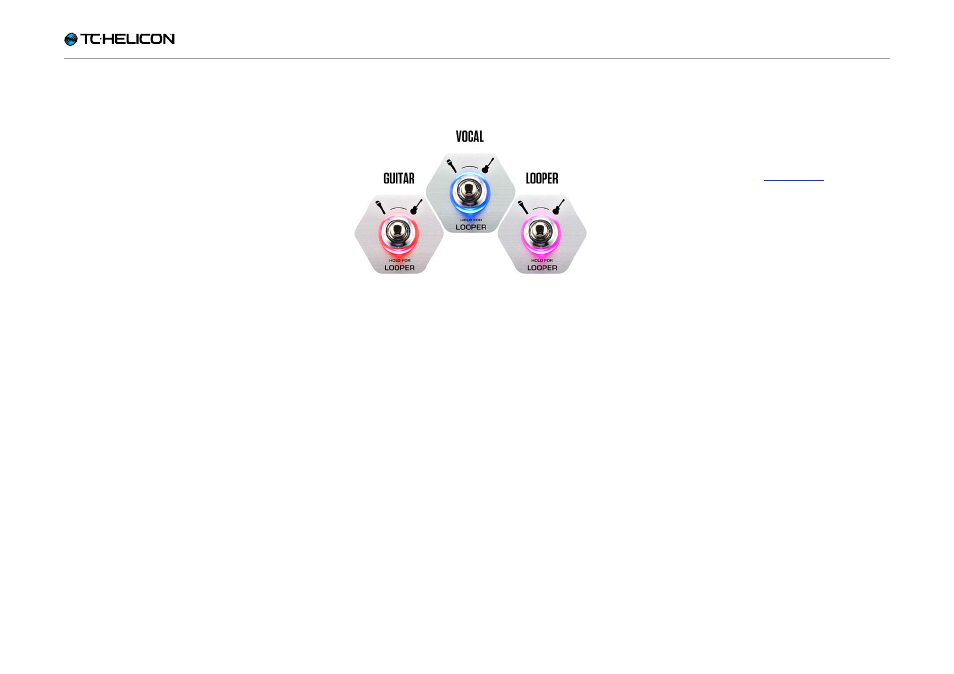
Design concepts
Layers & footswitch mapping
VoiceLive 3 is built on the fundamental concept
of “layers”. From a design perspective, there are
thee layers to work with:
– Vocal
– Guitar
– Looping
You may switch between layers using the Layer
footswitch, which we will discuss in more detail
later in the manual.
Essentially, when you tap the Layer footswitch,
the effects associated with the six effect foot-
switches (labeled µMod, Delay, Reverb, HIT,
Double/Comp, Harmony/Drive) will change from
vocal effects
to
guitar effects
or
looping con-
trols
.
You can even remap footswitches within a lay-
er or from one layer to another. This approach
solves one of the most common requests from
our massively popular nit: “I love
it – but I want the ‘X’ footswitch to be where the
‘Y’ footswitch is”.
We also recognize that layers and remappable
footswitches can be a bit daunting to learn.
This is why we have designed the system to be
consistent and straightforward. Once you have
learned how to remap one footswitch, you know
how to remap them all.