Getting started – setting up – TC-Helicon VoiceLive 3 - Reference Manual User Manual
Page 26
VoiceLive 3 overview
VoiceLive 3 – Reference manual (2014-03-29) 24
Getting started – setting up
Instead of jumping directly into a whole bunch of
descriptions of parameters and fine tuning con-
trols, now is a good time to back up a bit and ap-
proach VoiceLive 3 from a “Let’s use this thing!”
perspective.
First, if you haven’t read through thhat came in the box, we sug-
gest you do so now.
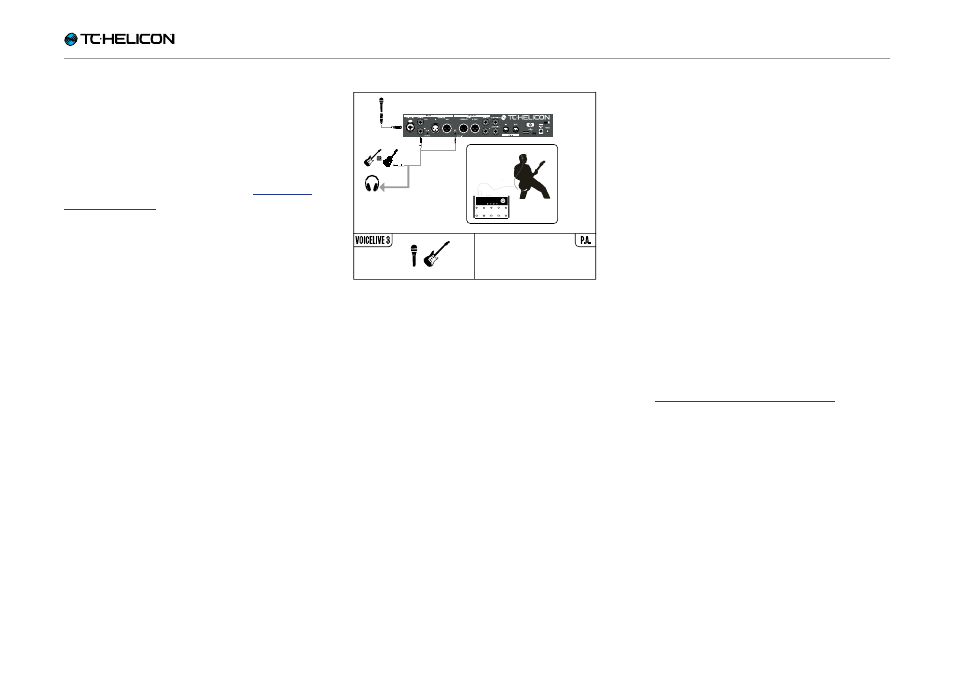
The minimum gear you will need from here is:
– Your VoiceLive 3
– A microphone – either
– Dynamic (MP-75, SM58, OM5 etc.)
– Condenser (Beta 87A, enCore 300 etc.)
– An XLR cable (microphone cable) to connect
your microphone to VoiceLive 3
– A guitar or MIDI keyboard, if applicable
– Headphones
– The Guitar/Headphone cable that came with
your VoiceLive 3.
If you would prefer to use VoiceLive 3 via your
PA, you will need one or two additional XLR
cables to connect VoiceLive 3’s XLR outputs to
inputs at your mixer. A lot of PAs are mono and
only require one XLR connection. If you have a
stereo PA, you will want to connect both Voice-
Live 3 XLR outputs to your mixer.
Connecting VoiceLive 3 to your mixer/PA
– Determine whether your mixer/PA is stereo or
mono.
– Connect the appropriate number of cables
from VoiceLive 3’s XLR outputs to the mixer/
PA inputs (1 for mono, 2 for stereo).
! If your P.A. is Stereo, you will need to pan one
channel left and the other one right in order to
receive the benefits of VoiceLive 3’s stereo ef-
fects.
– Watch the Craig’s Corner episode about con-
necting to a mixer: