Managing esata, Checking the s.m.a.r.t. information – Interlogix DVR 41 User Manual User Manual
Page 131
12BChapter 13: HDD management
TruVision DVR 41 User Manual
125
Managing eSATA
If you are using an external e-SATA device connected to the DVR, you can
configure the e-SATA to record/capture or export video.
Select the Export option when using the eSATA as a backup. See “Using Quick
Archive” on page 65 for further information.
Select the Record/Capture option to record and capture video. Information on the
eSATA for this purpose can be seen under
System settings > Hard Drive >
HDD Information
.
To set up the e-SATA device:
1. Click the
Video Schedule
icon in the menu toolbar and select
More
Settings
.
2. Under
eSATA
, select the desired option:
Record/Capture
or
Export
.
3. Click
Apply
to save the settings.
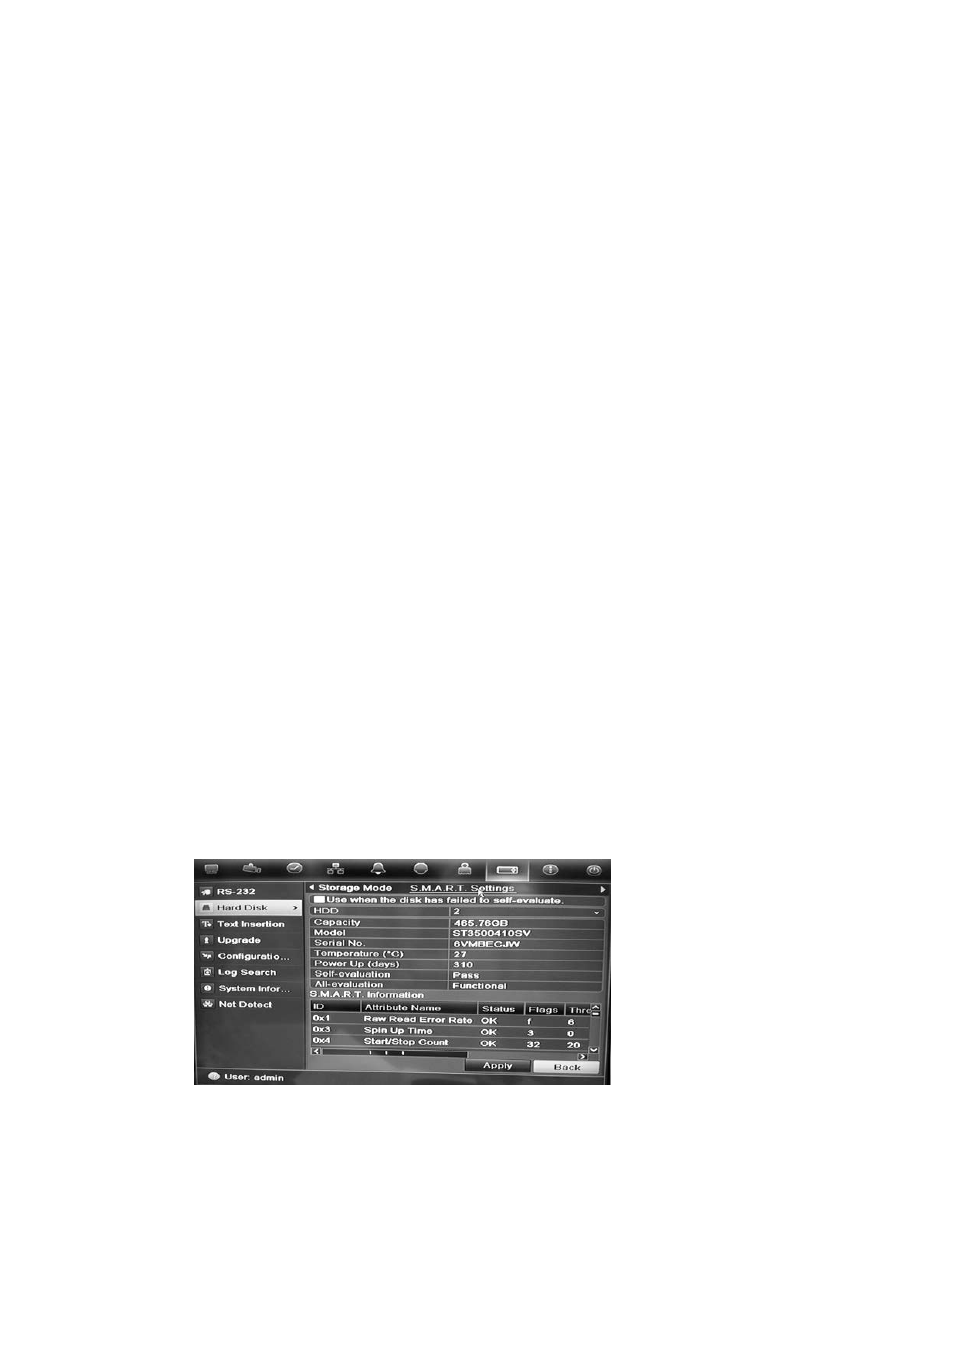
Checking the S.M.A.R.T. information
S.M.A.R.T. (Self-Monitoring, Analysis and Reporting Technology) reports on a
variety of hard drive attributes. It helps ensure that the HDD is functioning
properly at all times while protecting video stored on the hard drive.
To view the S.M.A.R.T. information of a HDD:
1. Click the
System Settings
icon in the menu toolbar and then click
Hard Disk
.
2. Select the
S.M.A.R.T.
tab to display its screen.
3. Select the HDD whose data you want to see. A detail listing of S.M.A.R.T.
information is displayed.
4. If you want to continue to use a HDD when the S.M.A.R.T. test has failed,
check the box
Use when the disk has failed to self-evaluate
. Click
Apply
to save the settings.