Great Planes P-51D Mustang 40 Kit - GPMA0175 User Manual
Page 42
D 2. The proper method for installing the "Laminated
Hinges" is as follows (elevator is used as an example):
1. Slide all hinges halfway into the elevator hinge slots,
then insert the hinges into the hinge slots in the
stabilizer.
2. Adjust the position of the elevators so they match the
stab at the tips. Pull the elevators away from the stab
a tiny bit (approximately 1/64", or the thickness of 4
sheets of paper).
3. Verify that the elevators will move up and down
without binding.
4. With a pointed applicator tip, apply several drops of
thin CA glue to the top and bottom of each hinge.
5. Using a folded tissue, immediately absorb any excess
CA glue that may have gotten onto the covering
material.
6. After the glue hardens, the elevators will seem quite
stiff. Working the elevators fully up and down several
times will loosen them up.
D 3. Cut and install a filler block (from scrap 1/4" balsa)
behind the elevator joiner wire, between the bottom of the fin
and the top of the fuselage.
D 4. Using coarse sandpaper, roughen the part of the
aileron torque rods that will be glued into the ailerons, then
clean off the sanded portion of the rods with alcohol or a
degreasing solvent. Roughen and clean the tailgear wire in
the same manner. Using a toothpick, apply a small amount of
Vaseline where the torque rods and tailgear wire enter the
nylon bearing tubes (to prevent glue from getting inside and
locking them up).
D 5. Using a small stick, work a generous amount of
epoxy into the tailgear hole in the rudder and the tailgear
bearing slot in the aft end of the fuselage, push the rudder and
rudder hinges into place and wipe off all excess epoxy. Now
carefully position the rudder with respect to the fin, and glue
the hinges with thin CA, in the same manner as the elevator
hinges.
D 6. Using a small stick, work a generous amount of
epoxy into the aileron torque rod holes. Push the ailerons and
aileron hinges into place and wipe off all excess epoxy. Now
carefully position the ailerons with respect to the wing, and
glue the hinges with thin CA, in the same manner as the
elevator hinges.
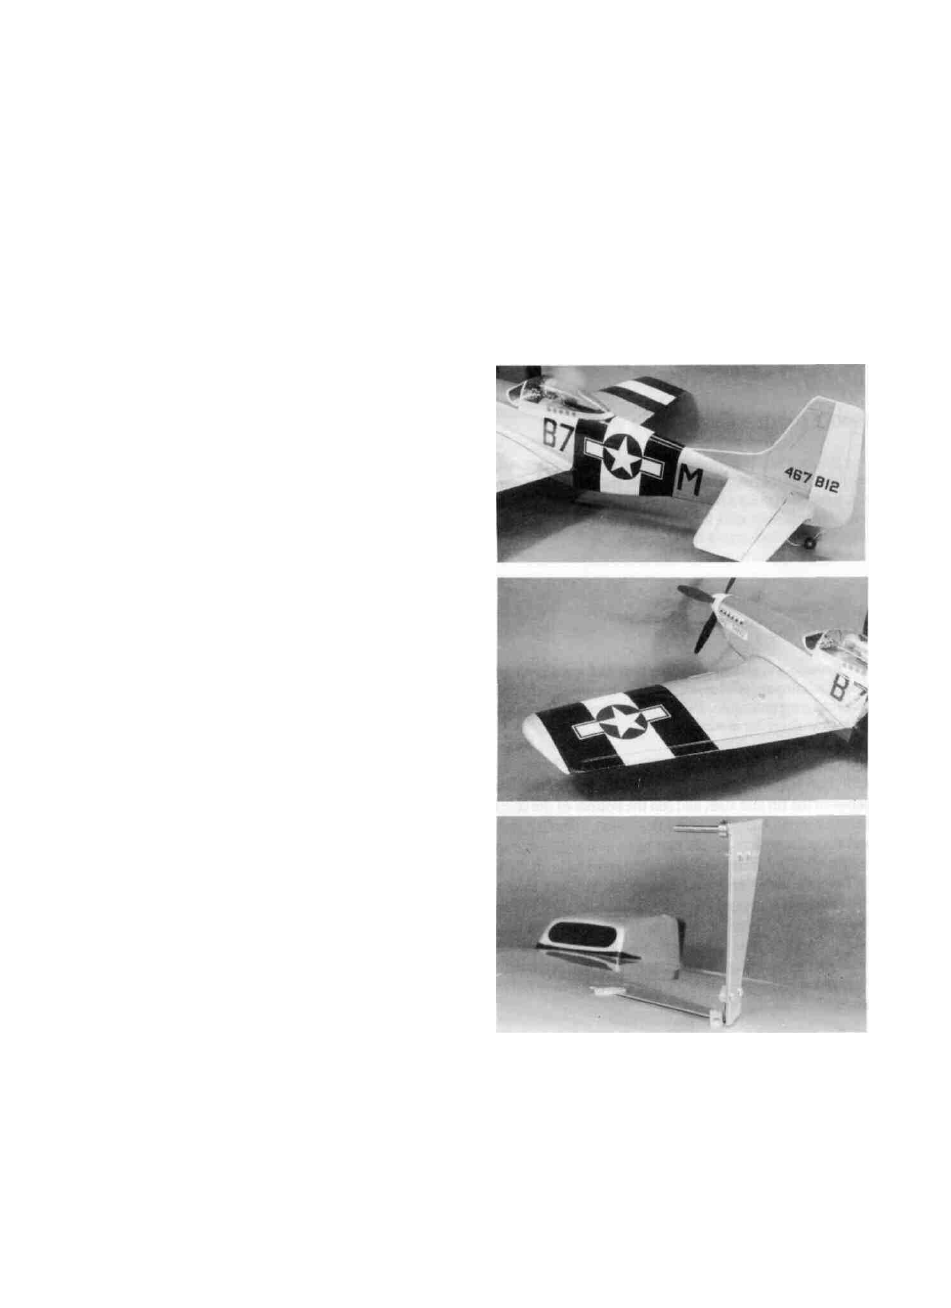
APPLY DECALS AND TRIM
NOTE: The decal sheet does not give you everything
you need to completely trim your model; but it does
provide all the intricate detailing and difficult items. The
complete trim layout of our prototype is shown on the
back of the fuselage plan.
On our prototypes, the black and white invasion stripes
for the wing were made up in advance, using straight strips of
Super Monokote with 1/4" overlaps*, then applied to the
wing as a unit. The invasion stripes for the fuselage were
applied one stripe at a time (see the pattern for this on the trim
plan). *When overlapping Monokote, set the iron at low heat
when first tacking everything together, then turn up the heat
and go over the joints to insure a strong bond at the overlaps.
D 1. Study the plans and the photos on the box to deter-
mine where to place the decals.
42