Great Planes P-51D Mustang 40 Kit - GPMA0175 User Manual
Page 23
PREPARE THE FIREWALL (F1) ASSEMBLE THE LOWER FUSELAGE
D 1. Tape the fuselage plan to your workbench and
cover the Fuse Bottom View with waxed paper.
D 1. Cut out the F1 template from the fuselage
plan sheet.Tape the template to F1 and use it as a
guide to locate the four holes. Drill 3/16" holes at
the bolt locations. Install the 6-32 blind nuts on
the back of F1. Press the blind nuts in with a vise,
or tap them in with a hammer.
Note: The engine mount centerline is offset
by 5/32" to compensate for the right thrust.
Note: The fuselage is assembled upside down.
D 2. Pin or tack glue (using 3M "77" Spray Adhesive)
the 1/8" die-cut balsa stab base accurately in
position on the plan. Align the front edge of the stab
base with the line on the plan.
D 2. Temporarily attach the engine mount to the
firewall with the 6-32 x 1" bolts and #6 flat washers.
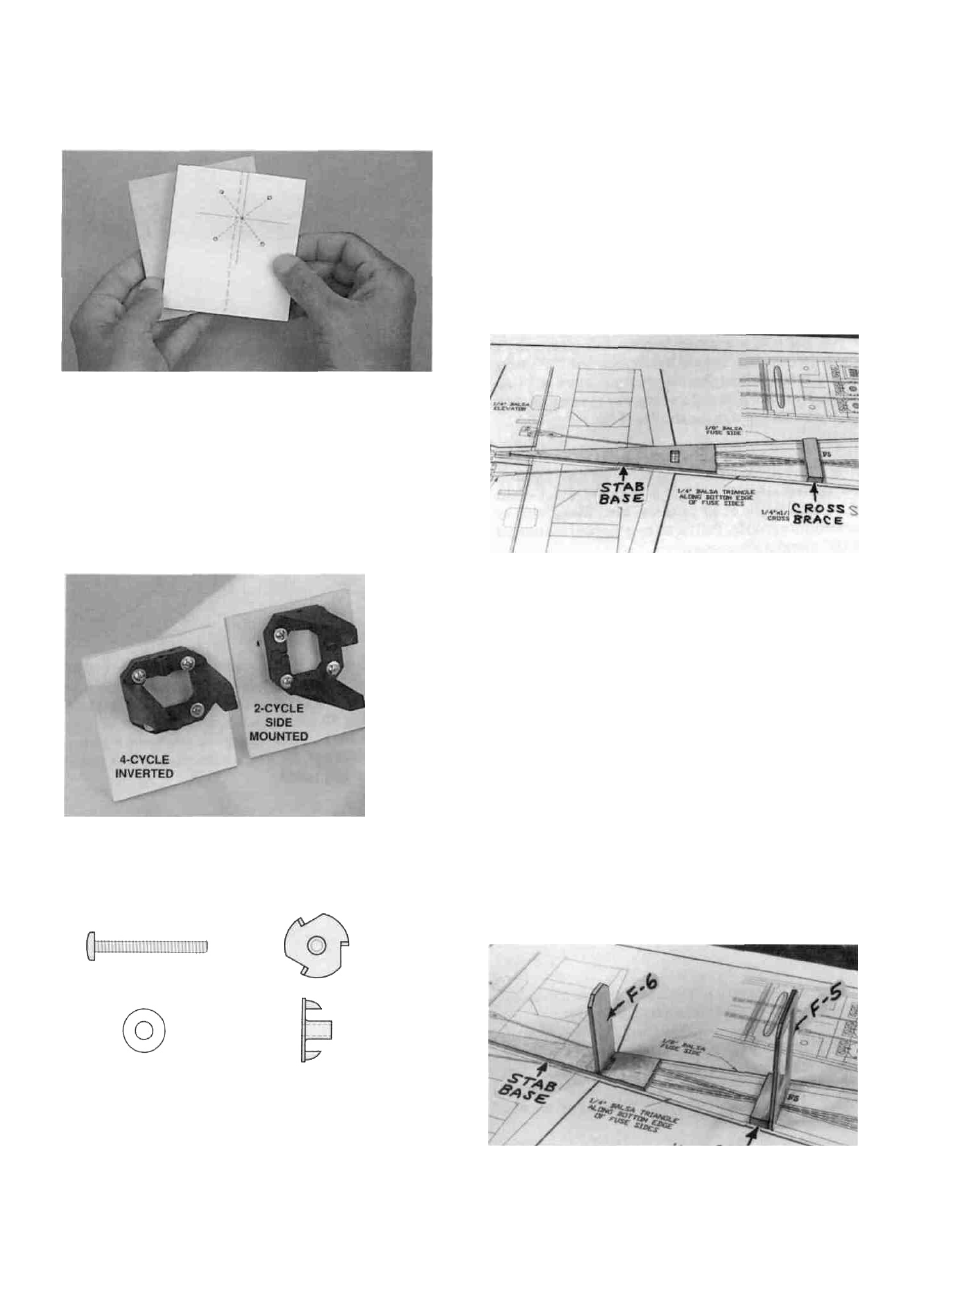
D 3. Accurately position the pre-cut 1/4" x 1/2"
balsa cross-brace on the plan, and pin it in place
behind F-5.
D 4. Trial fit former F-5 to the front of the
cross-brace (the former is upside down) and sand
the edges of F-5 slightly to match the angle of the
fuse sides. Glue F-5 to the cross-brace, making
sure it is installed perpendicular to the
building surface.
6-32 X 1"
Machine Screw
#6 Flat Washer
6-32
Blind Nut
23