Great Planes P-51D Mustang 40 Kit - GPMA0175 User Manual
Page 17
NOTE: If you have previous experience with applying
fiberglass, feel free to use your favorite method, providing
that it results in a strong bond between the glass cloth and
the wood. If this is your first time, we offer the following
suggested method, which is the fastest and easiest we
have seen.
D 1. Make location marks for the fiberglass reinforce-
ment cloth, 2" each way from the wing centerline.
glass cloth to help protect the balsa sheeting when sanding
later. WARNING: This operation produces a larger than
normal quantity of CA fumes, so adequate ventilation is a
must!
D 7. Inspect the surface of the glass cloth. If any areas are
not glued down, apply a couple more drops of CA glue and
press down with a piece of waxed paper until the glue sets.
D 8. To make sure the glass cloth is fully "wetted out"
and bonded to the balsa, you may apply more thin or medium
CA, a few drops at a time, and spread it out with a piece of
waxed paper.
D 9. After the glue has set, trim the excess cloth at the
trailing edge with a sharp Xacto knife followed by a sanding
block.
D 10. Carefully sand the edges of the glass cloth with a T-
bar sander with 80 or 100-grit sandpaper. Also, lightly sand
the surface of the glass cloth with a piece of sandpaper held
in your fingers to remove any rough spots. WARNING:
When sanding fiberglass, wear safety goggles and a dust
mask to avoid breathing airborne glass fibers.
D 2. Trial fit the 4" wide fiberglass cloth in place. You
can use a scissors or a paper punch to cut holes in the glass
cloth for the aileron torque rod horns.
D 3. Wrap small pieces of masking tape around the
threaded portion of the aileron torque rods to protect them
from the spray adhesive in the next step.
D 4. Spray a very light mist of 3M "77" Spray Adhesive
on the center section in the area to be glassed. Hold the spray
can at least 12" away from the surface when doing this to
avoid a heavy buildup. The purpose of this is only to give the
wood a little "tackiness". If you apply too much spray it could
result in a poor glue bond. Allow the spray to dry for 5
minutes before proceeding to Step 5.
D 5. Beginning at the trailing edge, lay the glass cloth in
place on the wing. Gently press the cloth in place, working
out all the wrinkles. The "77" spray adhesive should hold the
cloth down to the surface, but will permit you to lift and
reposition the cloth if you make a mistake. Keep working
forward along the top of the wing, around the leading edge,
and along the bottom of the wing, ending at the trailing edge.
Do not attempt to wrap the glass cloth around the trailing
edge.
D 6. Working outdoors or in a very well-ventilated area
apply thin CA glue to the glass cloth. Begin by running a
bead of glue down the center of the glass cloth strip, then
continue applying the glue in lines until all the cloth has been
secured. Run the thin CA out 1/4" beyond the edges of the
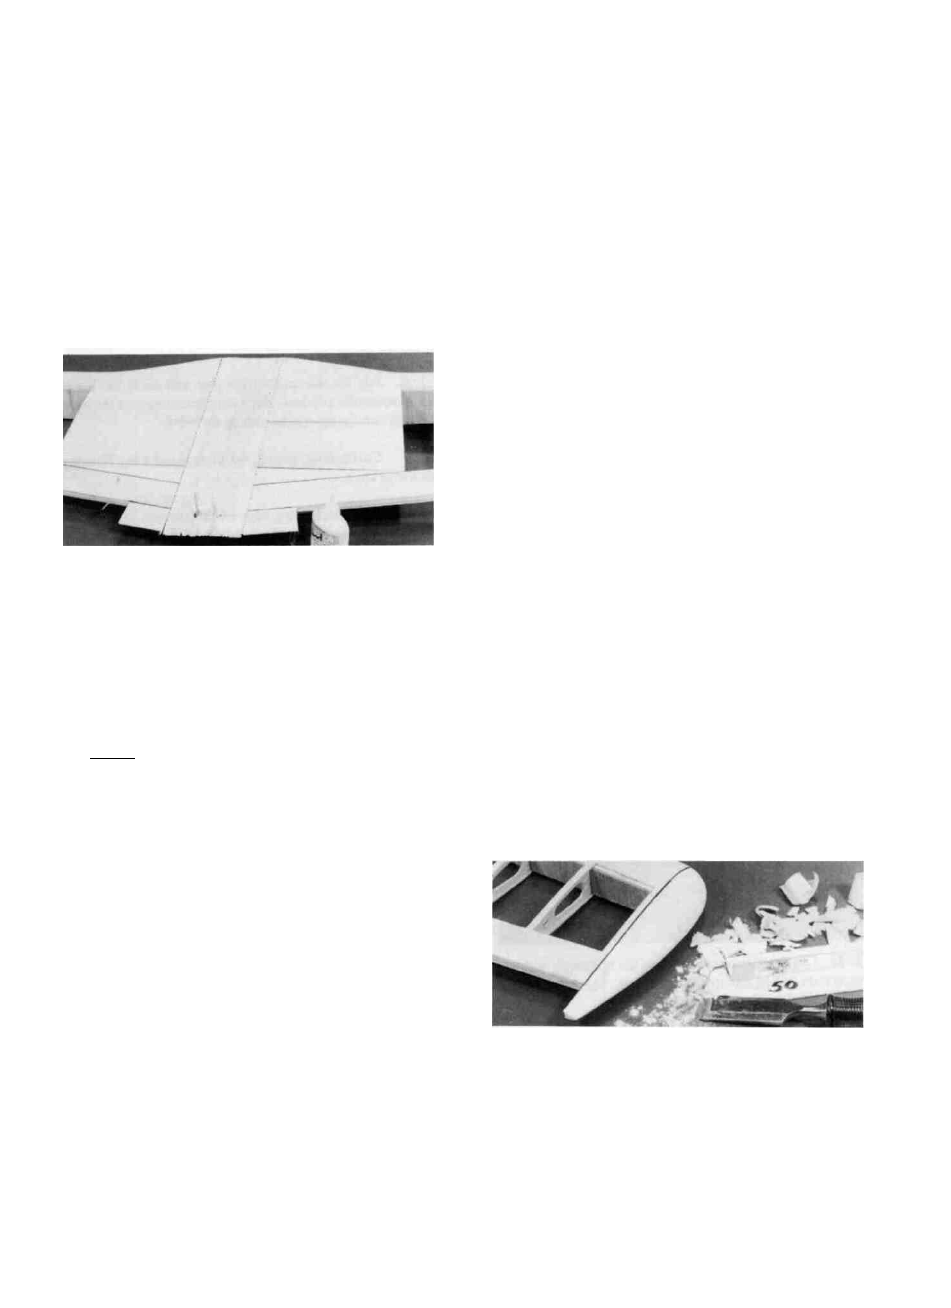
INSTALL WING TIPS
NOTE: The wing tips will be carved from the 1-3/8" x
1-3/8" x 7-3/4" balsa blocks.
D 1. Draw a centerline on the ends of the wing and on the
wing tip blocks.
D 2. Securely glue a wing lip block to the left end of the
wing, and tack glue a wing tip block to the right end of the
wing, lining up the centerlines you previously drew. You will
later break only the right tip loose and hollow it out.
D 3. Cut, carve and sand the wing tips to the appropriate
shape as shown on the plan. HINT: Use 50-grit sandpaper
and a sharp wood chisel or razor plane to speed up this
operation. NOTE: Leave the tips oversize in the area of the
trailing edge, for now.
17