Kenmore 200 User Manual
Kenmore Sewing machines
Attention! The text in this document has been recognized automatically. To view the original document, you can use the "Original mode".
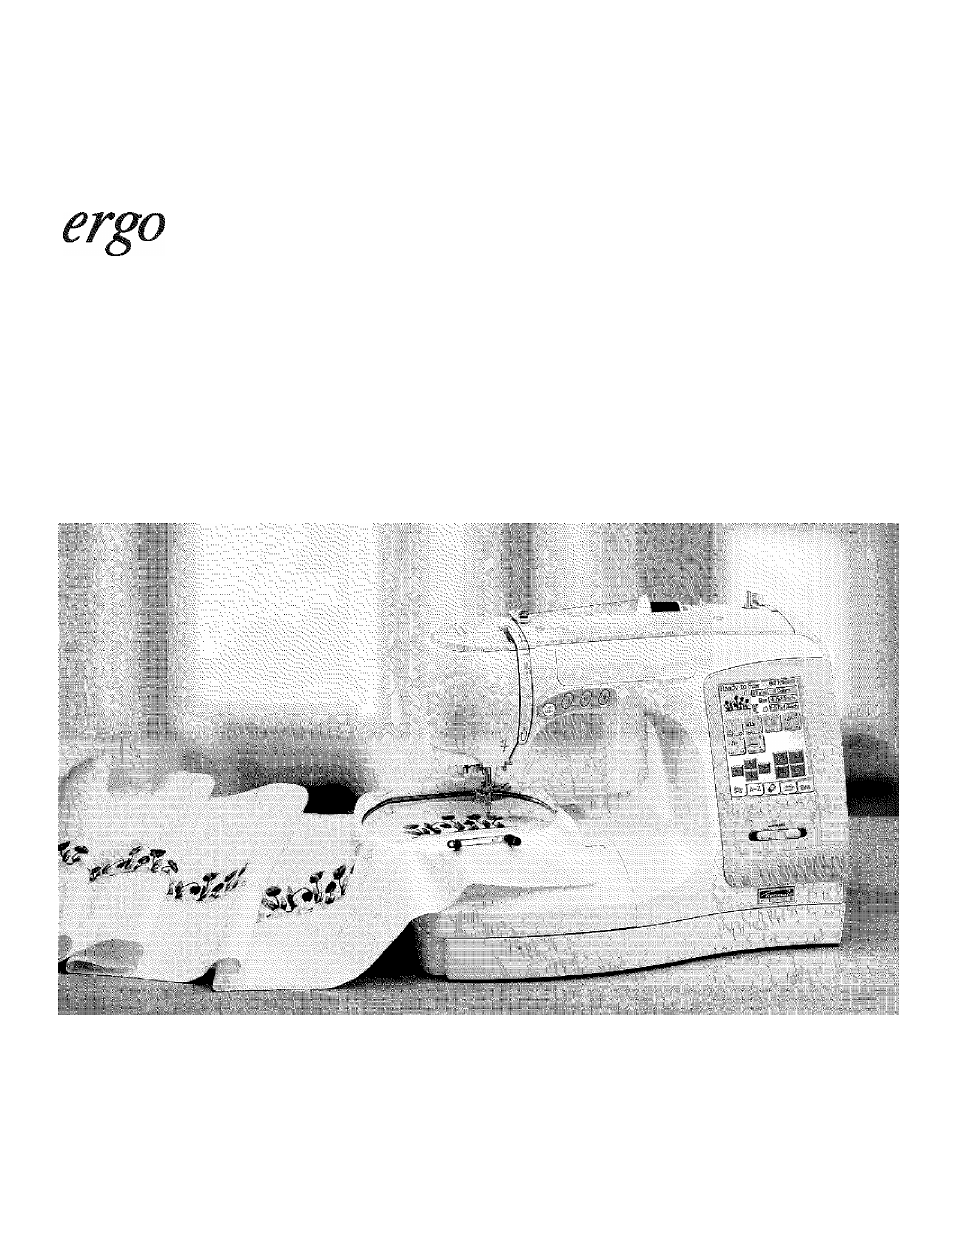
Table of contents
Document Outline
- Embroidery/Sewing Machine
- Owner’s Manual Model 385.19010200
- IMPORTANT SAFETY INSTRUCTIONS
- SAVE THESE INSTRUCTIONS
- PROTECTION AGREEMENTS
- In the U.S.A.
- In Canada
- Names of Parts
- Available Accessories and Attachments
- Connecting Machine to Power Supply
- Before Using Your Sewing Machine
- For Your Safety
- Polarized Plug
- Machine Operating Buttons Start/stop Button
- Reverse Button
- Auto-lock Button
- Up/down Needle Button
- Speed Control Lever
- Foot Control
- Pressure Dial
- To Drop or Raise the Feed Dogs
- Extension Table
- Presser Foot Lifter
- Thread Cutter
- Changing Needle
- Changing Presser Foot
- Correcting Distorted Stitch Patterns
- Presser Foot Types
- Selecting Needle and Fabric
- Bobbin Winding
- Bobbin Winding
- SECTION III. CONVENTIONAL SEWING
- Visual Touch Screen
- Mode Selection Keys
- Pattern Selection
- Utility Stitches
- Machine Settings
- Common Set Mode
- Embroidery Set Mode
- Flag Mode-Language Selection
- Quiiting
- Quilting with Walking Foot
- Manual Adjustment of Straight Stitches
- Variety of Straight Stitches Lock-a-matic Stitch
- Locking Stitch
- Zigzag Stitch
- Manual Adjustment of Zigzag Stitch Width and Length
- Adjust the Needle Thread Tension for Zigzag Stitch
- 0
- Serging
- Double Overedge Stitch
- Various kinds of buttonholes and their uses
- Square BH
- Adjust
- Corded Buttonhole
- Darning
- Restart for the Same Size
- Tacking
- Eyelet
- Key Functions
- Elongation Sewing
- Programming Pattern Combination with Mirror Image
- Programming French Knot
- Combination of Satin Stitch and Decorative Stitch
- To Sew from the Beginning of a Combination Pattern with Beginning Key
- Twin Needle Sewing
- Individual Pattern Adjustment
- Editing Programmed Patterns
- Program Check
- Saving and Opening a Fiie
- Opening a Saved File
- Deleting a Saved File
- Programming a Monogram
- Editing a Monogram
- Deleting a Letter
- Inserting a Letter (character)
- Getting Ready to Sew Embroidery
- stabilizer
- Types of Stabilizer
- Usage:
- Adhesive (iron-on) stabilizer
- To Set the Fabric in the Embroidery Hoop
- To Attach the Embroidety Hoop to the Machine
- To Attach Embroidery Foot P
- Thread Holder
- Built-in Embroidery Designs
- Pattern Selection Window
- Embroidery Mode Set
- Embroidery Screen
- starting to Sew Embroidery
- Sewing Resuits
- Monogram Embroidery
- Monogram Selection Screen
- 2-letter Monogram
- ATA PC Card
- Selecting the Card Designs
- Reader/writer 19000
- Pattern Seiection Screen
- Edit Mode
- Pattern Selection Windows in the Edit Mode
- Seiecting the Pattern on the Edit Screen
- Moving the Selected Design
- SECTION VII. NORMAL MAINTENANCE
- STITCH/DESIGN CHART
- Your Home
- 1 -800-4-M Y-HOM E® (i -800-469-4663)
- Our Home
- 1-800-488-1222
- PROTECTION AGREEMENTS