Hangar 9 1/4-Scale J-3 Cub ARF User Manual
Page 22
22
.
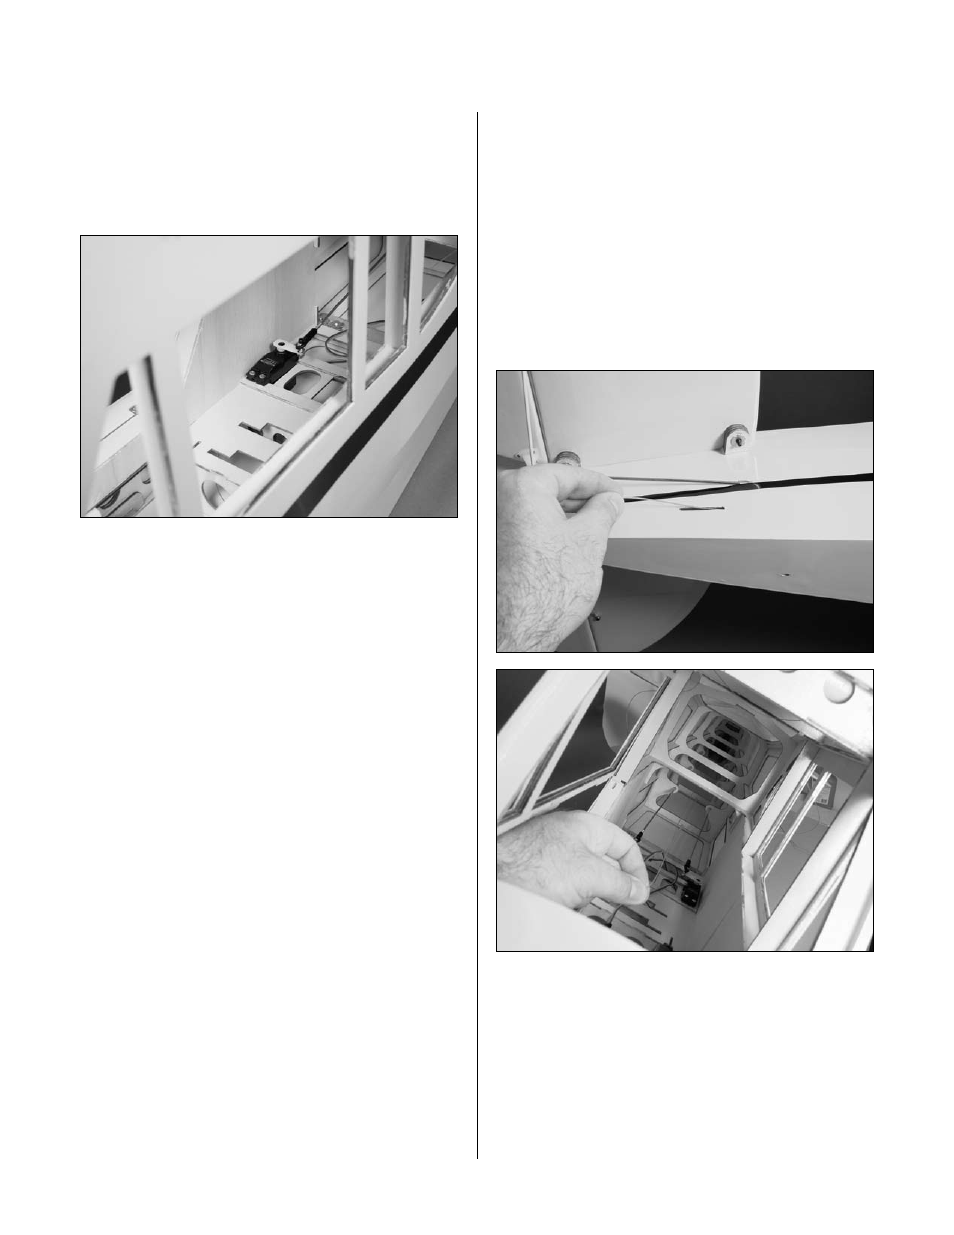
.Step 9
Install.the.elevator.servo.into.the.fuselage..The.output.arm.
on.the.servo.faces.toward.the.rear.of.the.fuselage..Secure.
the.servo.horn.to.the.servo.using.the.hardware.provided.
with.the.servo.
.Step 10
Repeat.Steps.1.through.9.to.install.the.remaining..
elevator.servo.
Note:.Using.two.standard.rotation.servos.
and.a.standard.Y-harness.for.the.elevator.
servos.will.result.in.them.moving.in.opposite.
directions.instead.of.the.same.direction..
There.are.three.options.available.that.will.
result.in.the.elevators.operating.correctly.
Option 1:.Use.two.standard.rotation.servos.
if.your.radio.has.programmable.mixing..
You.will.need.to.use.two.separate.channels.
and.use.your.radio.to.mix.them.together.
electronically.for.this.option.to.work.
Option 2:.Use.two.servos.and.a.JR
®
.
MatchBox
™
.or.a.6".standard.reversing.
Y-harness.(EXRA320).to.link.the.two.
elevator.servos.to.operate.properly.
Option 3:.Use.a.standard.rotation.
servo.and.a.reverse.rotation.servo.
and.a.standard.Y-harness.
Note:.The.cable.will.be.installed.into.the.
fuselage.from.the.tail.to.make.the.servo.
end.of.the.cable.easier.to.install,.and.
to.keep.it.from.falling.into.the.fuselage.
while.installing.the.ends.and.servo.
.
.Step 11
Locate.the.rudder.cable.and.insert.one.end.of.the.cable.
into.the.fuselage..Make.sure.the.cable.does.not.get.
tangled.around.any.of.the.formers.on.its.way.to.where.the.
rudder.servo.will.be.installed.
Radio Installation